Adding an XYZ Probe
Once the MilkCr8 was substantially built, the obvious question is – what’s next? For me, that meant starting the journey to replace the 3D printed parts of the motion system with parts machined from 6061 aluminum – parts that I’d machine myself ON THE MilkCr8! How cool is that? RepRap Spirit lives!
I’m an airplane pilot. One common tool we use all the times is a checklist. Old timers often look at newer pilots and mutter under their breath, “What do you need that for – just kick the tires and light the fire!” It wouldn’t surprise me if long-time machinists have the same point of view. To me as a rank beginner, I was crying out for a checklist! There are so many things to remember, even after the design is complete and tool paths have been generated. You need to:
- Mount the stock
- Install the collet
- Install the end mill
- Confirm the starting position in X, Y, and Z
And that is for a simple operation. Changing tools, or flipping a workpiece requires even more steps. Get one wrong, and you might be starting over.
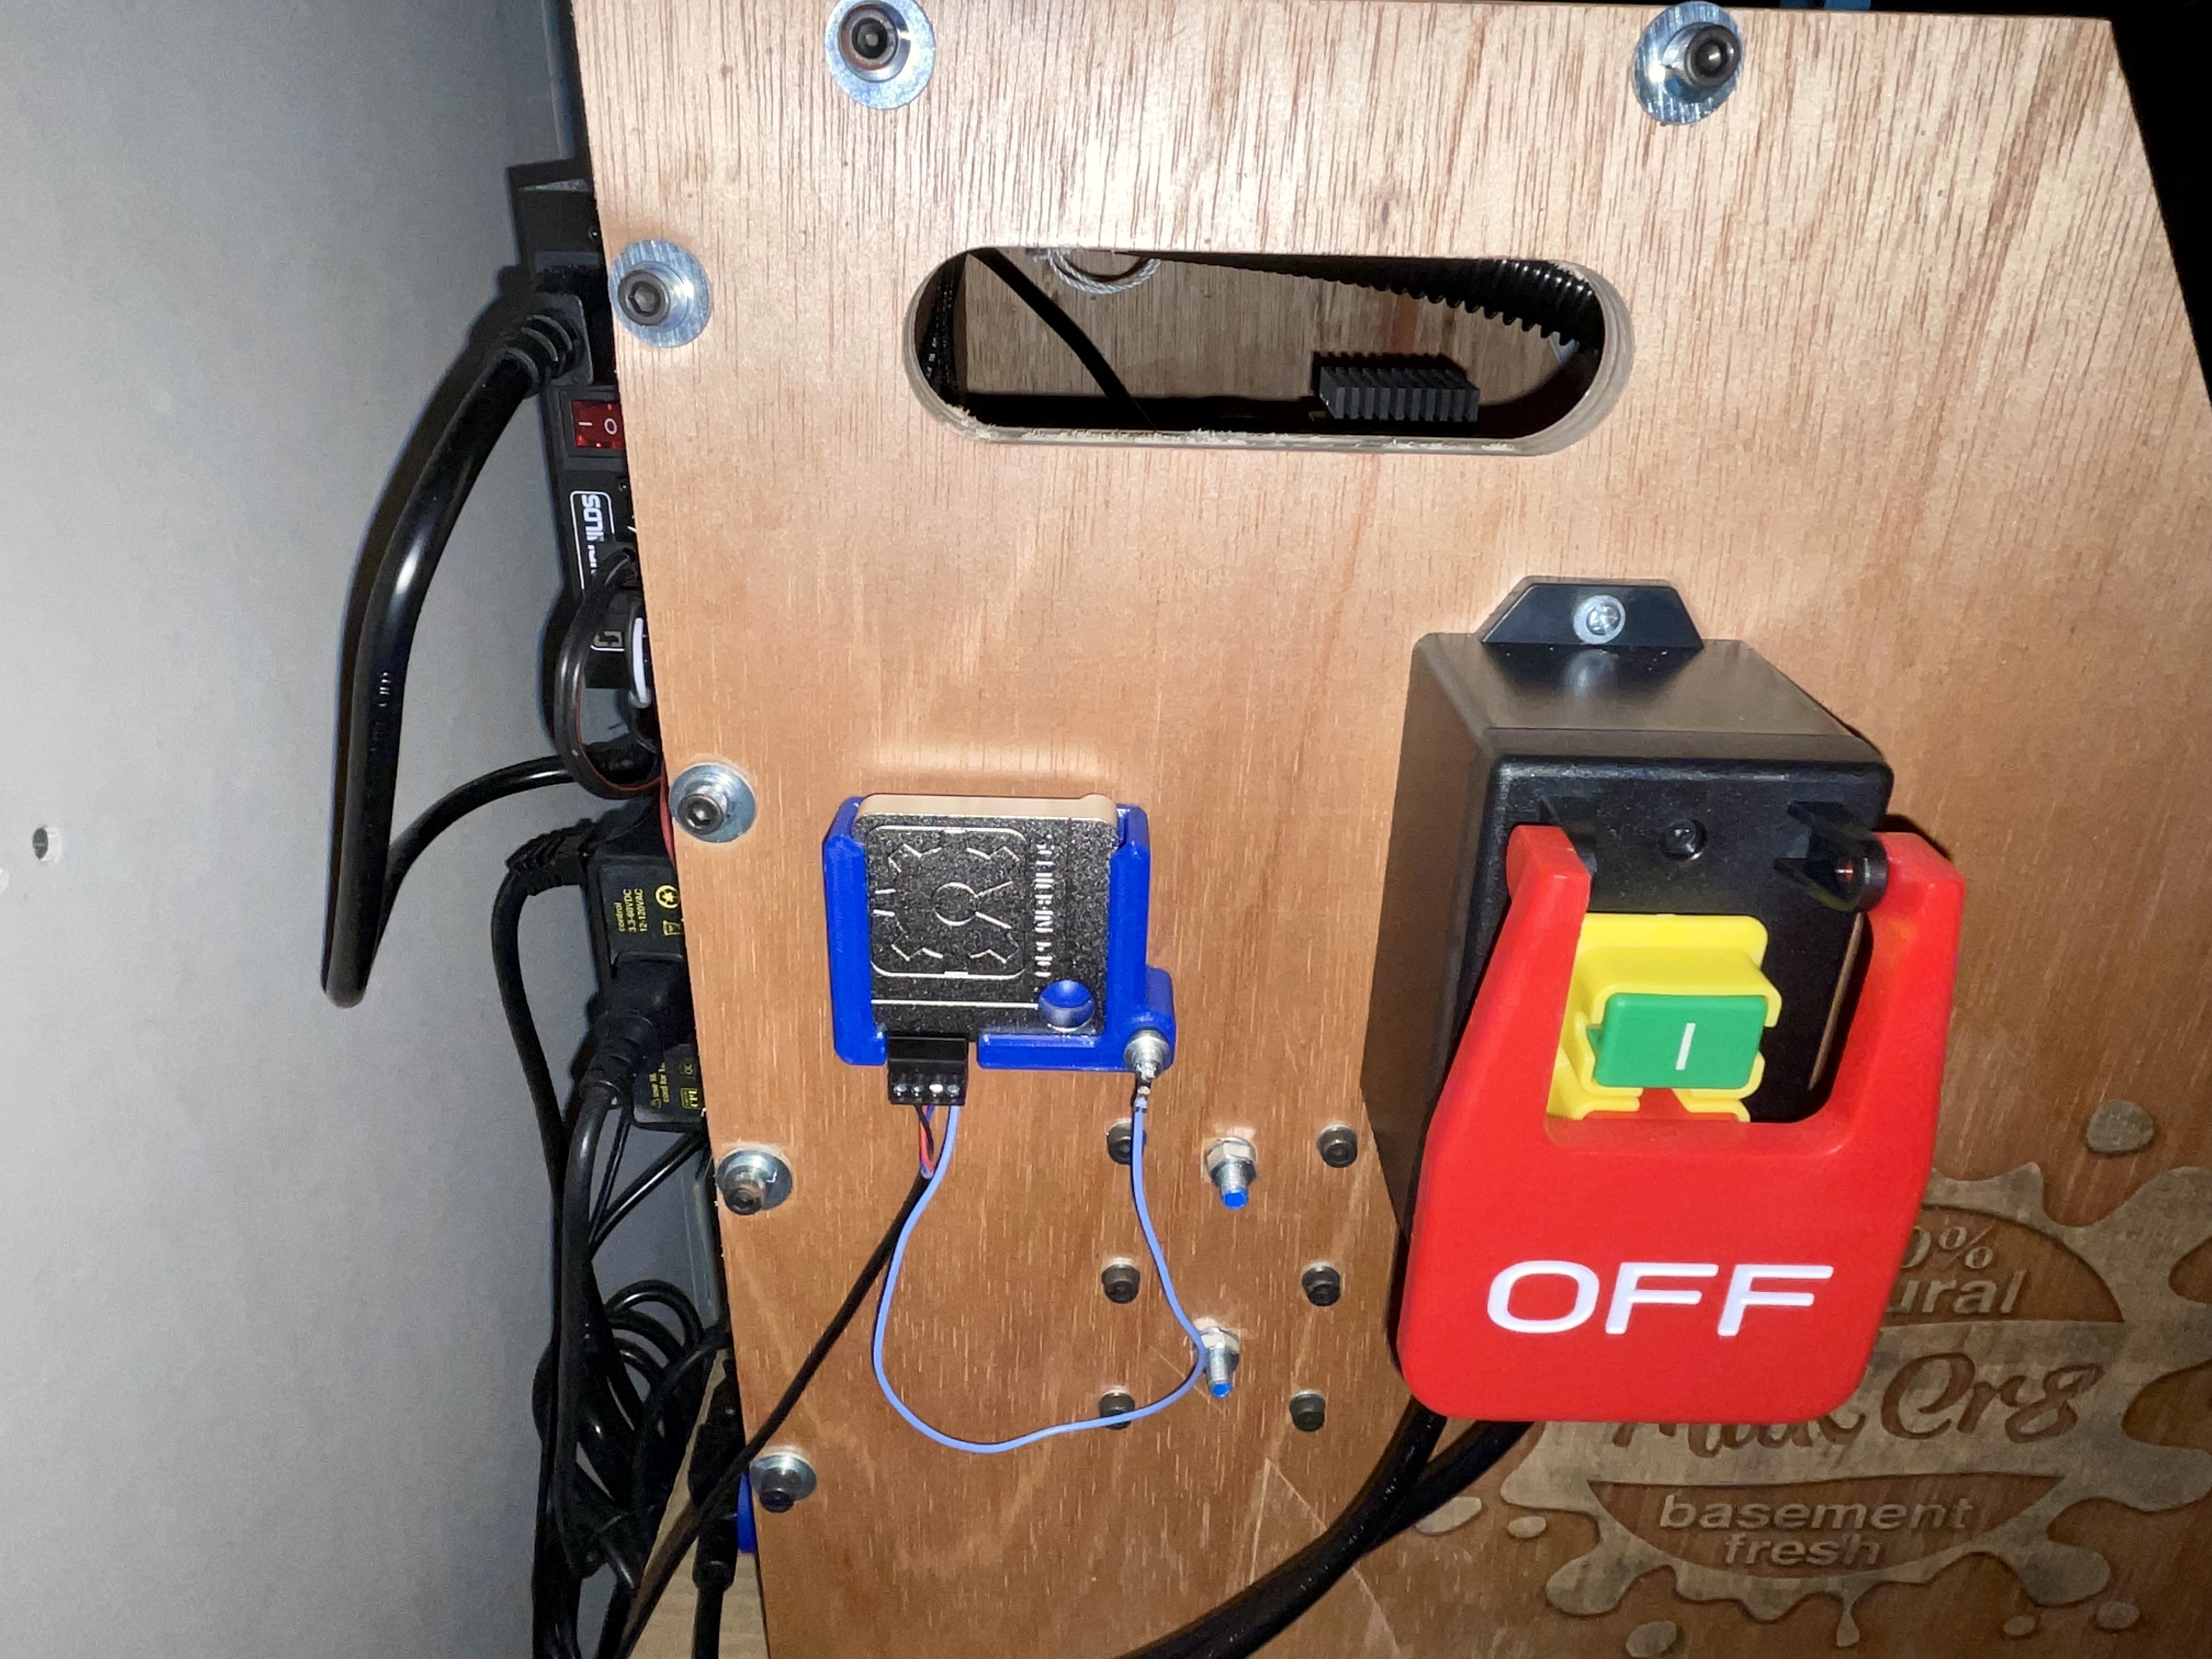
I decided to purchase an XYZ Touch Probe to help with accurate setting of X, Y, and Z. I bought the OpenBuilds XYZ Touch Probe It does what it claims to do, but it works best on large flat pieces of stock. One thing they don’t tell you is you have to hold the probe tightly to your workpiece while probing. That can be a hassle. Here’s a photo of the XYZ probe in a nifty 3D printed mount:

CNC Practice
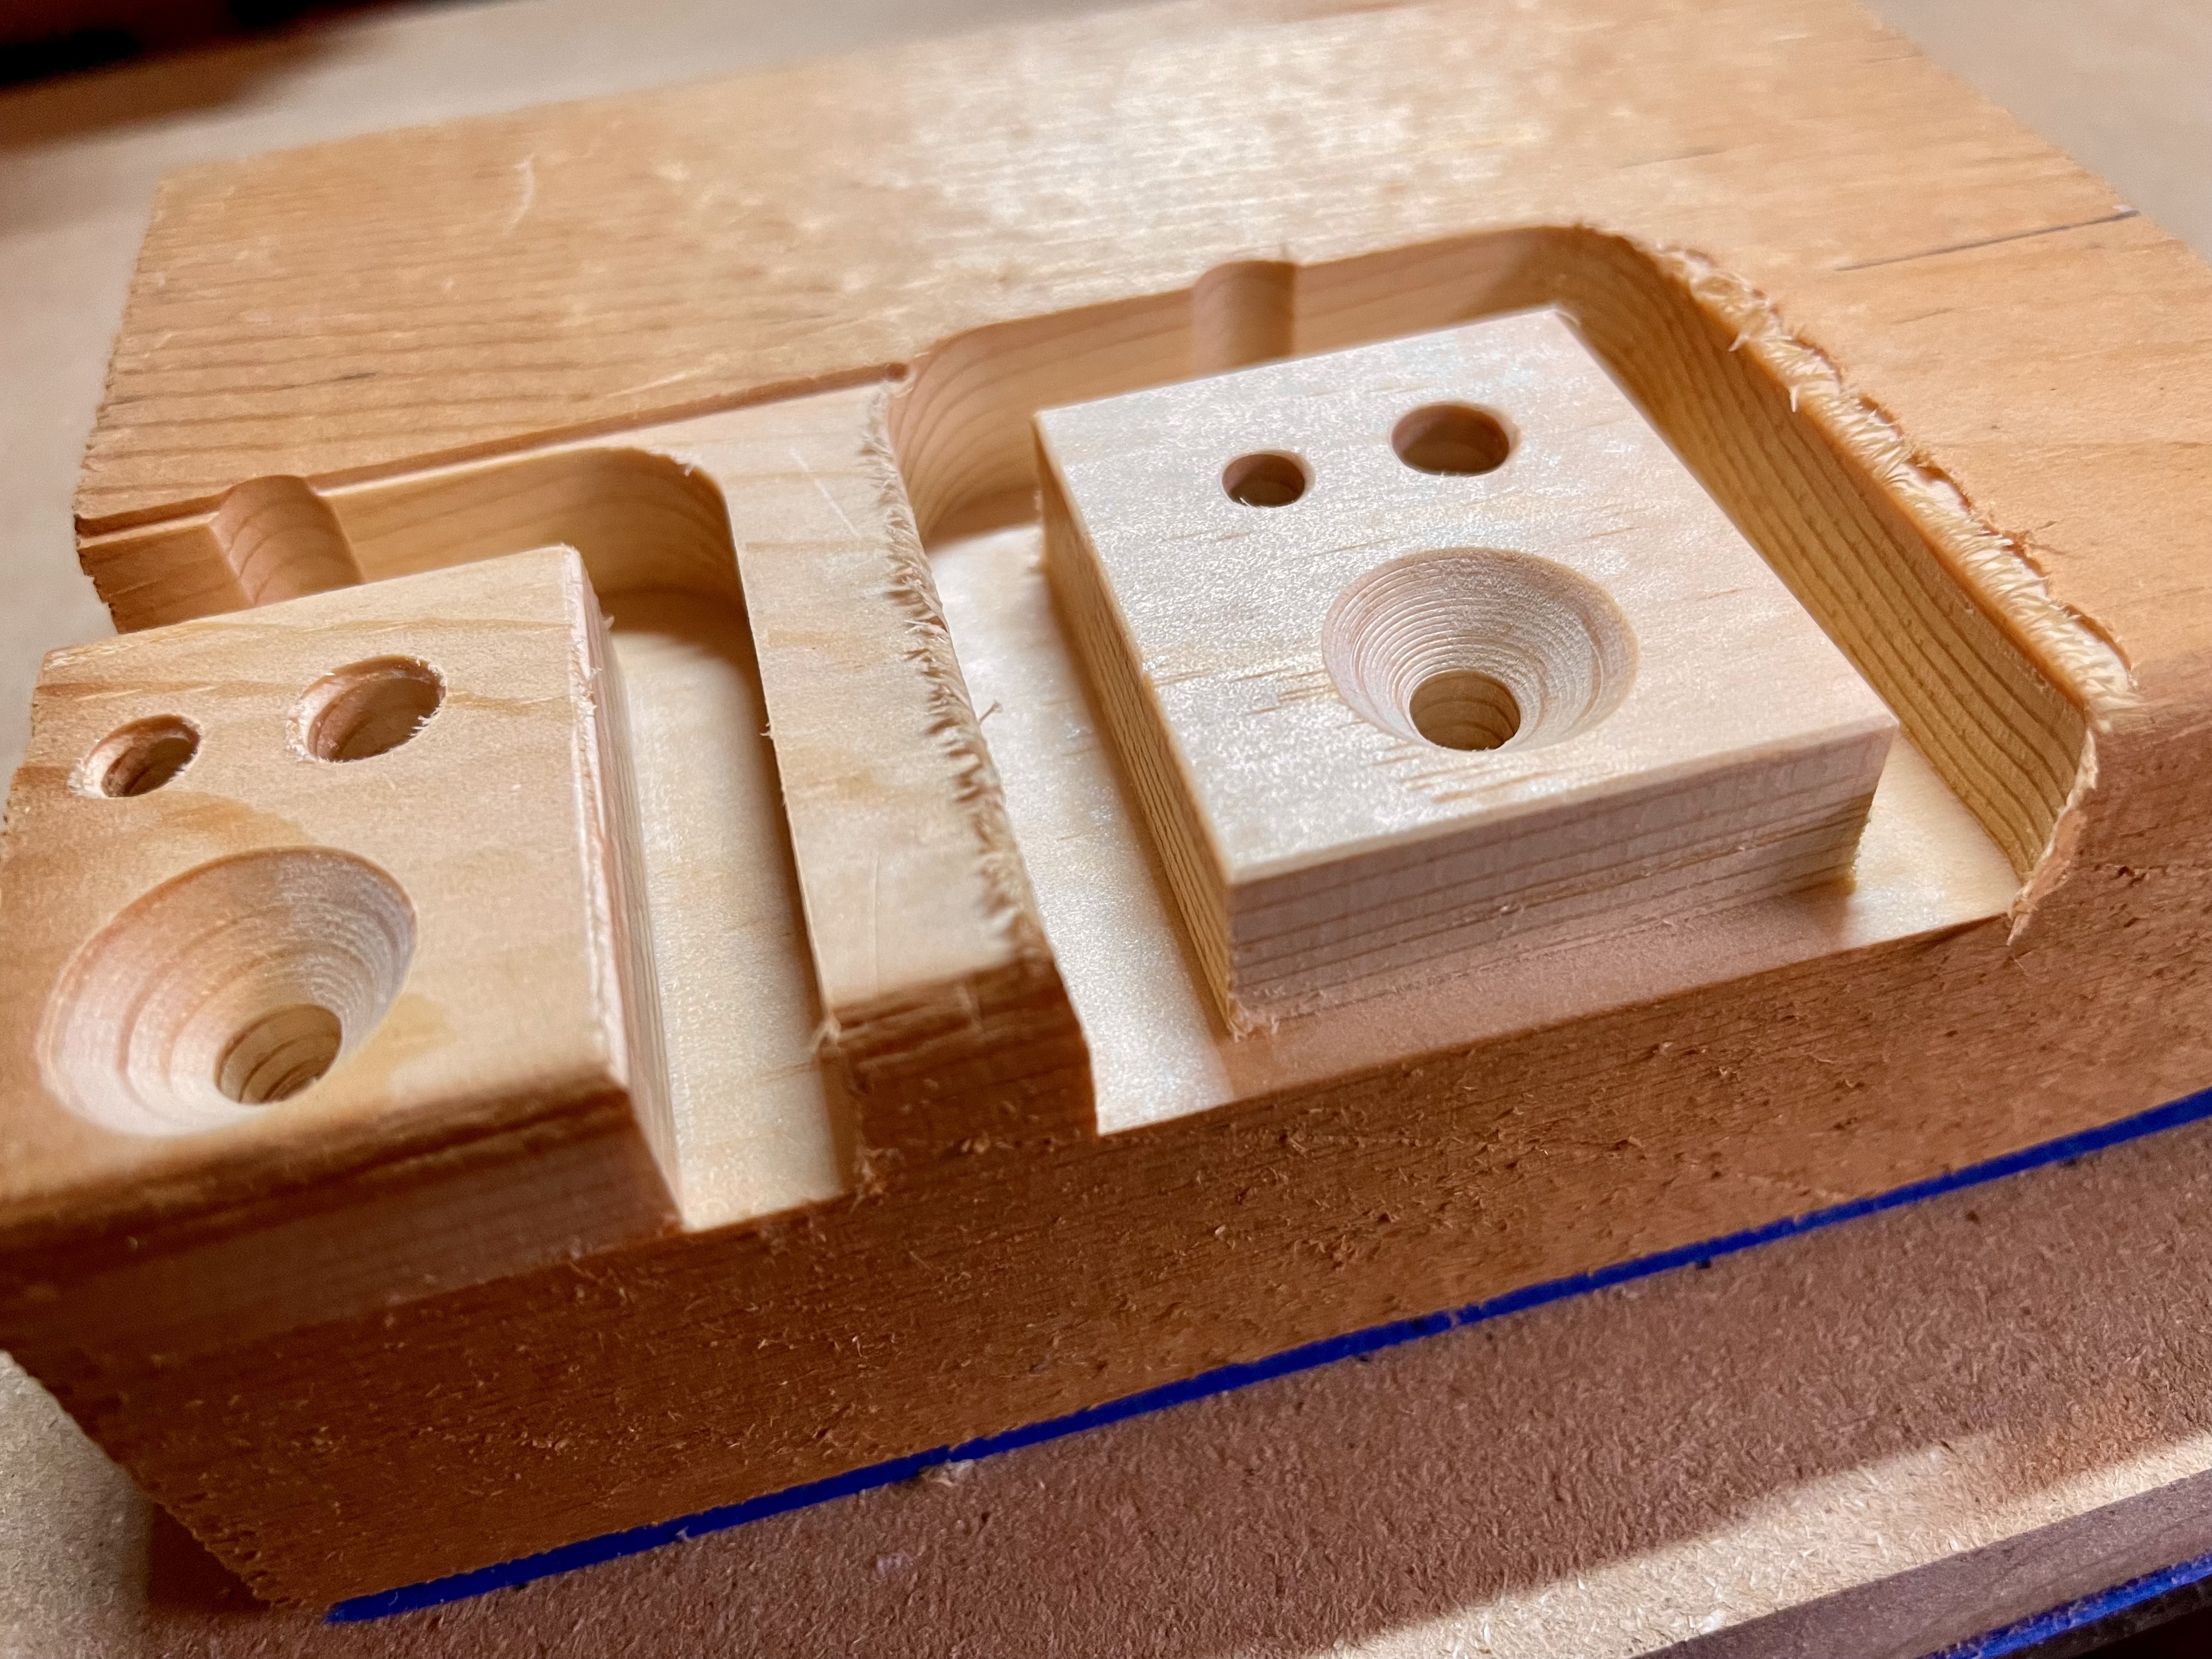
My initial practice consisted of cuts representative of what I’d evenually need to do in aluminum. I started with cuts in scraps of relatively soft wood, with the hopes that I would not destroy endmills or anything else early in my CNC adventures. Here’s one set of test cuts. I was very pleased with the the results. They both looked good, and were cut to the specified sizes.
