Feeding the GRBL
Remember, the whole point of this journey is to be able to get a machine to do what you want it to do. That’s the whole Computer-Numerical-Control thing, commonly abbreviated CNC. What many of us forget is that we are NOT building a machine that’ll do what we WANT it to do – instead, we’re build a machine that’ll do what we TELL it to do. When we start to snap endmills like last week’s pretzel, it is becuase we really DID tell the machine to dive sideways at rapid speed, instead of gently dipping our proverbial endmill toes into the water (aluminum).
All our hopes and dreams are converted to GCODE. There are many different ways to get GCODE from your CAM software to your machine. Our MilkCr8 designer Joe suggested the OpenBuilds BlackBox controller, and while no one would mistake the BlackBox for the “latest hotness” here in 2022, it is an excellent choice for a project just as the MilkCr8. It is well documented, proven, and comes with really decent software to control the machine called OpenBuilds CONTROL.
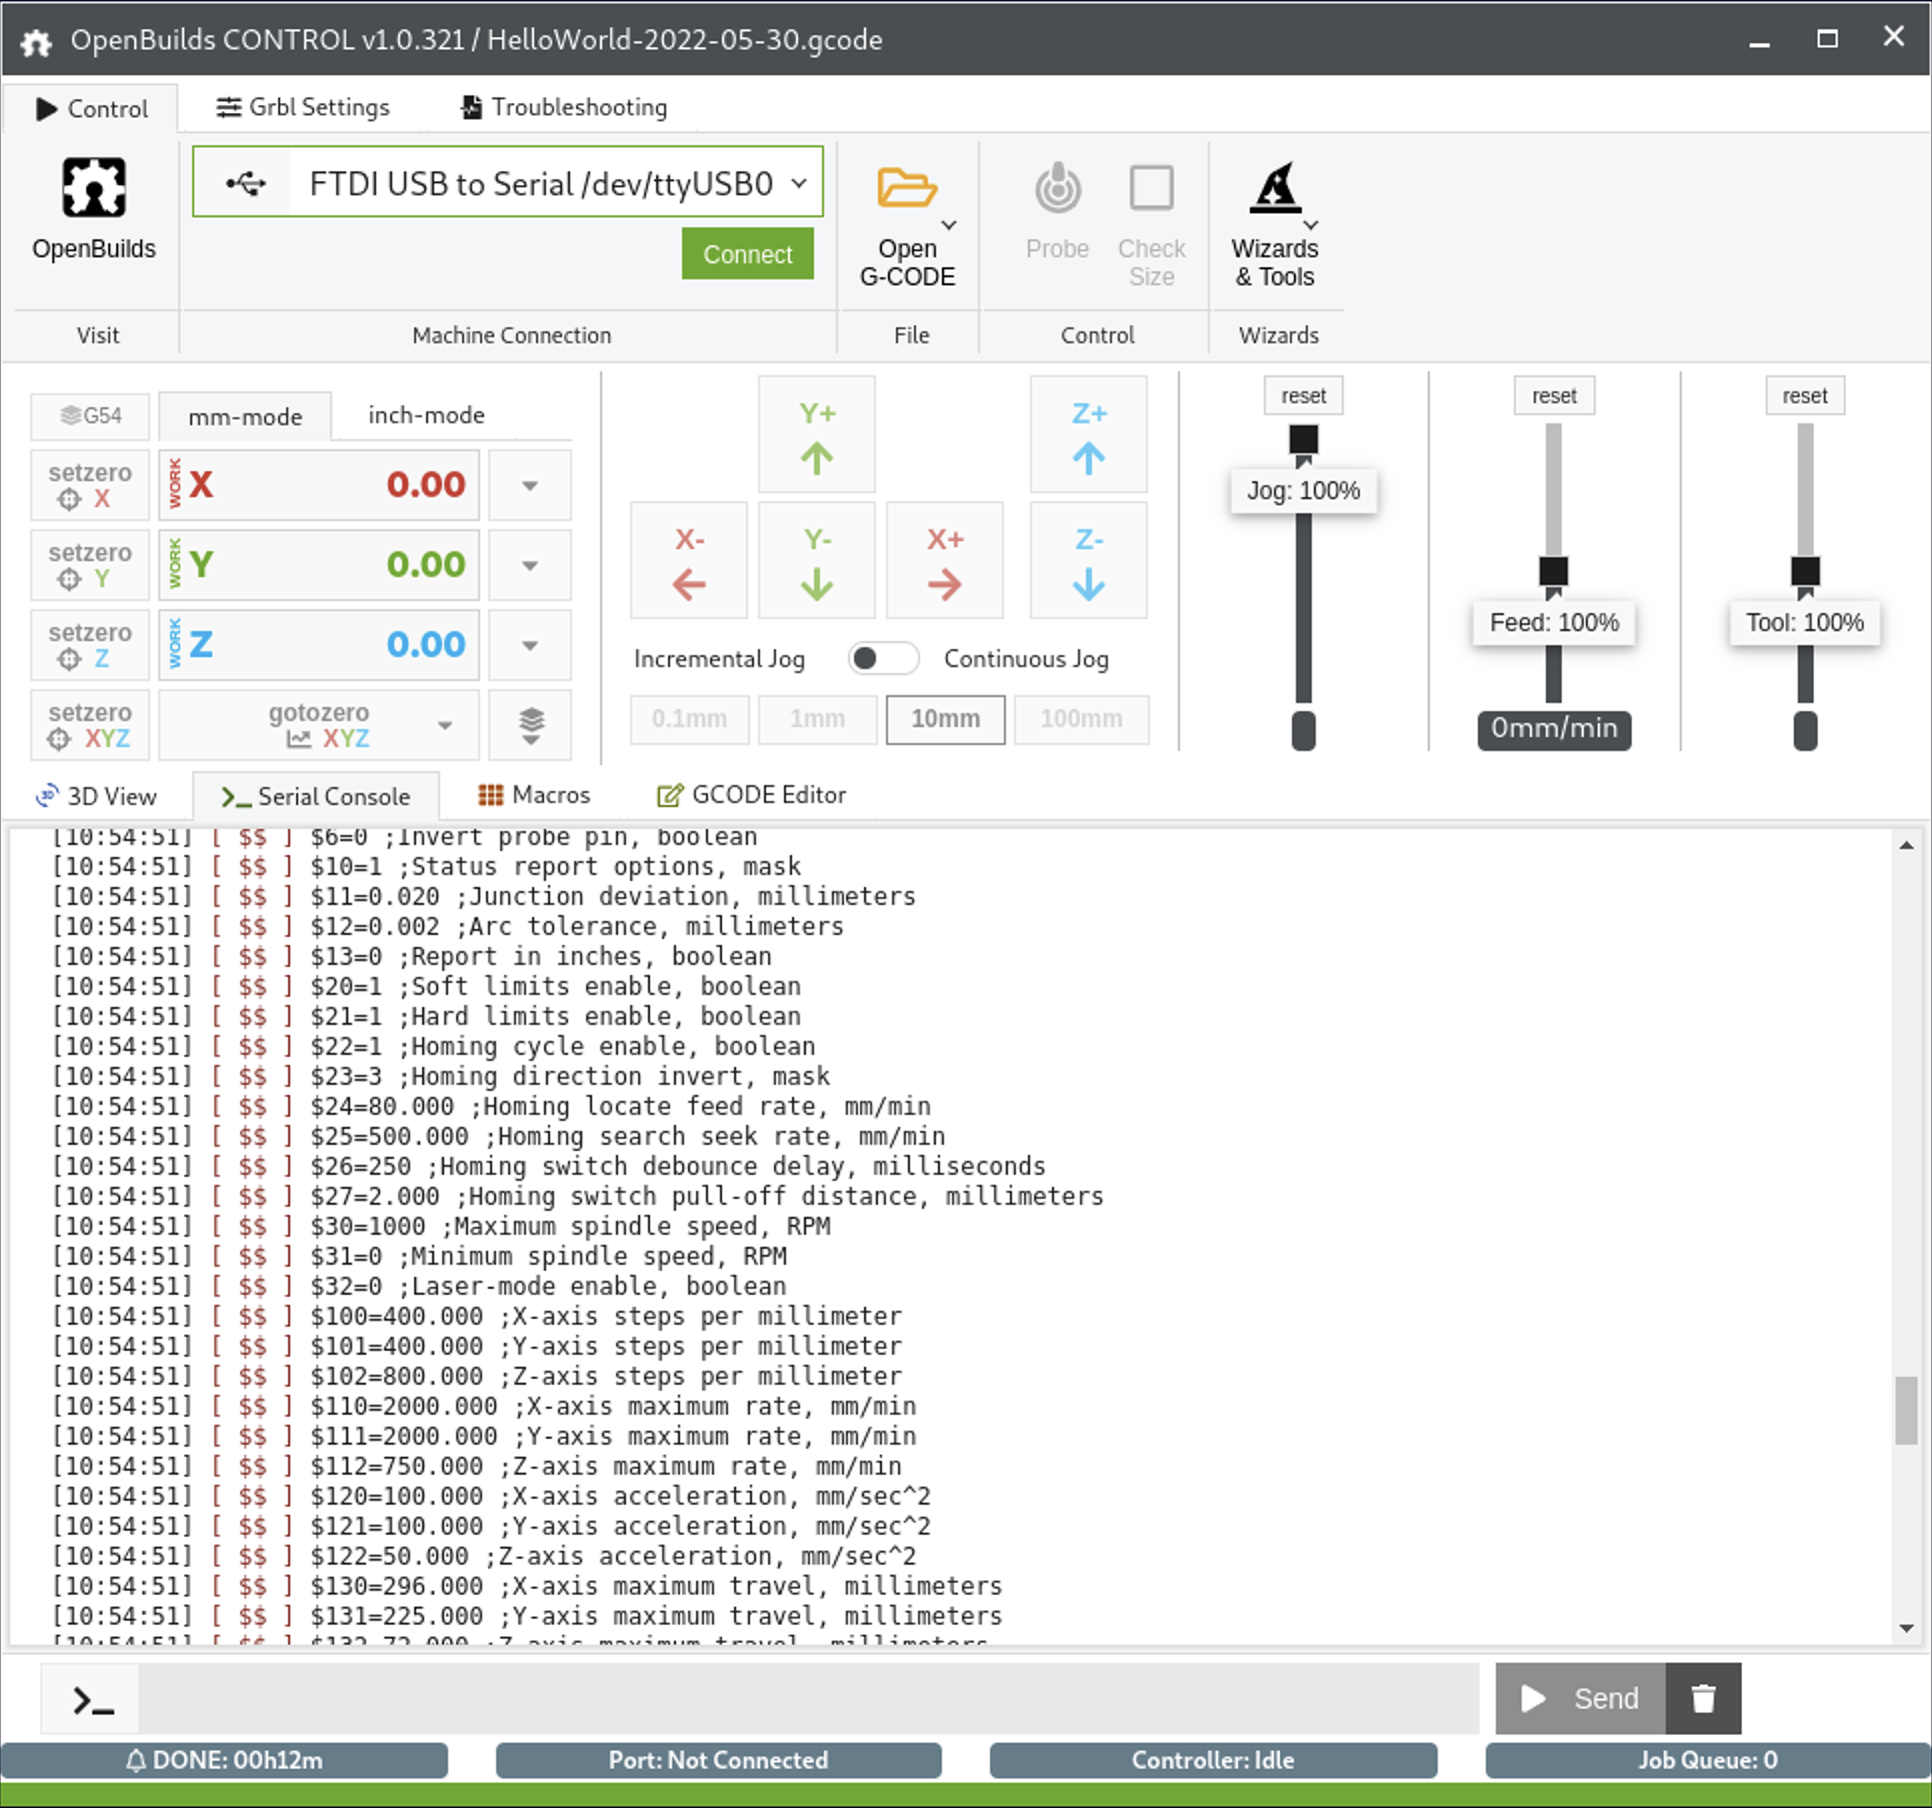
OpenBuilds CONTROL is an Electron Application, and can run on a variety of operating systems. I decided to install it on an old PC running a fresh install of Debian Linux. My Debian install was a little too fresh, and I needed to install a couple of older libraries needed by OPenBuilds Control. I connected the PC to the OpenBuilds BlackBox using the provided USB cable, and the connection was recognized and works well.
Link to OpenBuilds CONTROL Software

The Openbuilds documentation is really quite good. They’ve also got some good YouTube videos (such as this LEAD 1515 video - start at the 47:39 mark) Link to Lead 1515 Video that walk you through the software configuration and initial movement tests. Fellow MilkCr8 builder Adam provided me his GRBL config, but initially, you’ll want to turn off the soft limits and manually home and figure out your own max X, Y, and Z distances before you re-enable soft limits.
Feel free to use my current config as a starting point: MilkCr8 GRBL Config
So - what’s next? Spoilboard installation, and dust/chip extraction, learning CAM, and finally, first cuts!