Amp It Up!
I’ll let you in on a little secret. I LOVE the wiring and electronics part of these hobby projects! Everything from cable management, to figuring out wire lengths, to crimping connectors, testing continuity with a multimeter, and finally, flipping that power switch and bringing everything to life!
I started by stealing ideas, as one does, from the photos provided by Joe and Adam. I printed (on paper) a mockup of the IOT relay, as I hadn’t yet received it, and wanted to make sure I could position components appropriately. I bought a new sheet of acrylic, and used my jigsaw to cut out the board to similar dimensions to that used by Adam and Joe. Hot tip: slow down your jigsaw, otherwise the heat will seal up the cut as soon as you’ve gone past it!
I mounted the acrylic sheet using some M5 Hex-head bolts. I used one metal washer along with two rubber washers to give approximately 6mm distance between the acrylic sheet and the back of the MilkCr8.
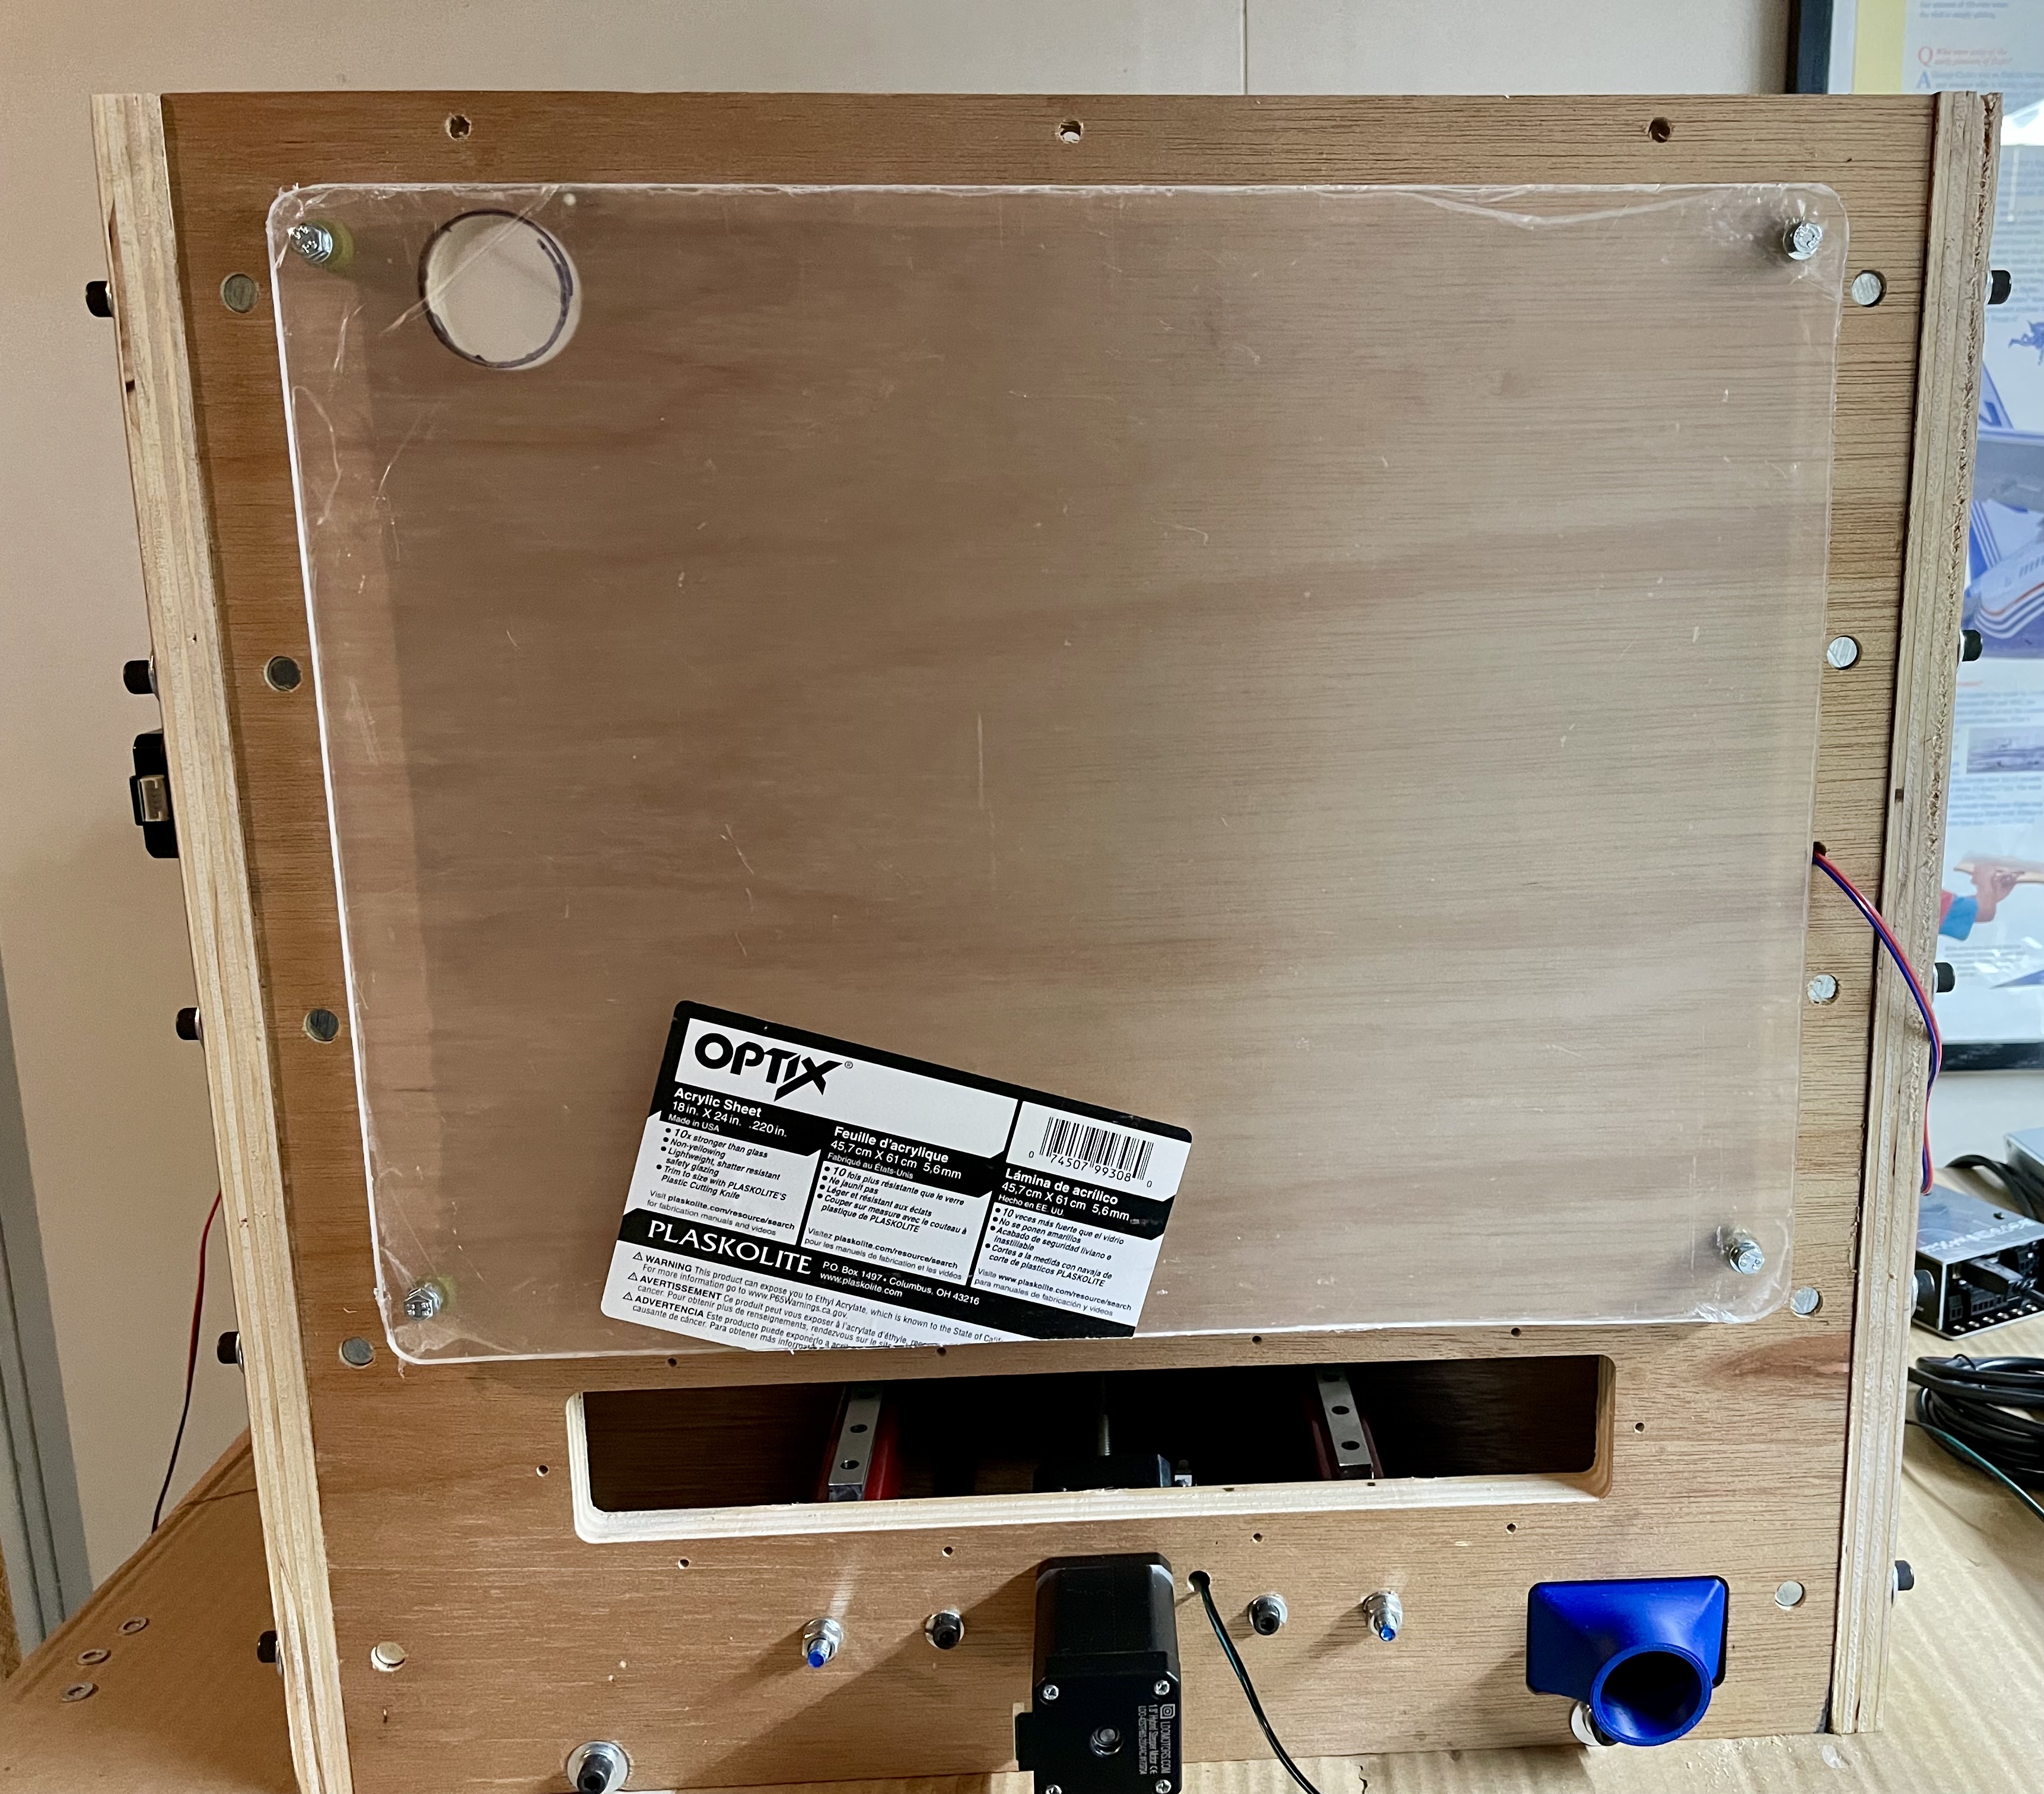
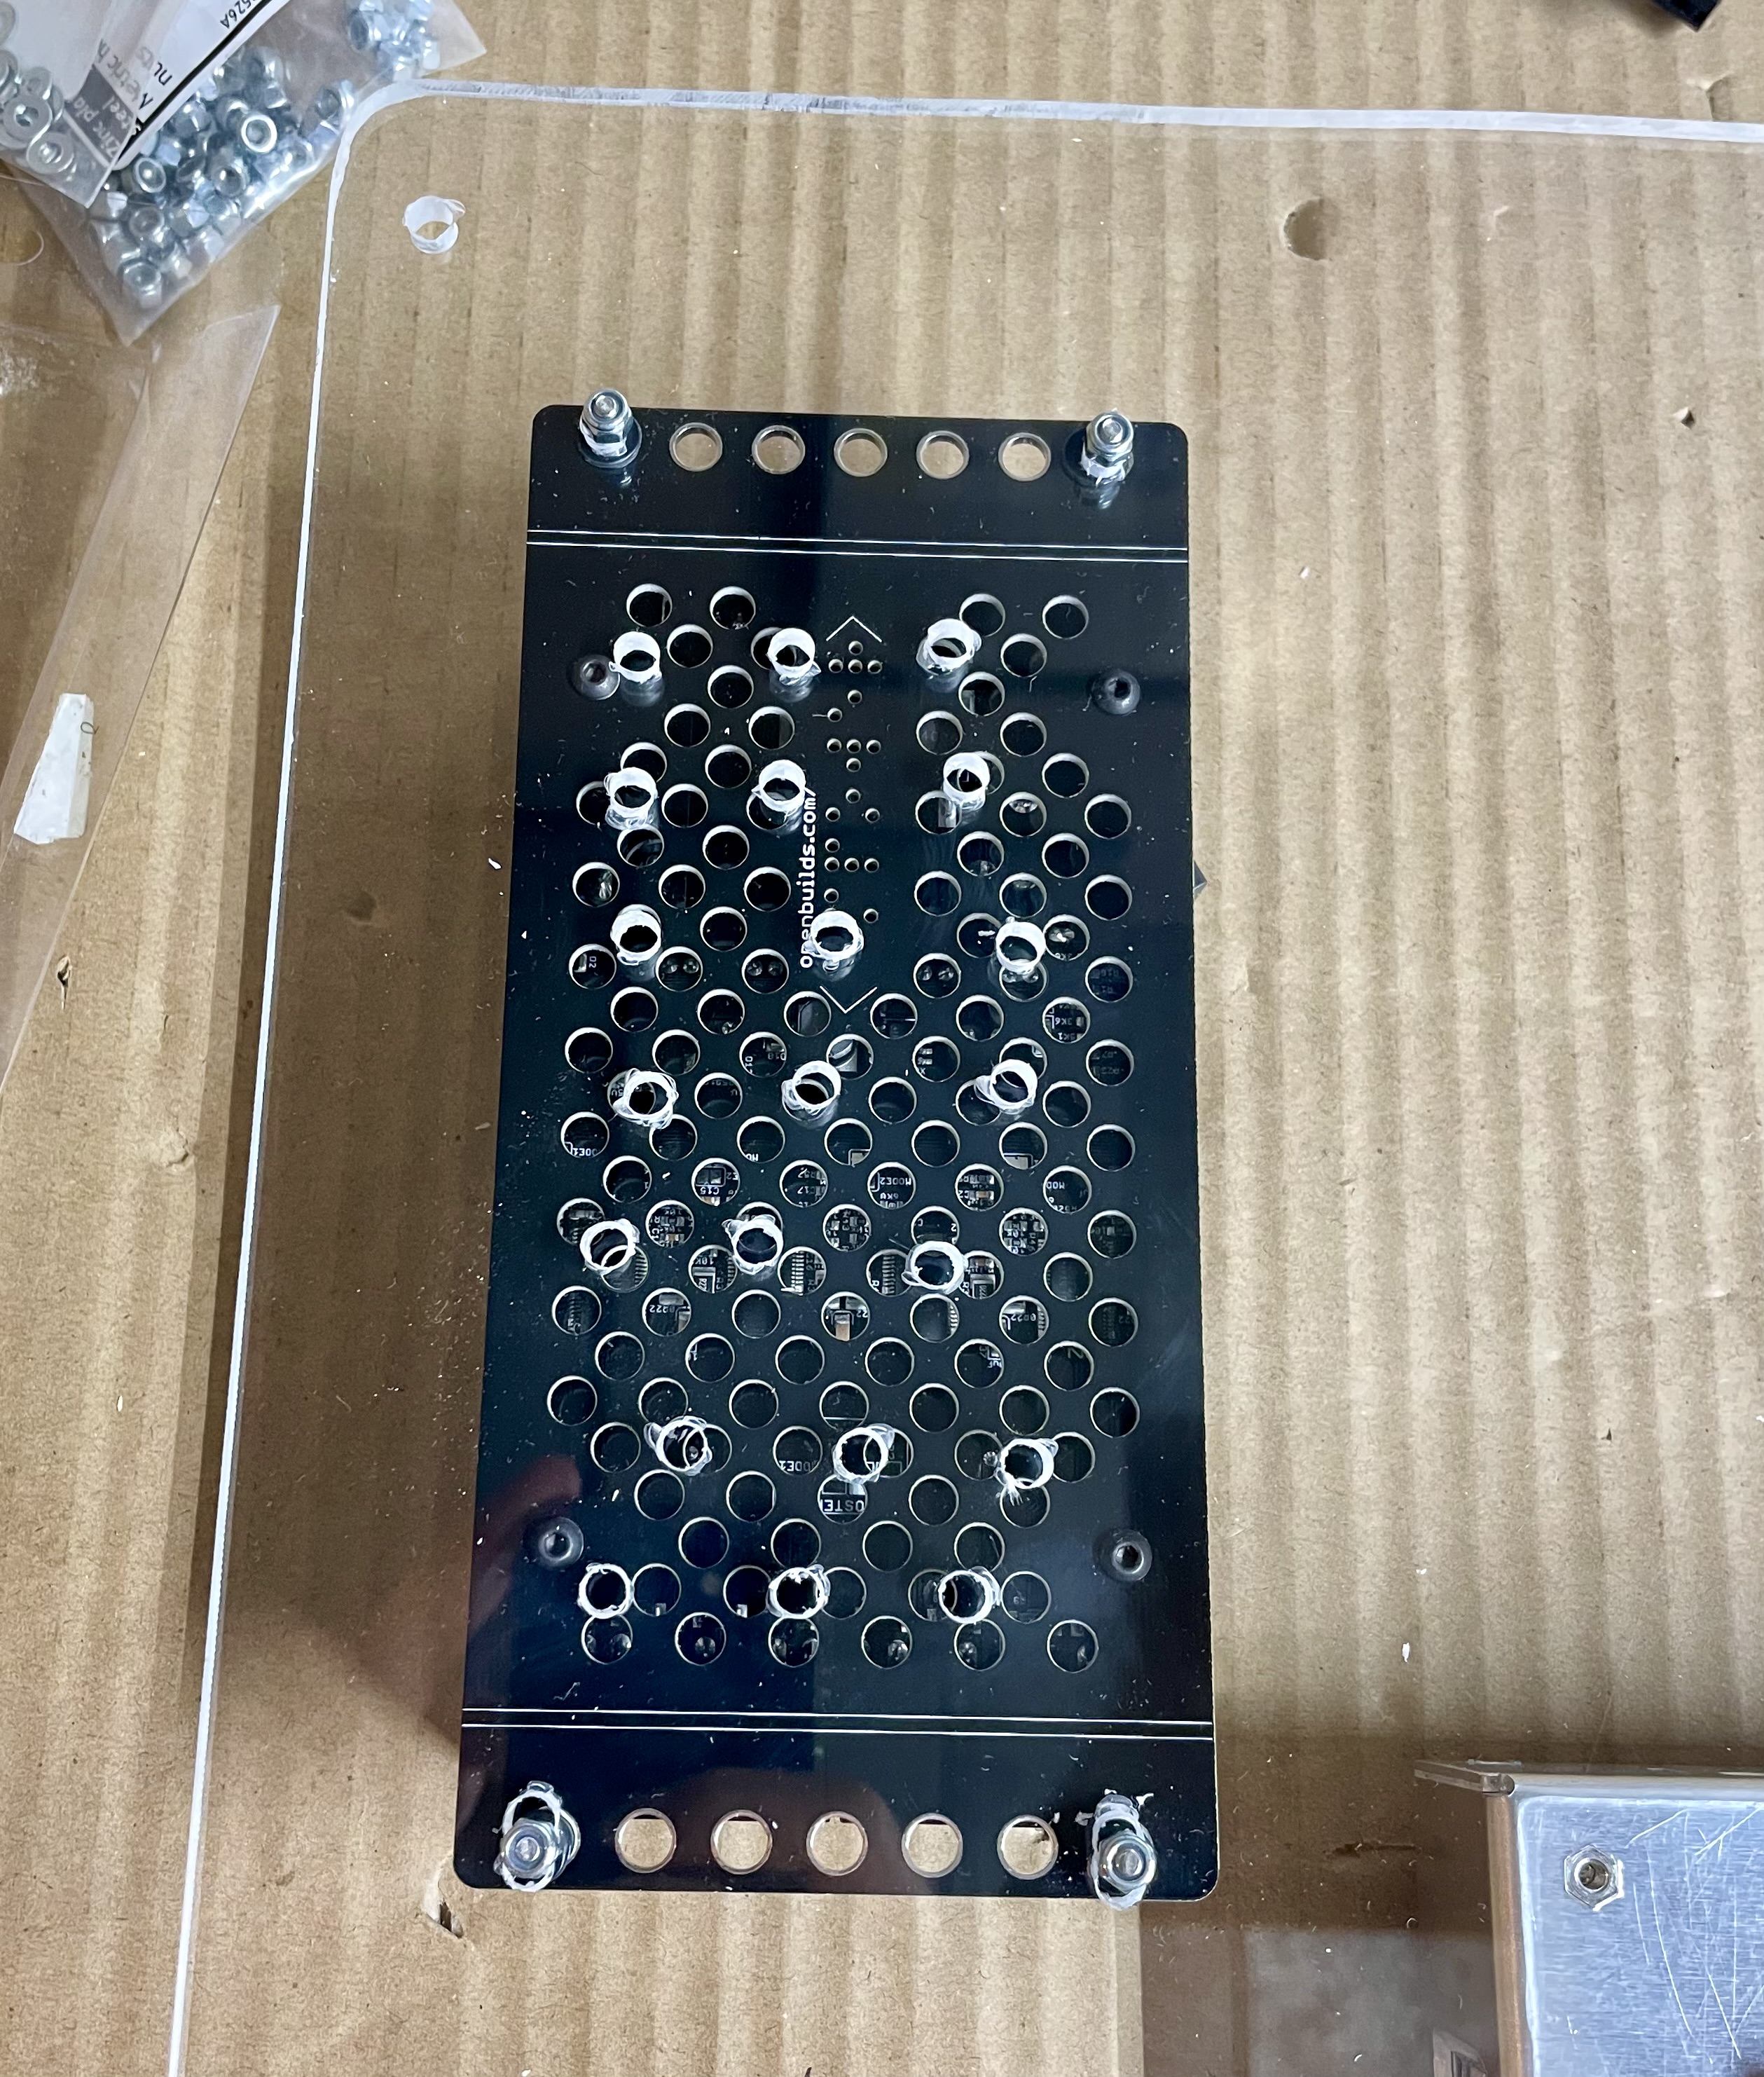
I elected to mount the OpenBuilds BlackBox along the left side of the sheet. Since the BlackBox itself has ventilation holes on the back/bottom, I decided to drill a bunch of holes in the acrylic sheet in the area behind the Blackbox to allow the airflow to…well, flow.
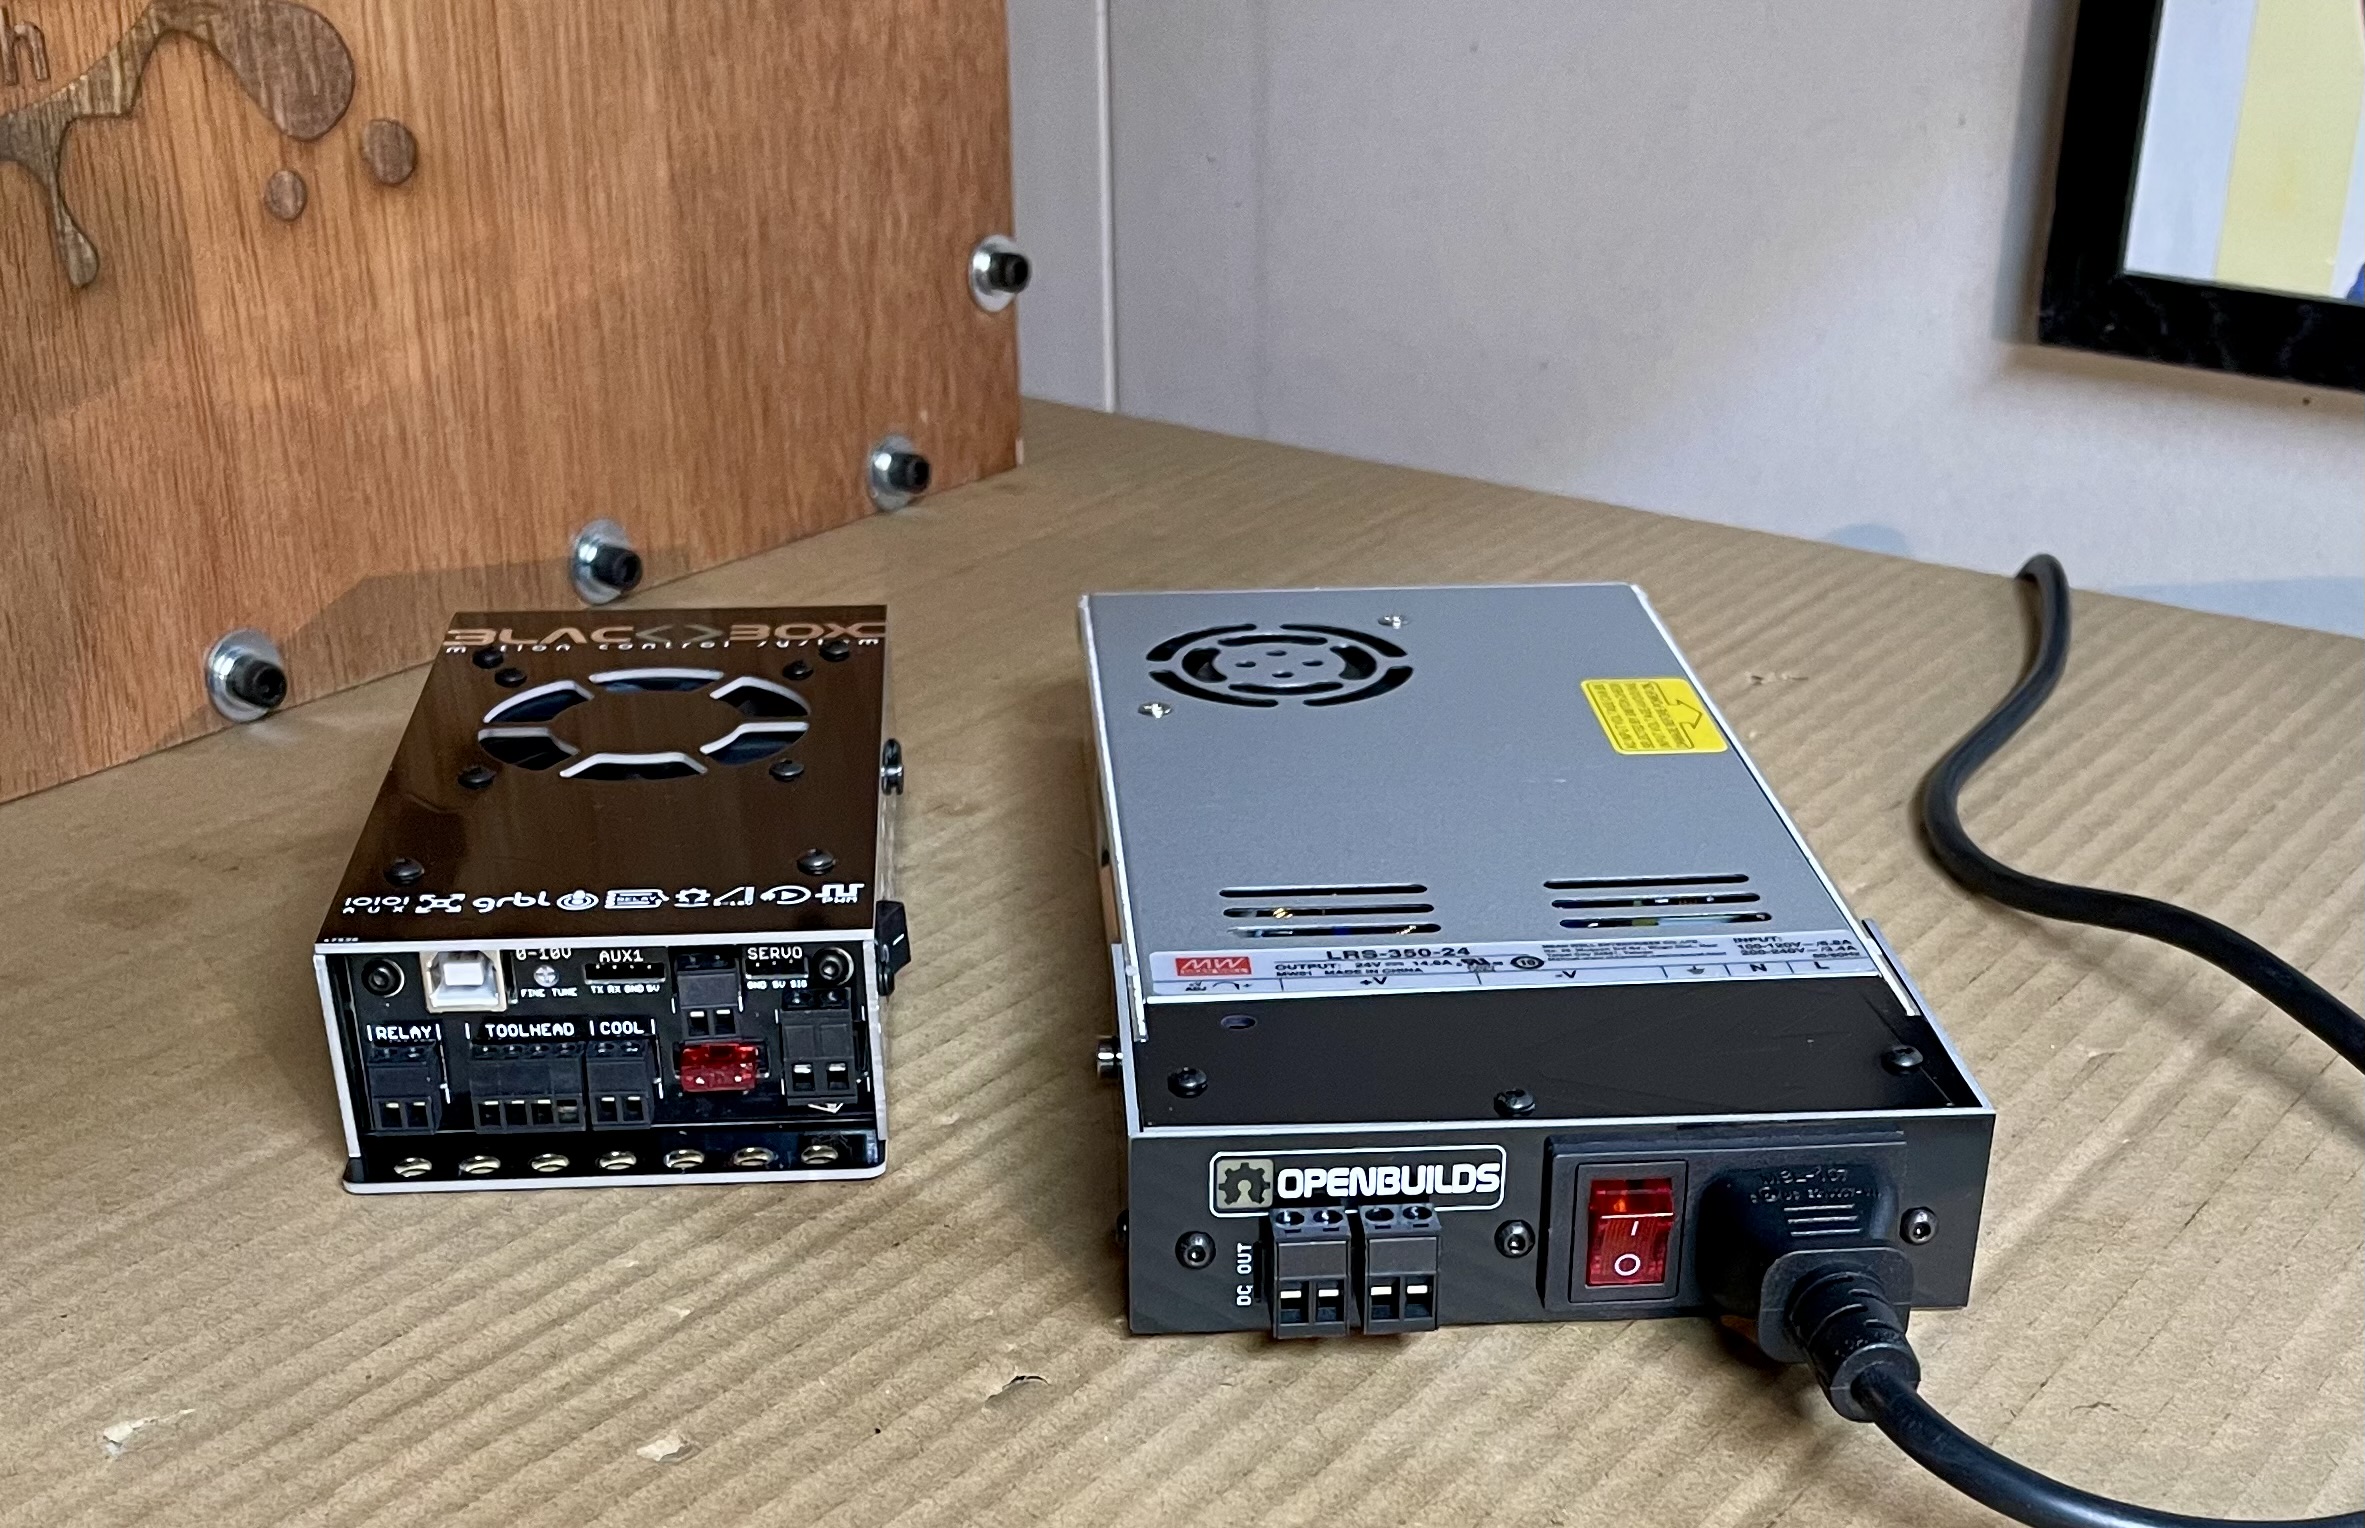
As I already had a spare Meanwell LRS-350, I just purchased the OpenBuilds switch setup. It assembled easily, and made for a clean installation.
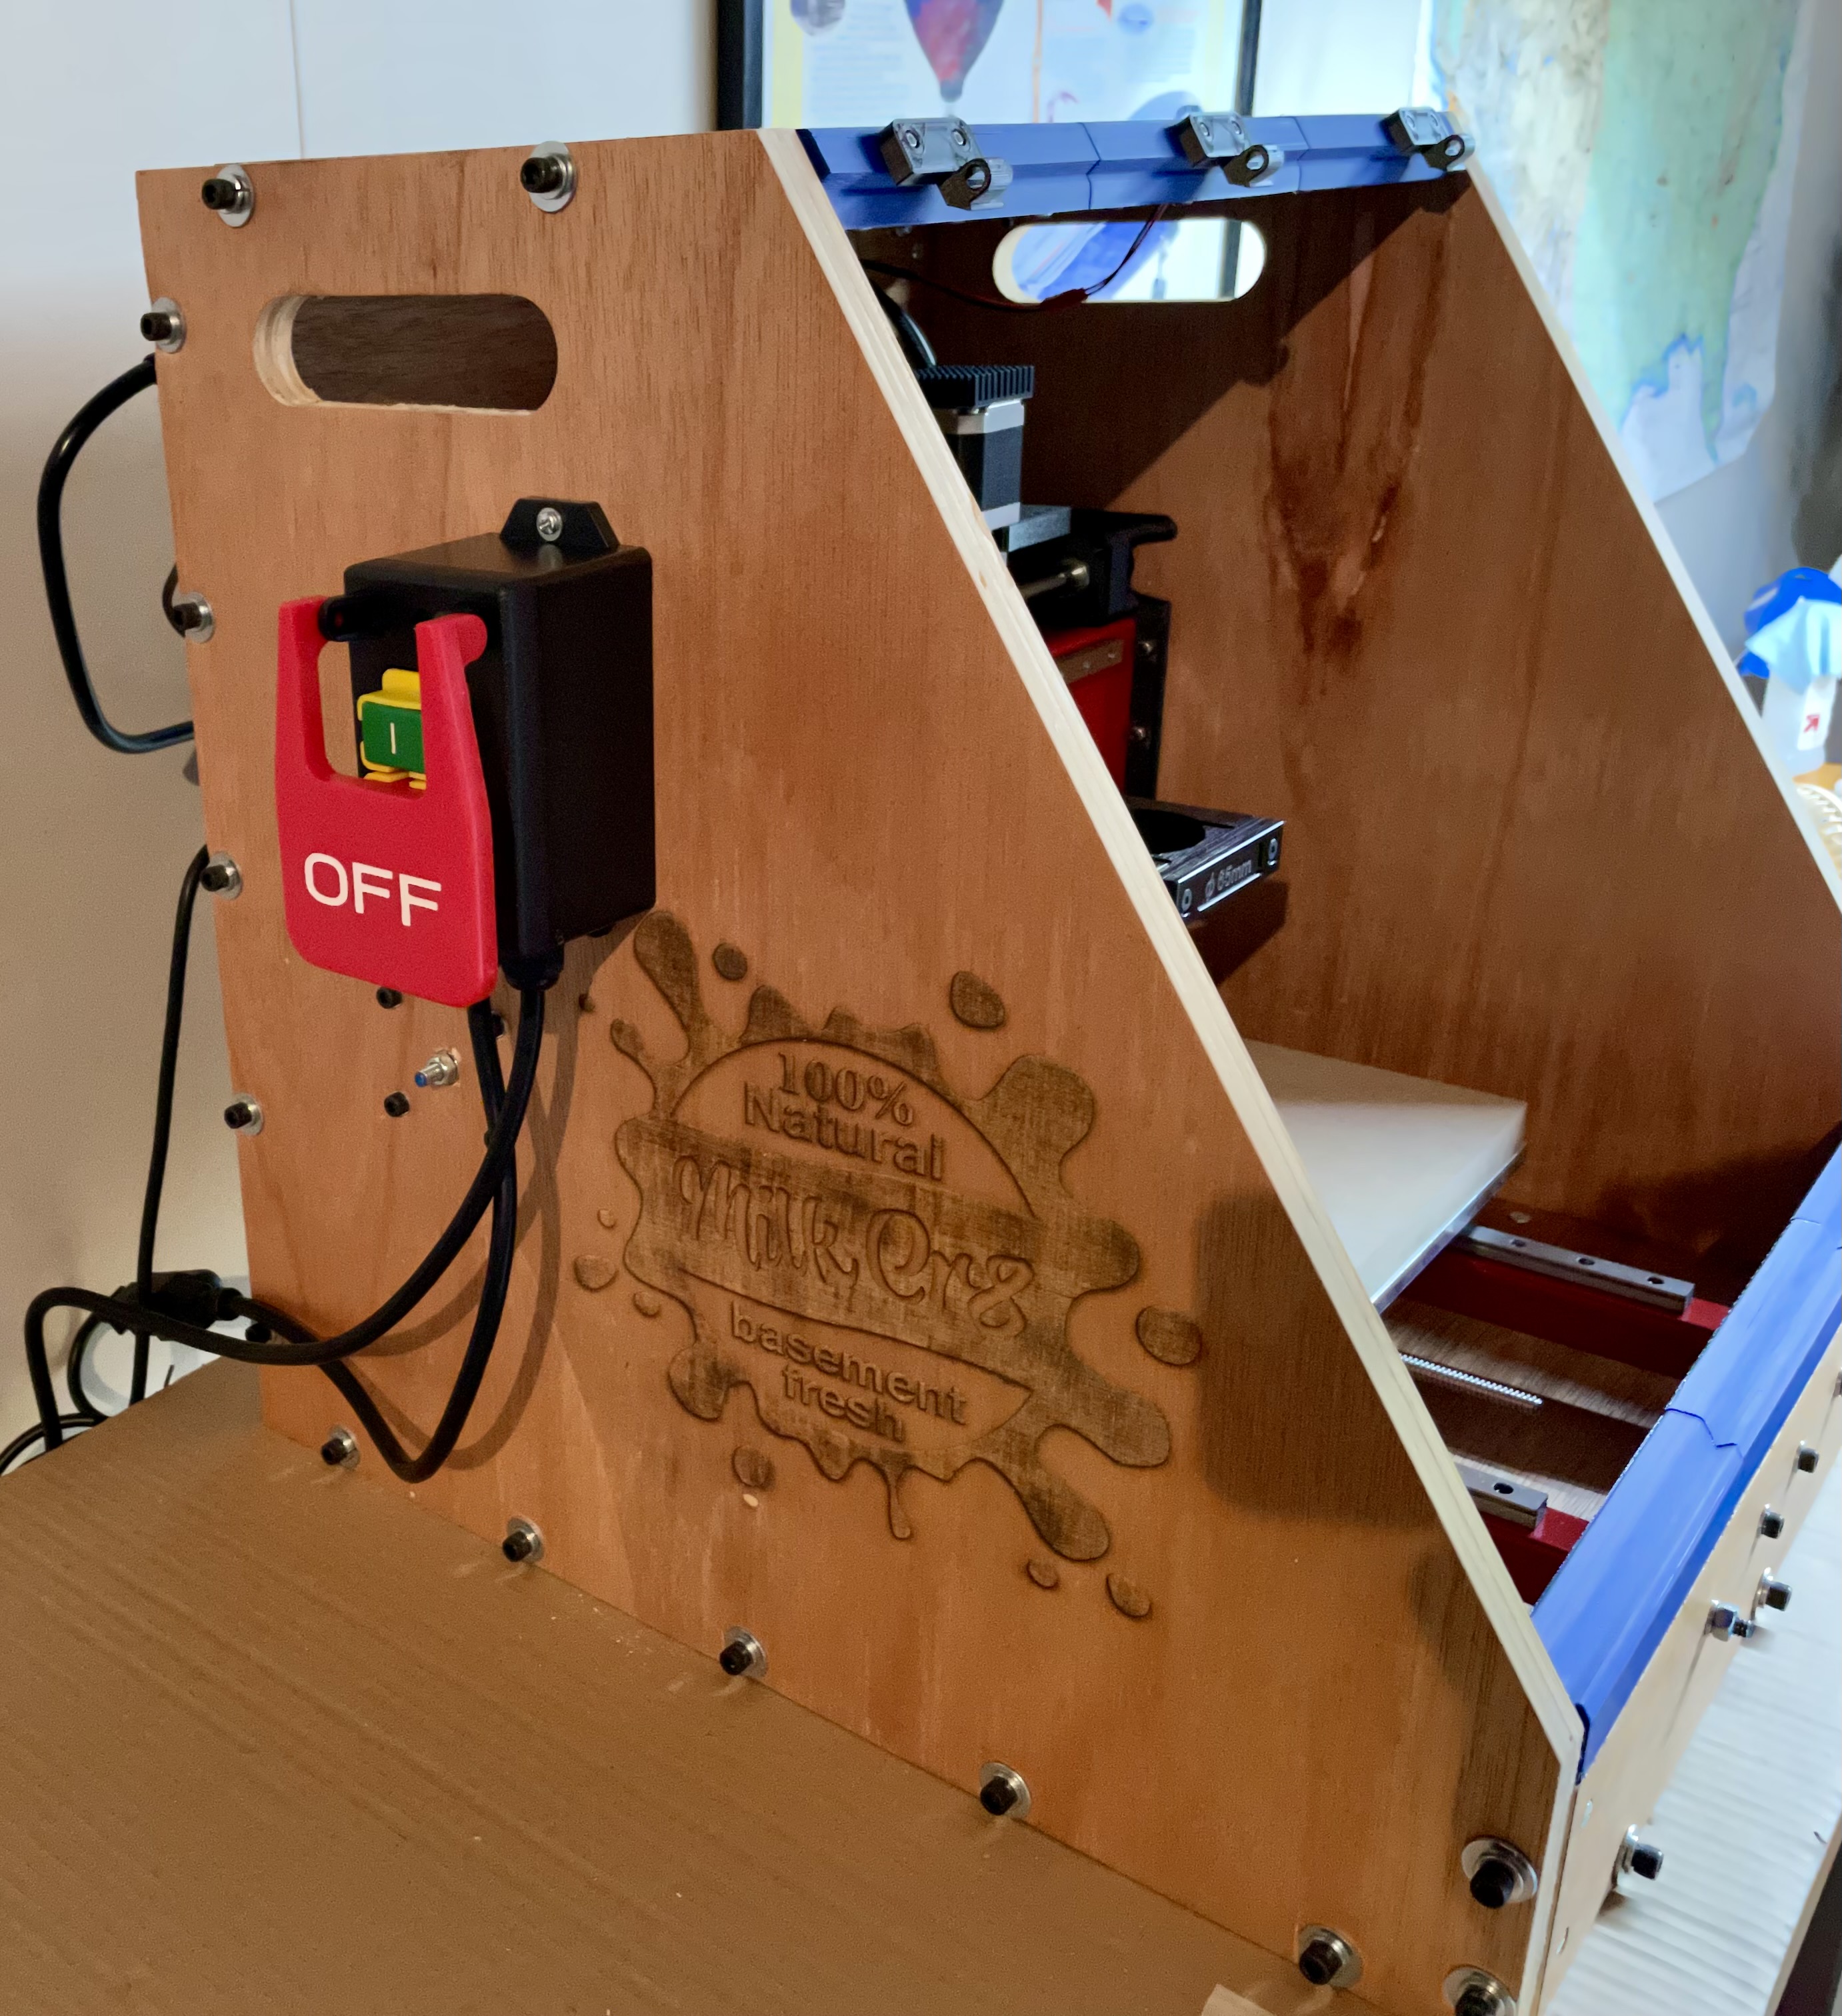
I mounted the Emergency Power Off switch to the left side of the MilkCr8.
For all the DC wires, I attached ferrules to minimize the chance of stray wire strands causing issues. I used 3D printed zip-tie holders attached to the acrylic with VHB tape to hold zip ties which are used for cable management. I wired the 3 stepper motors and 3 limit switches to the BlackBox as documented. I wired my 12V LED lights to the 24V power supply via an adjustable buck converter set to 12V. I also installed the IOT Relay so that I could start and stop my RoutER11 via the OpenBuilds CONTROL software as well as via GCODE.
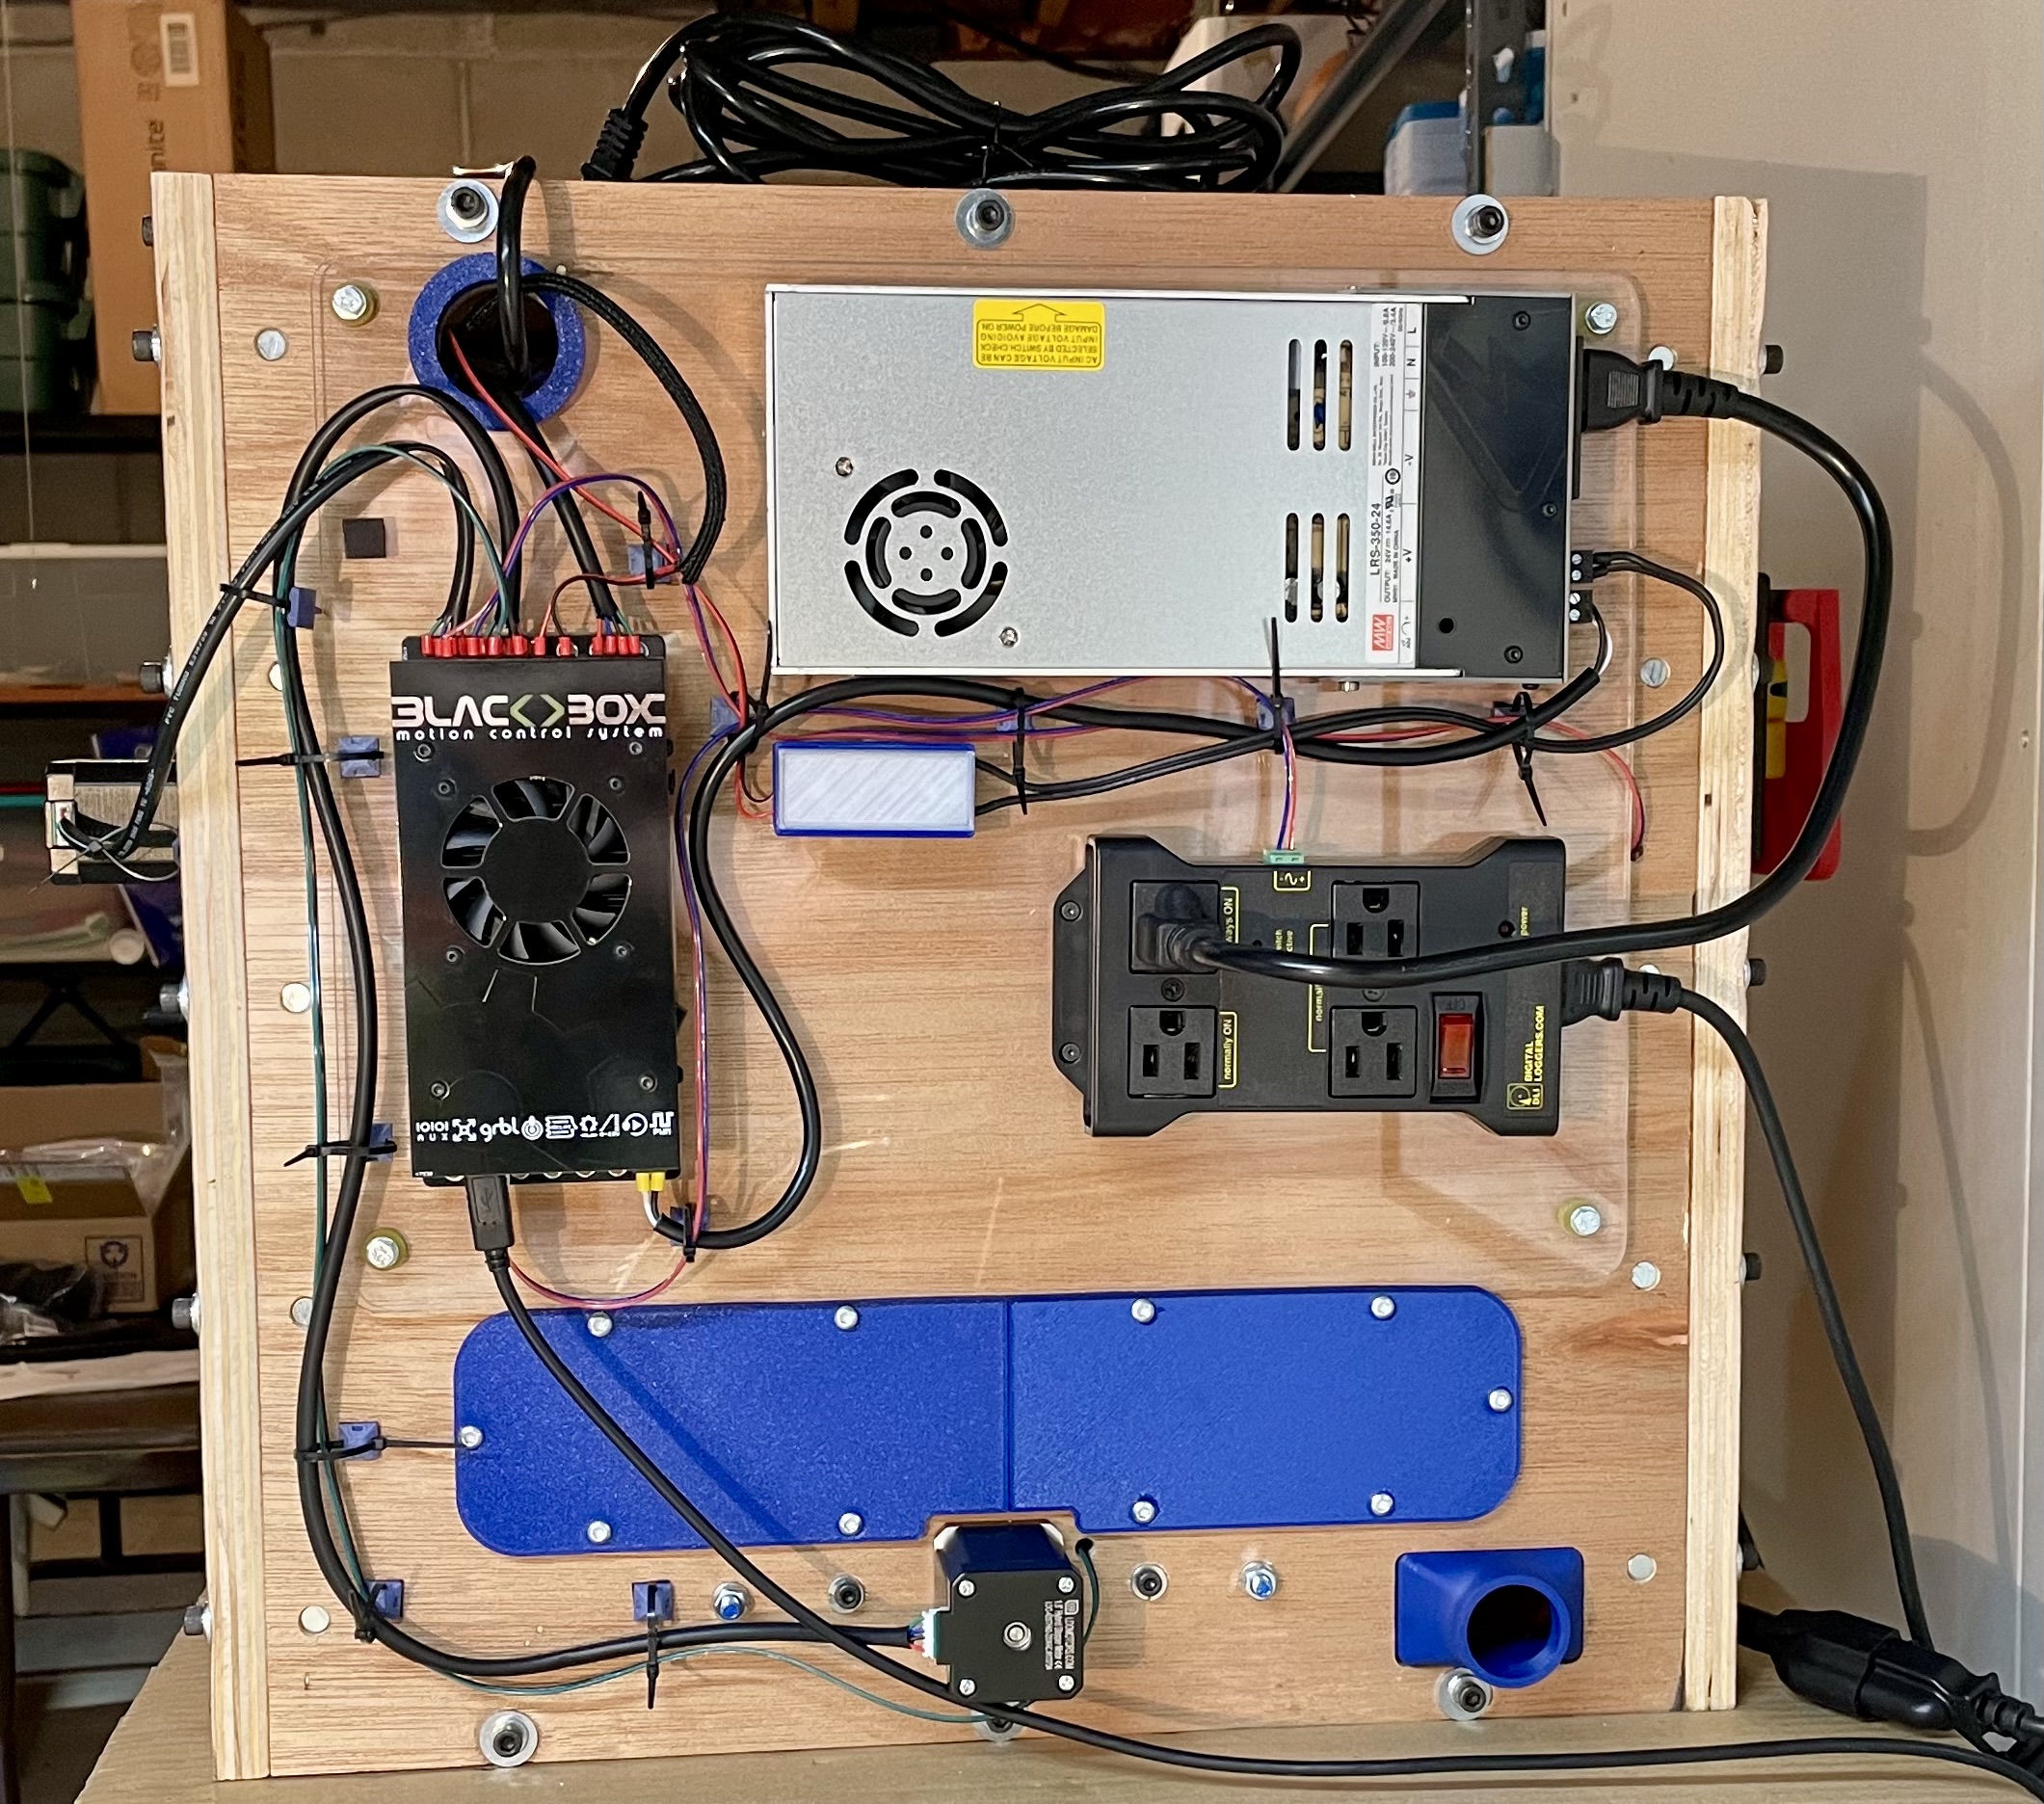
One downside of the pre-wired Emergency Power Off switch and the extra-long AC cord for the RoutER11 is dealing with the cable management for those thick cords. I haven’t come up with a good solution for that yet.
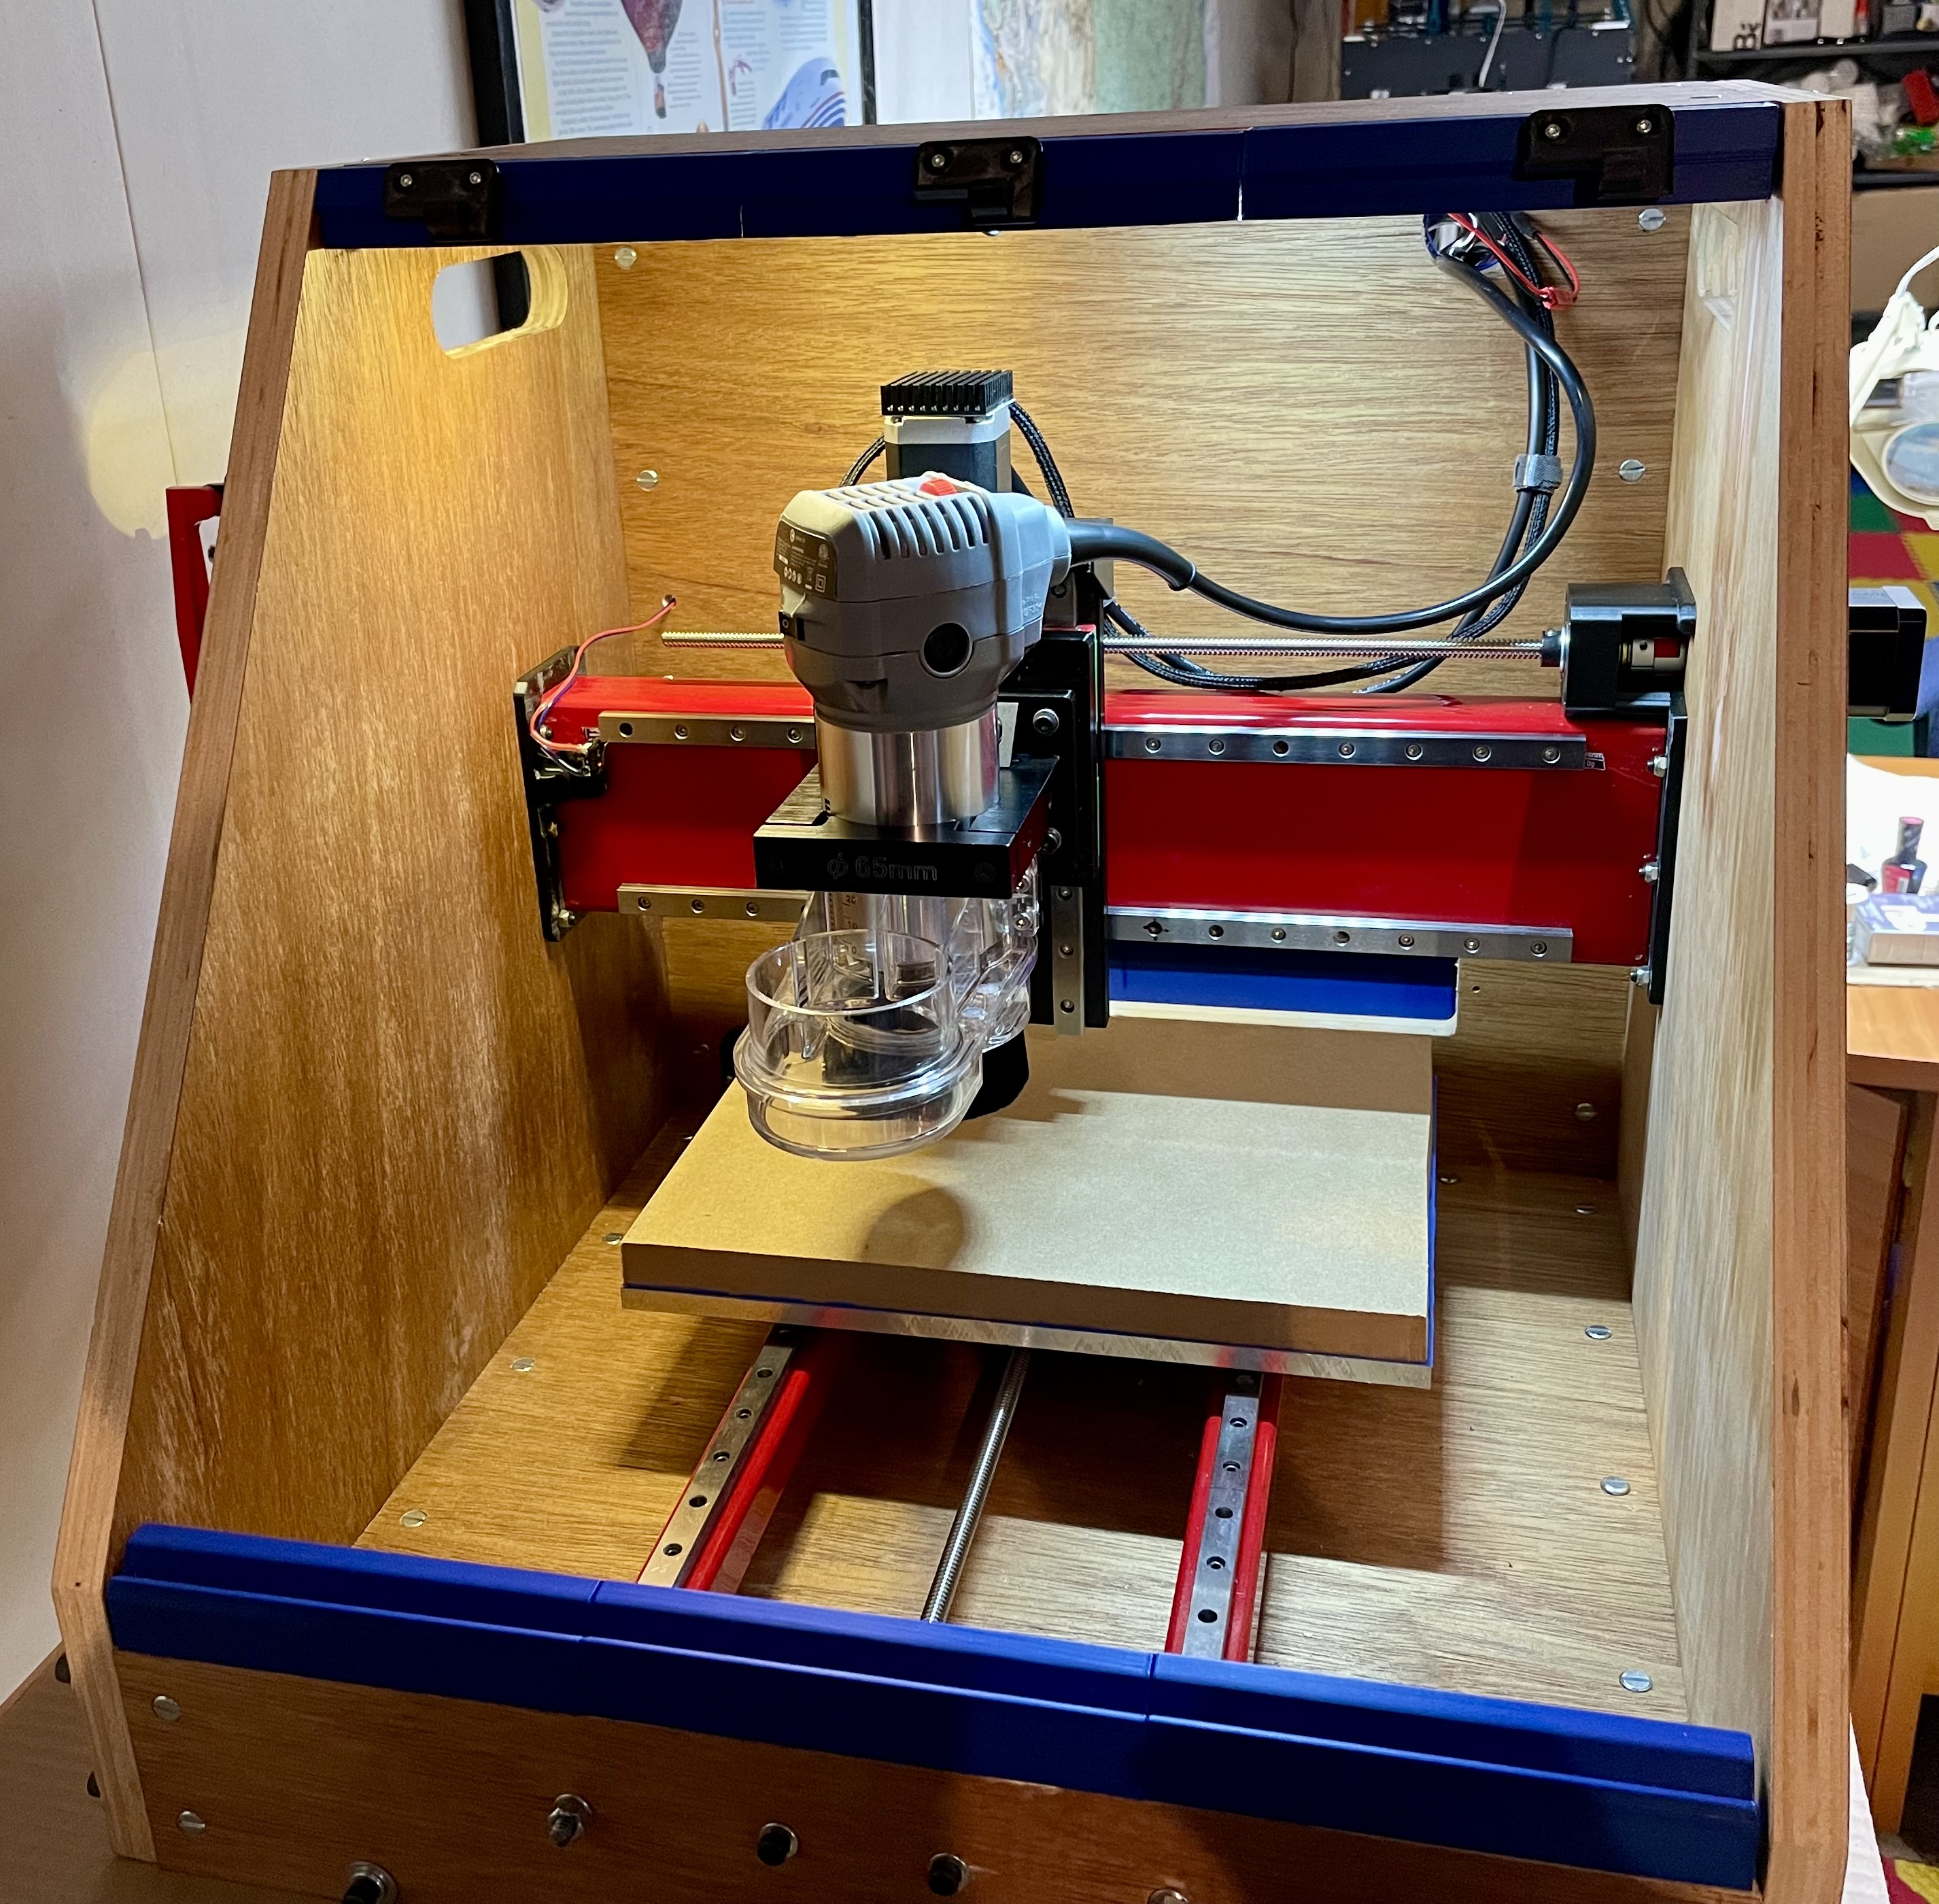
With all the wiring completed, I next turned my attention to the initial machine configuration using OpenBuilds CONTROL. That’ll be covered in my next entry.