Now We’re Smokin’
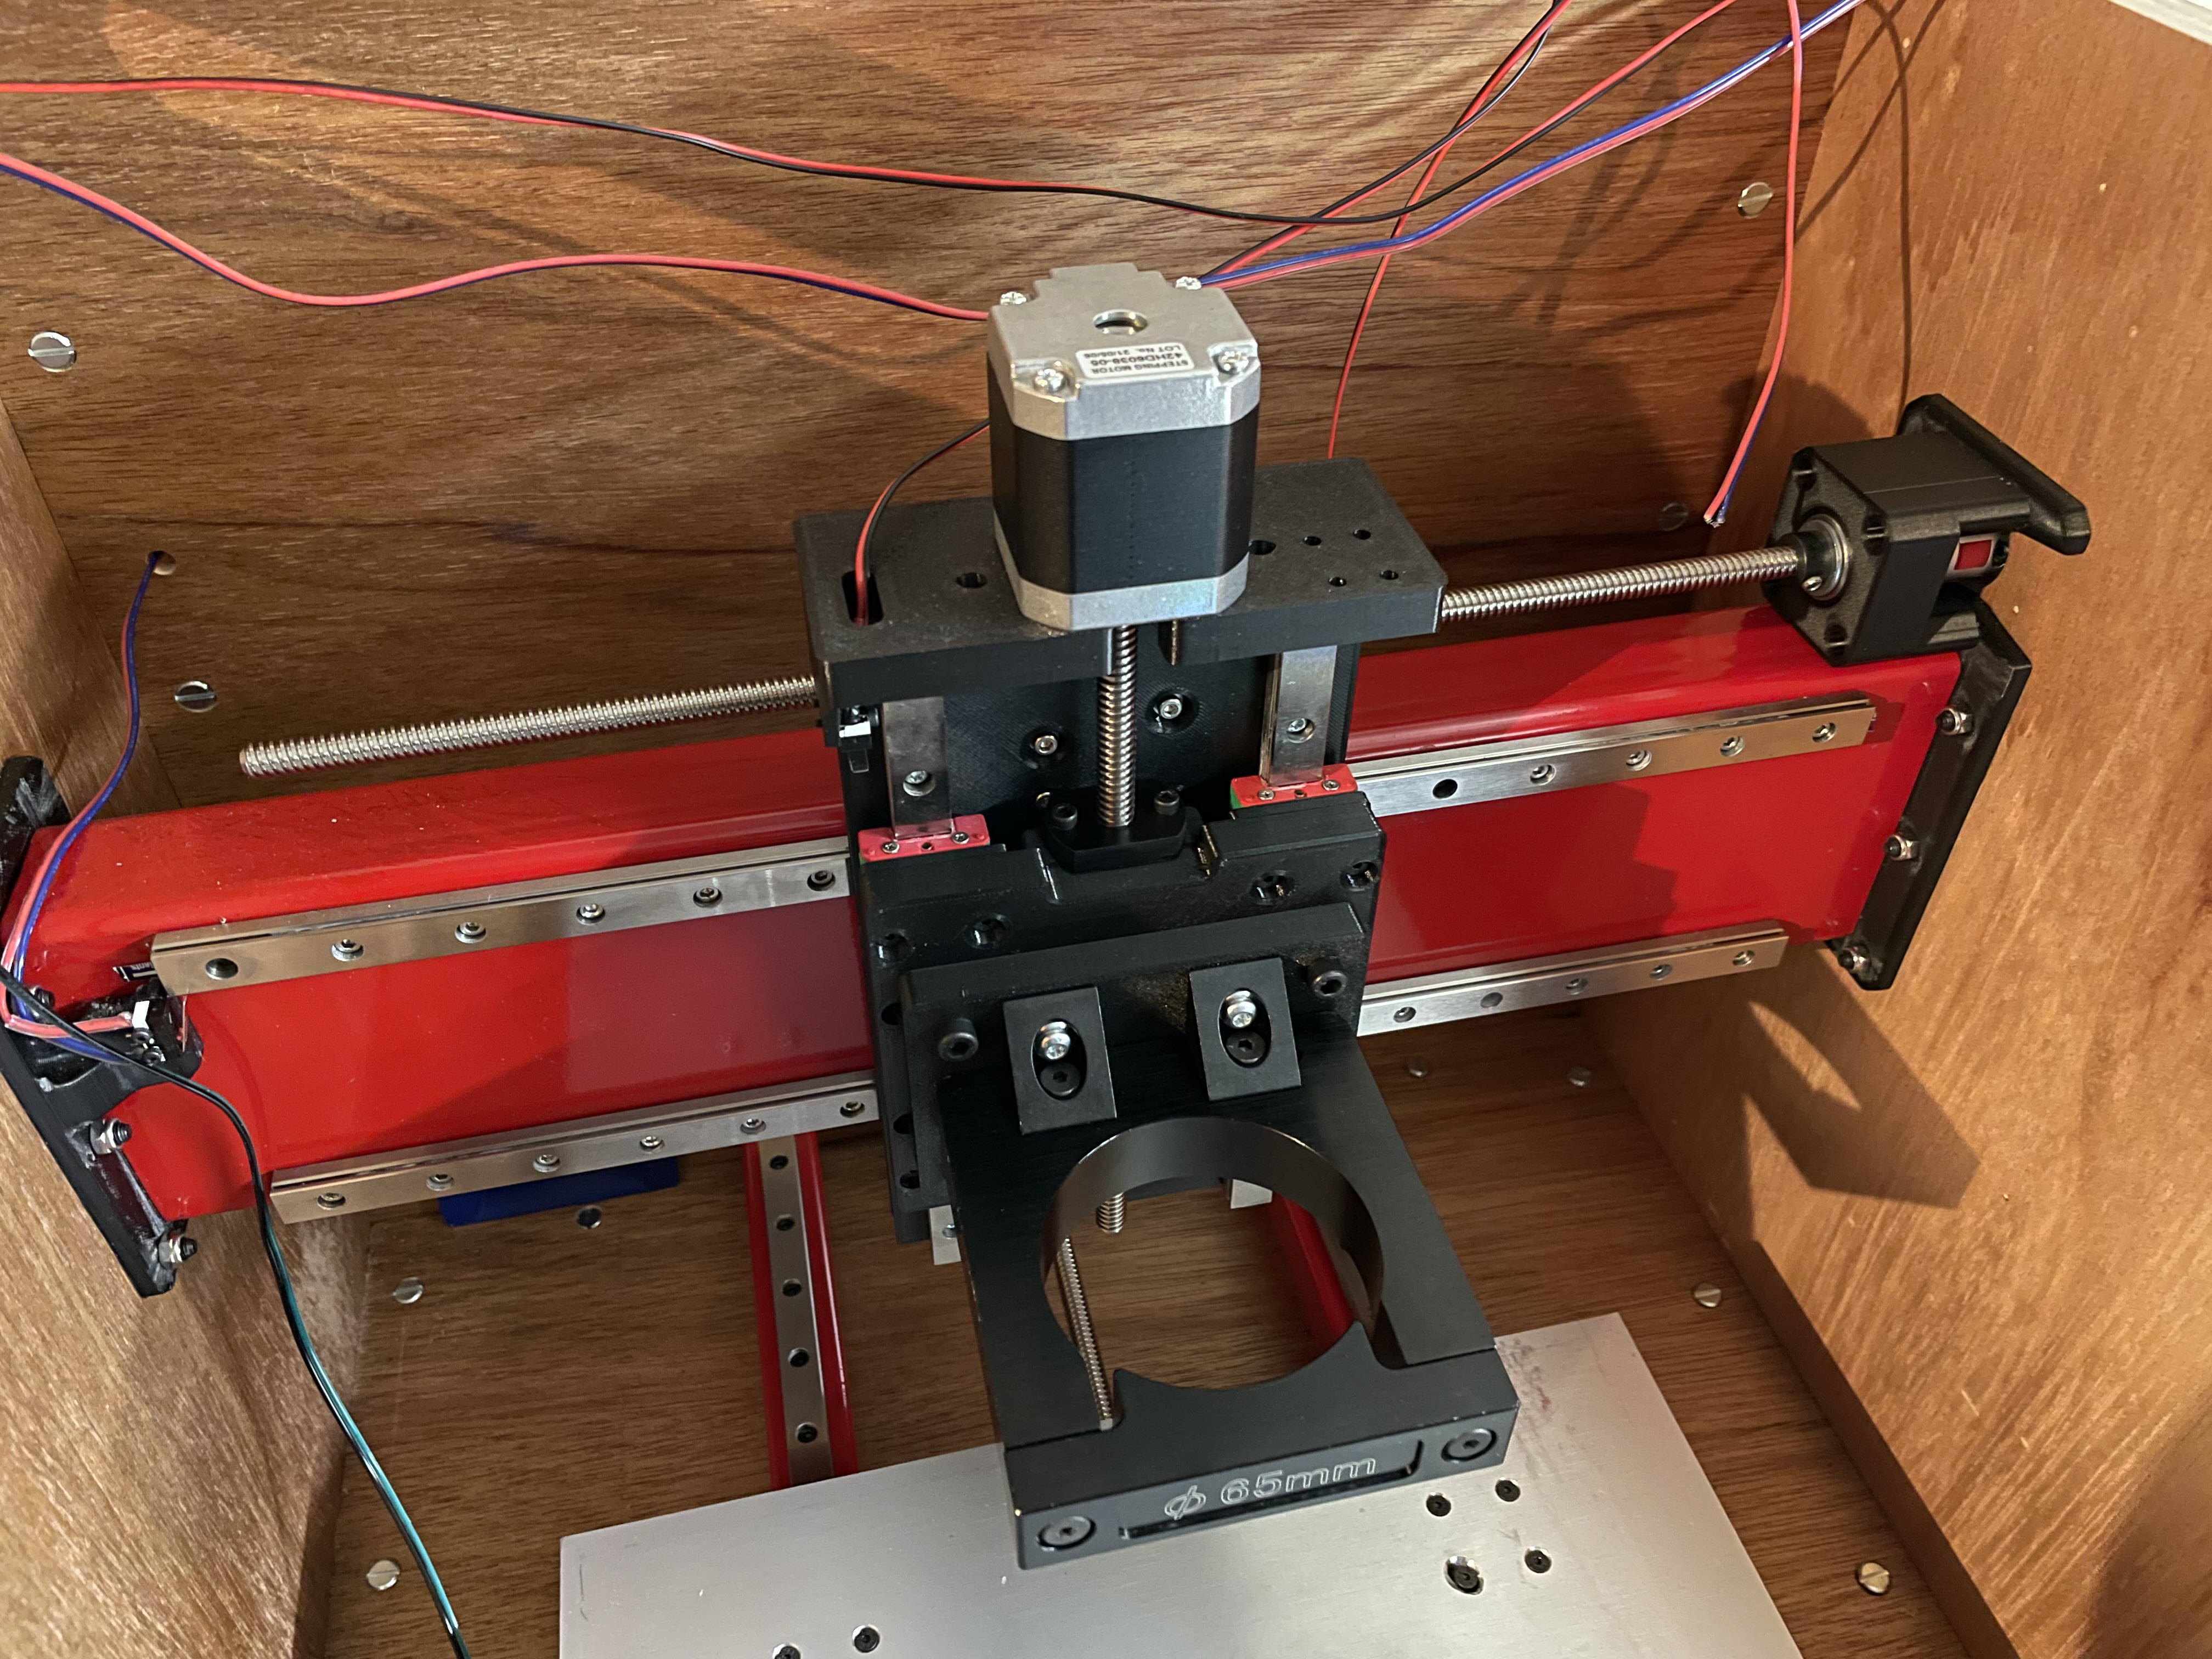
Once the bed was in place, I attached the lead-nut for X axis. Y-axis leadnut was installed just before I bolted down the bed.
Next up was attaching the spindle mount to the tram plate, then attaching the tram plate to the spindle plate. I had trouble with one of the M5 bolts. Turns out, I had installed one of the lock nuts backwards! This required some disassembly and re-assembly. Oh well.
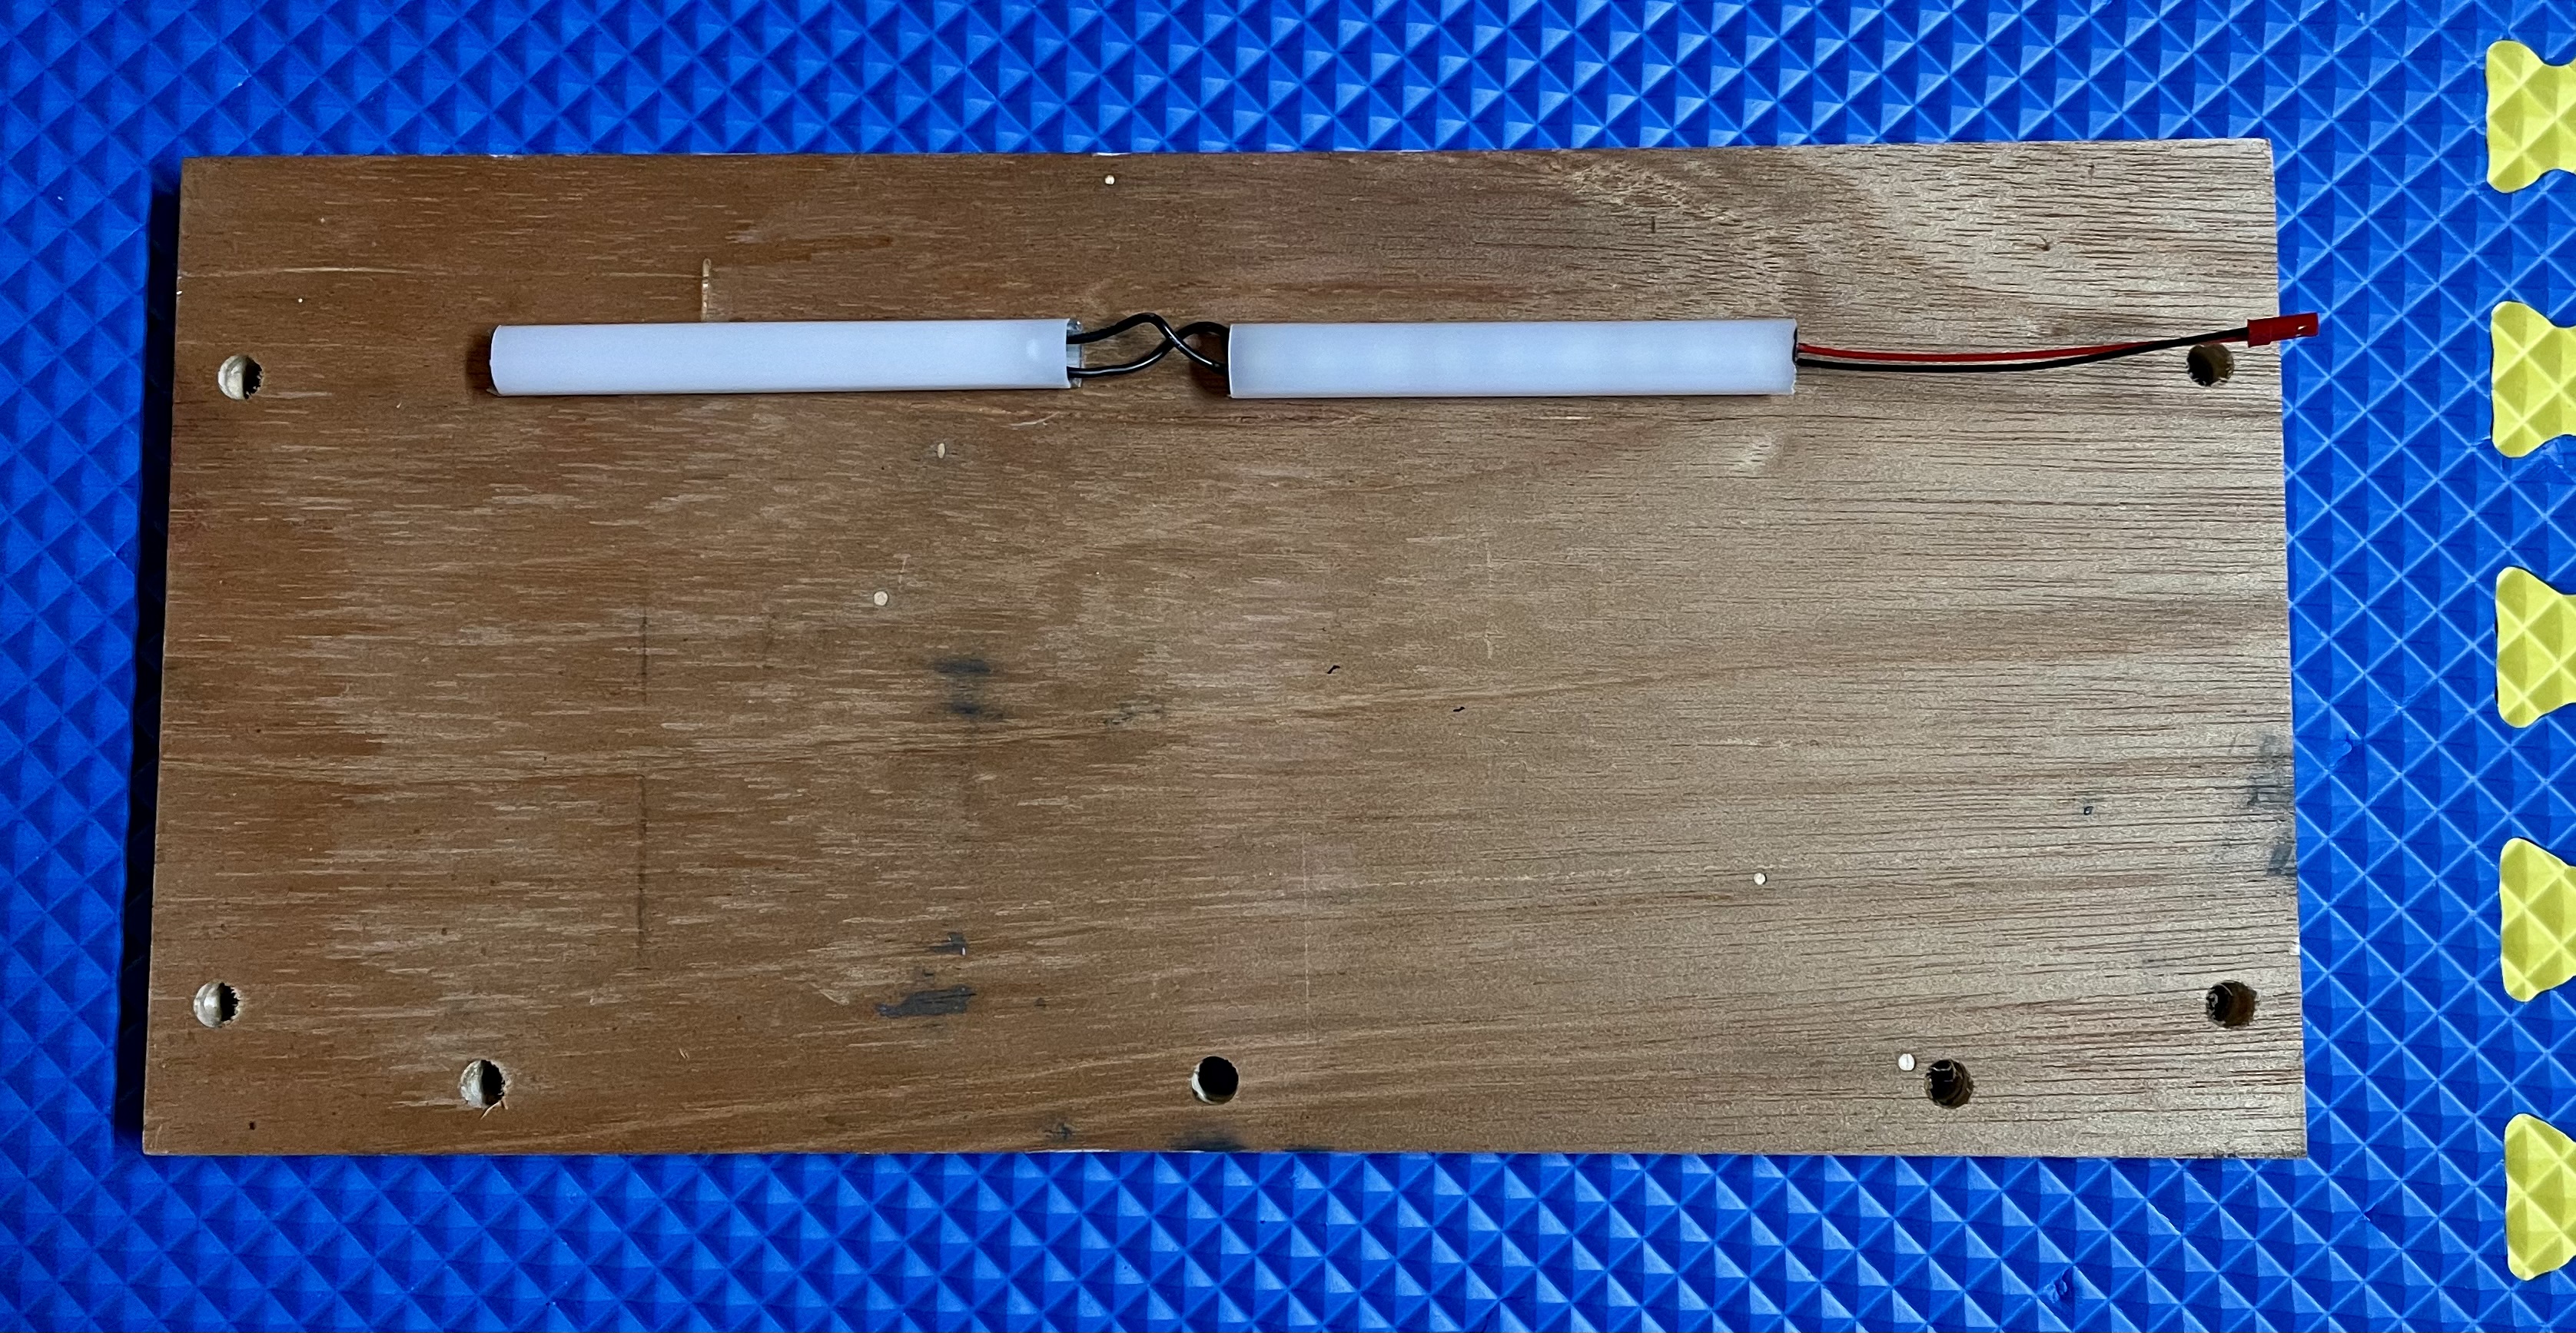
Before attaching the top of the MilkCr8 frame, I decided to attach some LED lights to the inside of the top. I thought I had more longer strips, but ended up soldering two small strips together with some wires. It’s not perfect, but it’ll do for now.

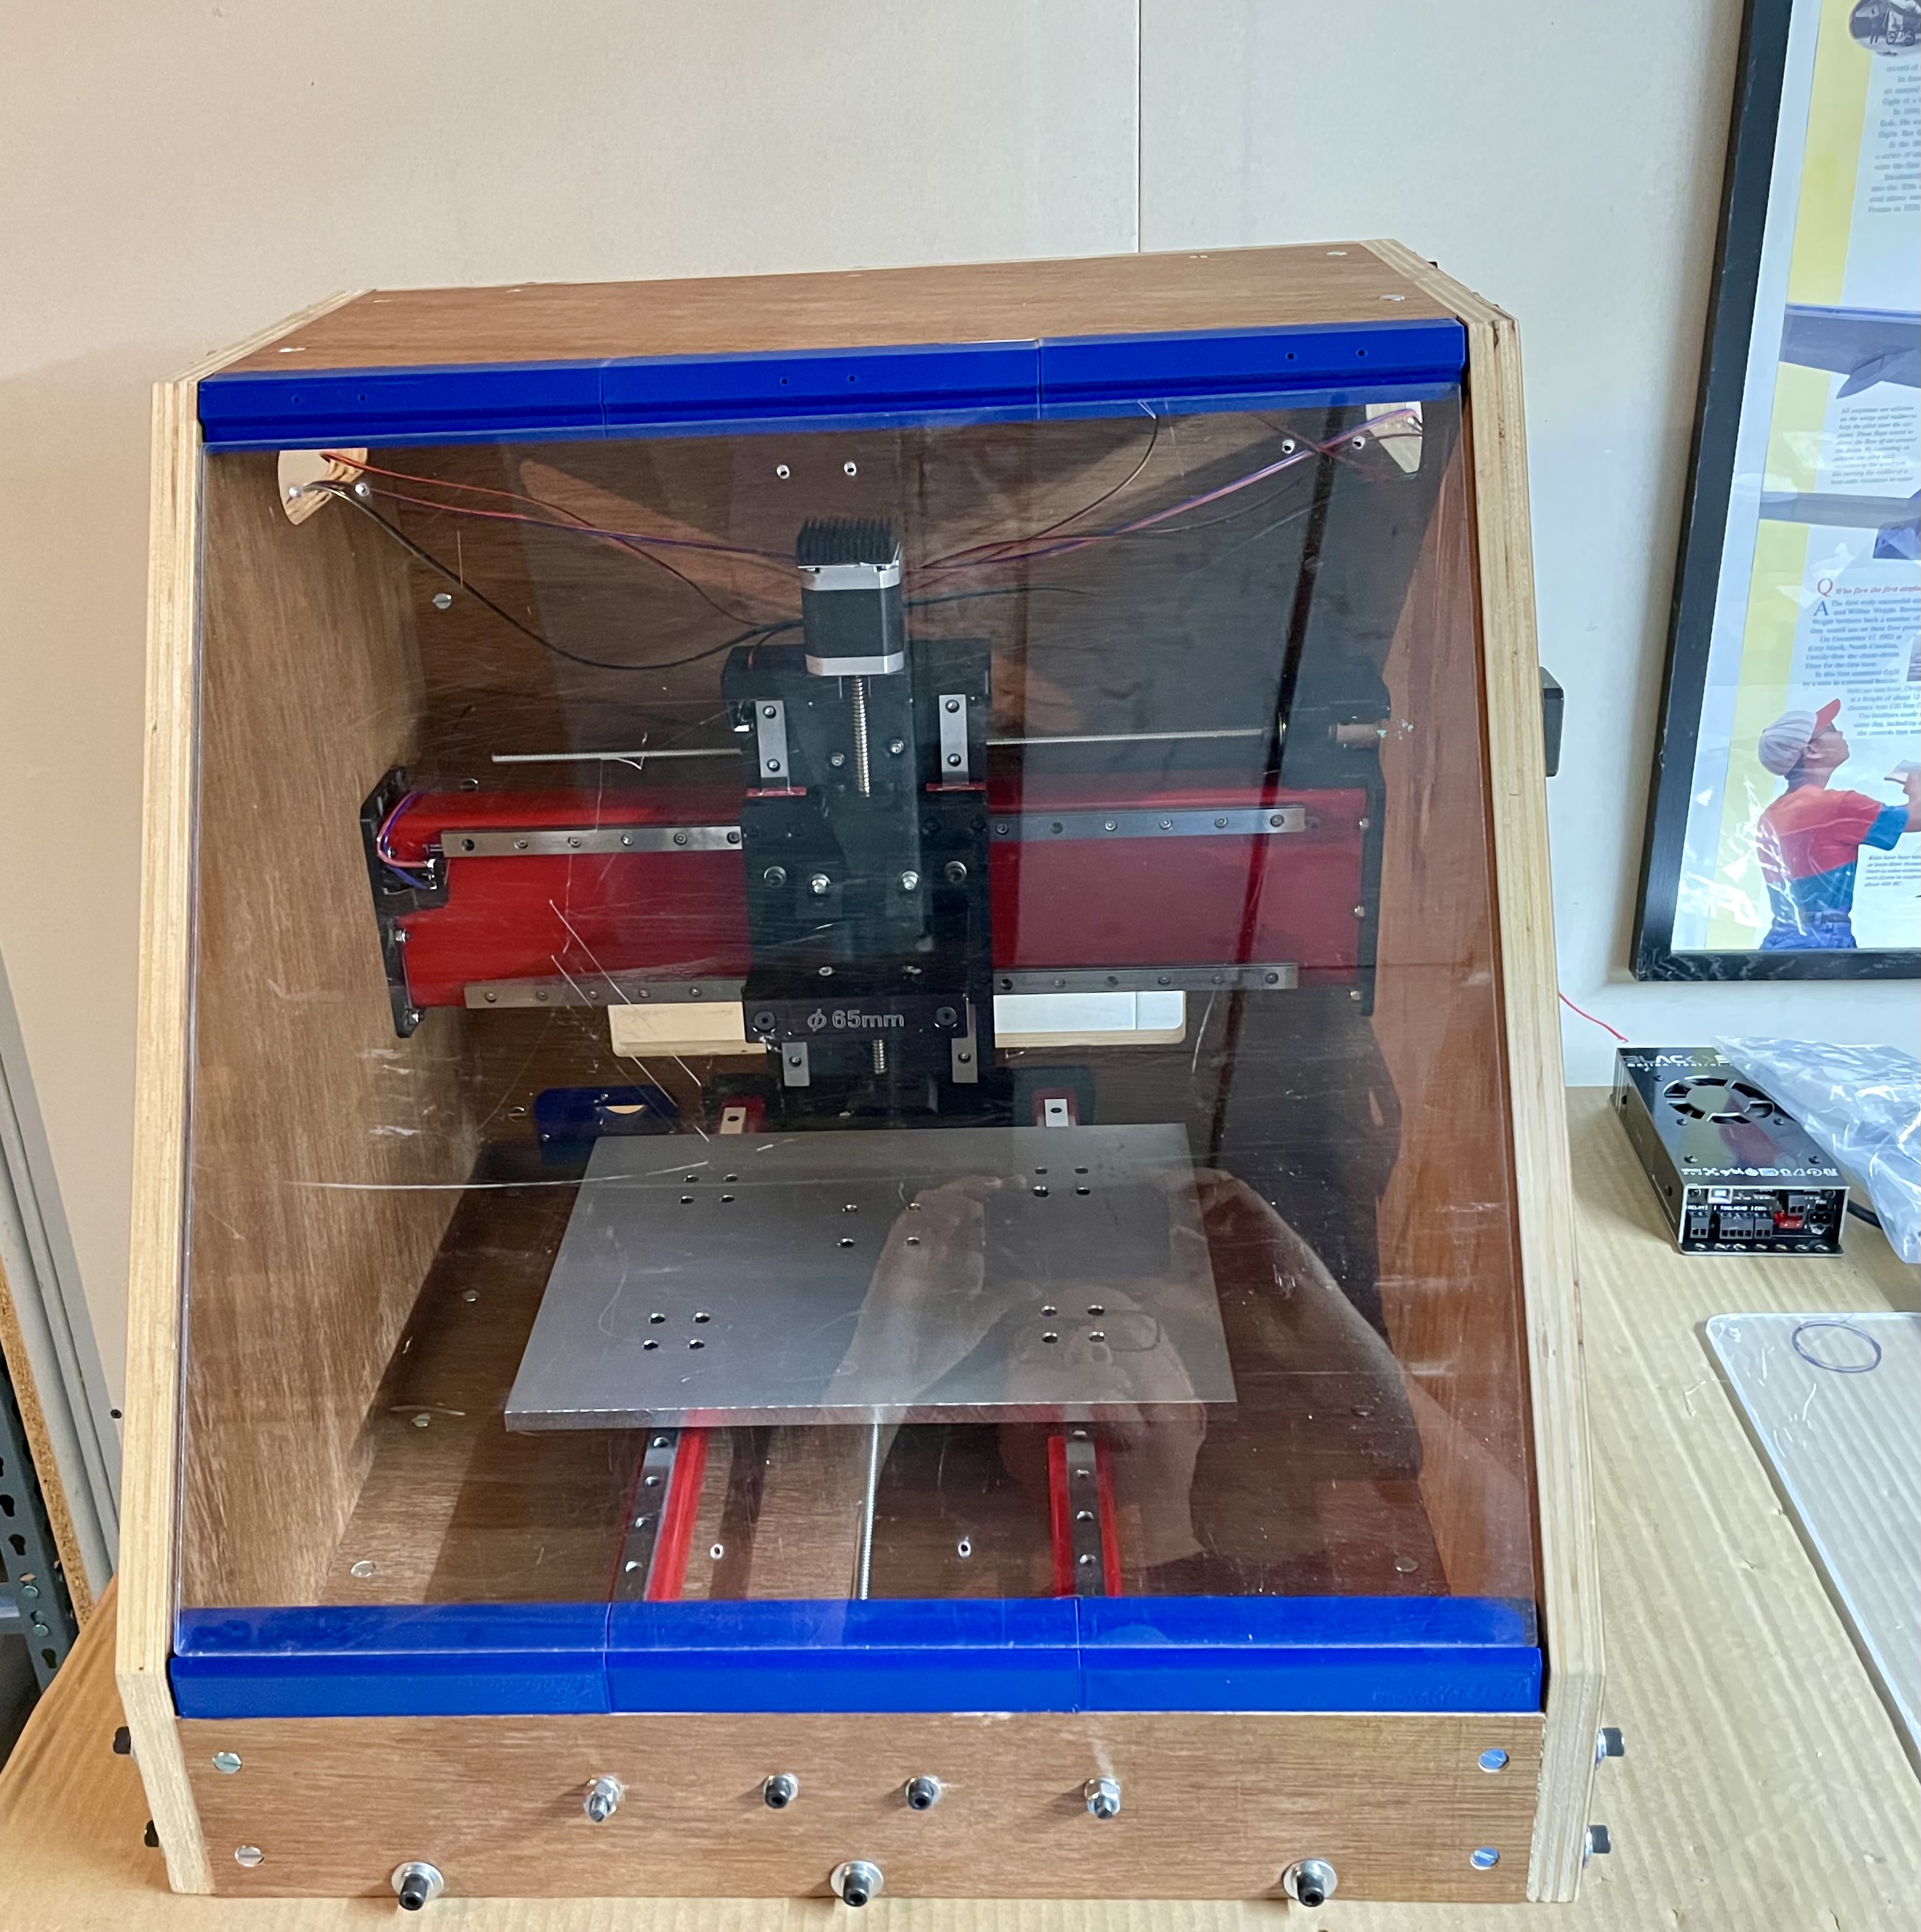
After that, I installed the door frame printed parts and test-fit the door. I did remove the door after the test fit for the rest of the assembly process.
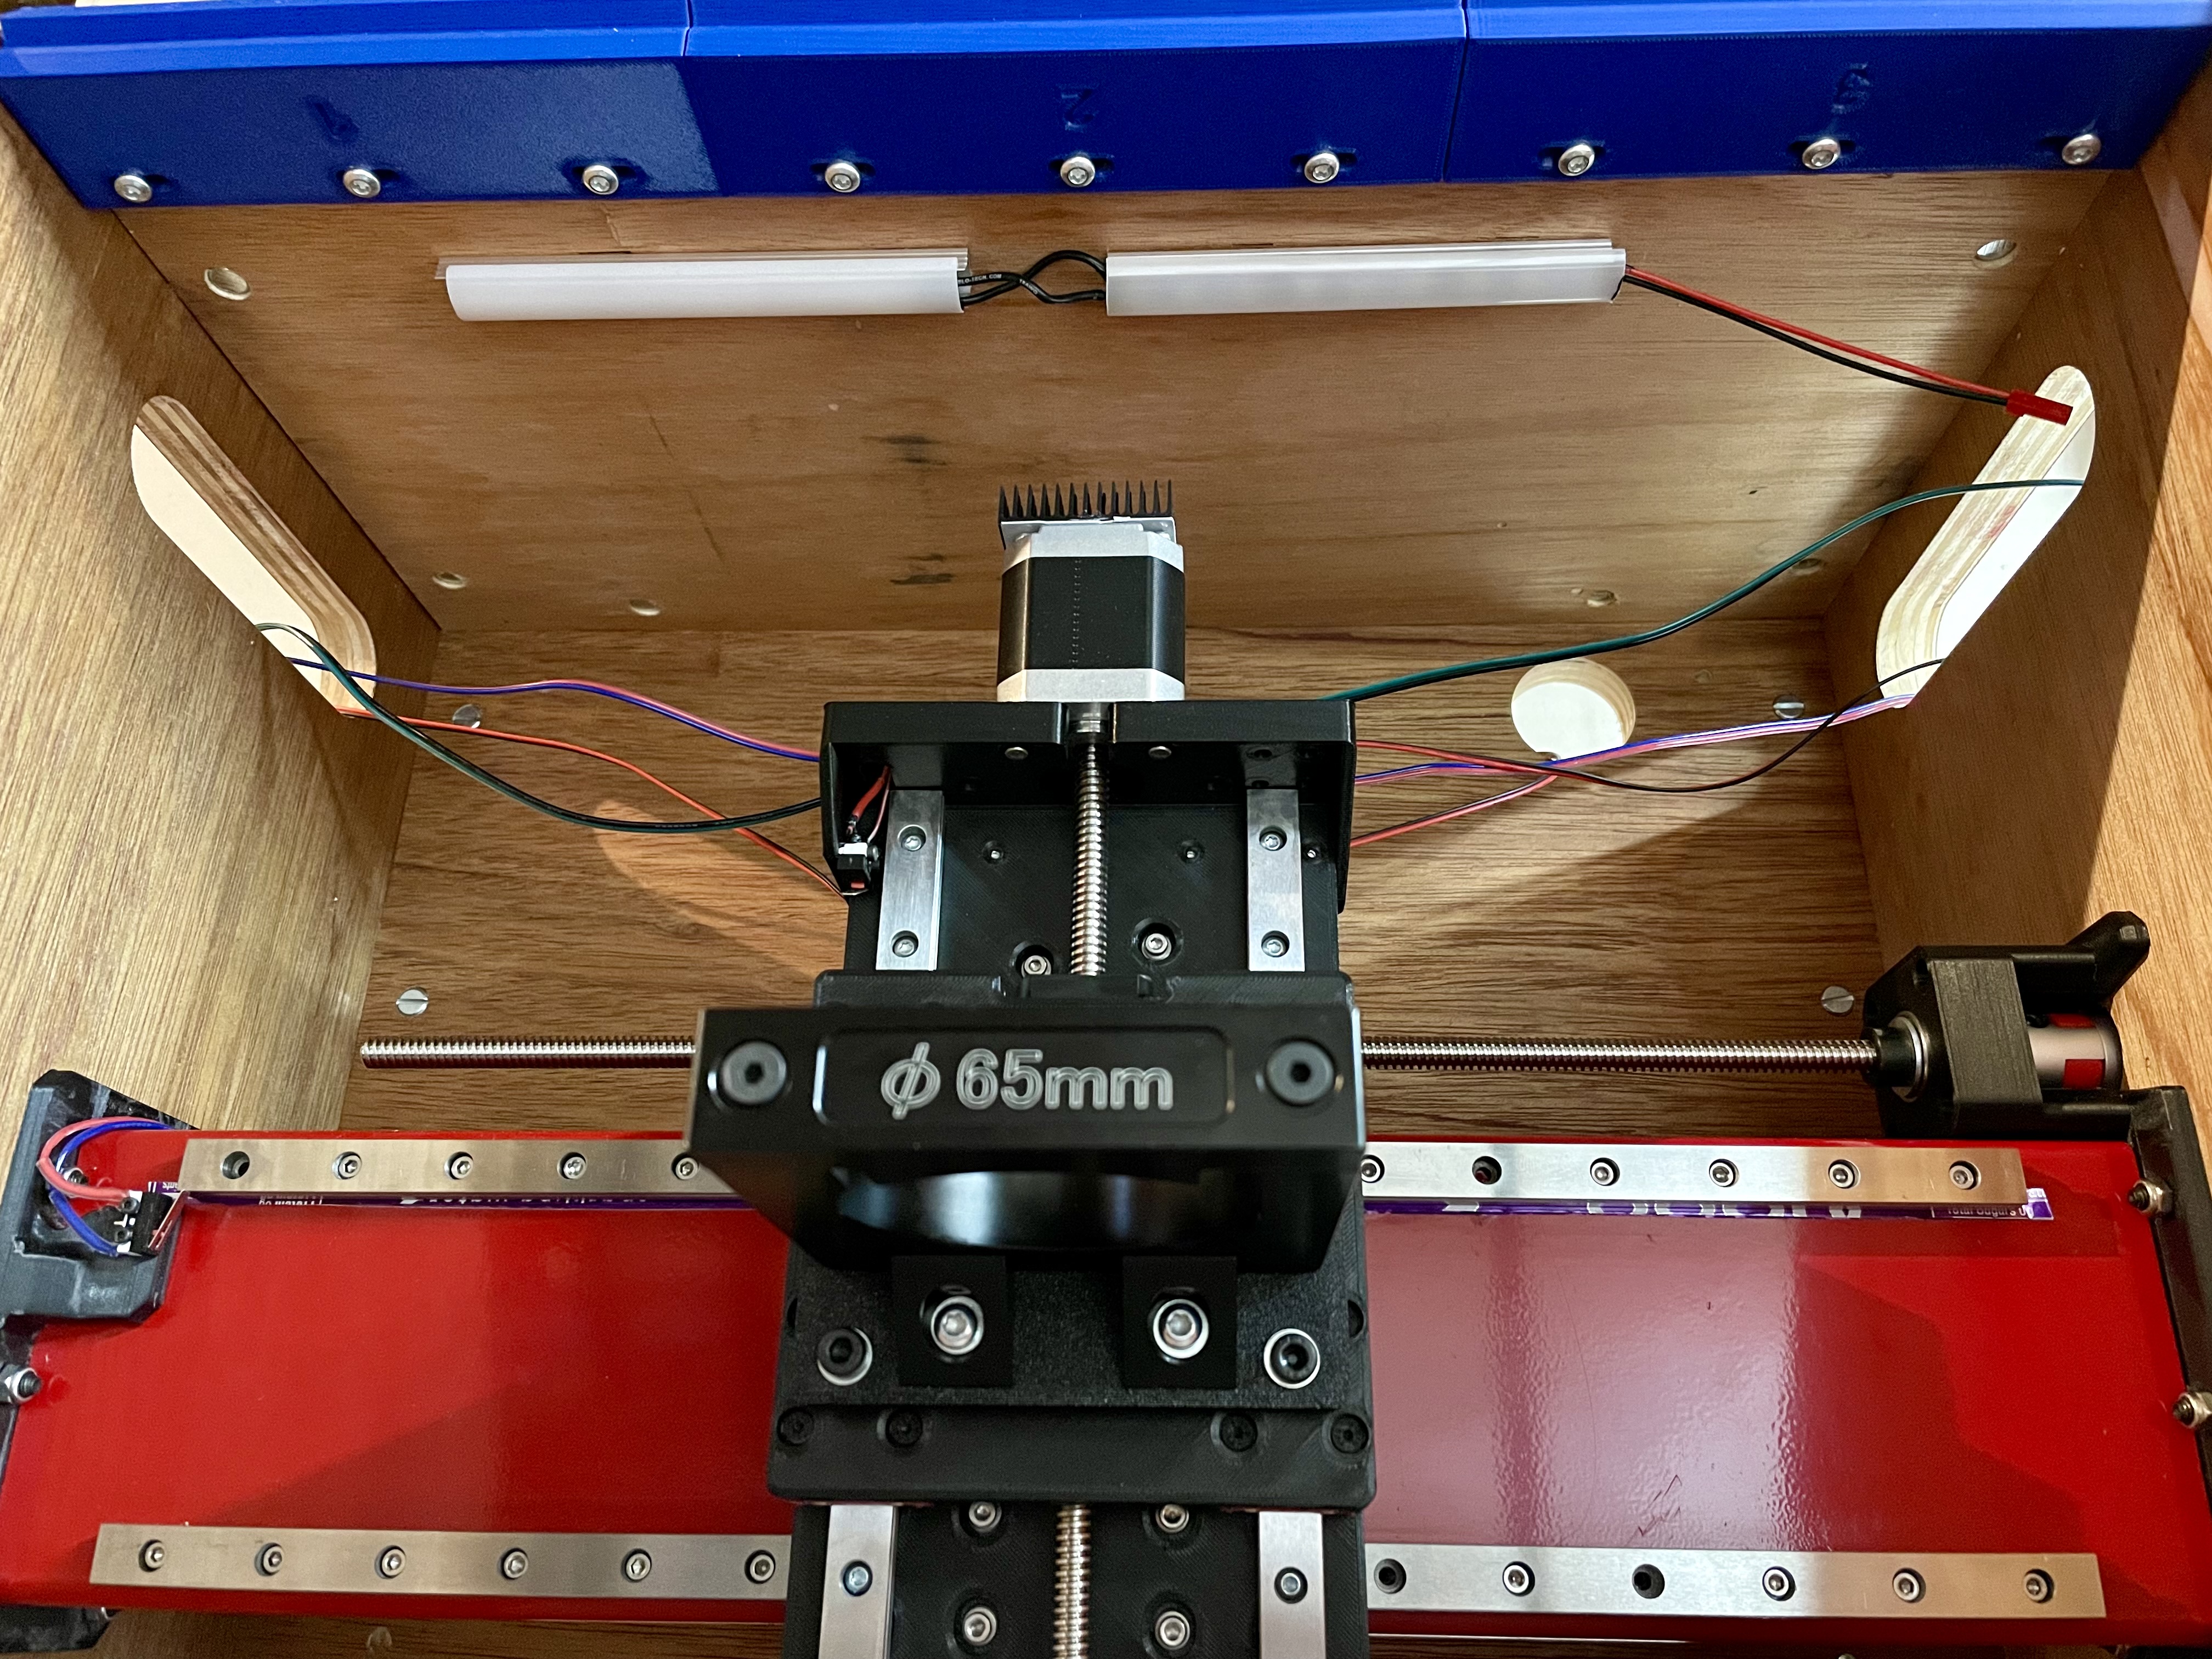
Finally - a photo looking up at the installed lights.
Next up (now really this time) Electronics and Wiring!