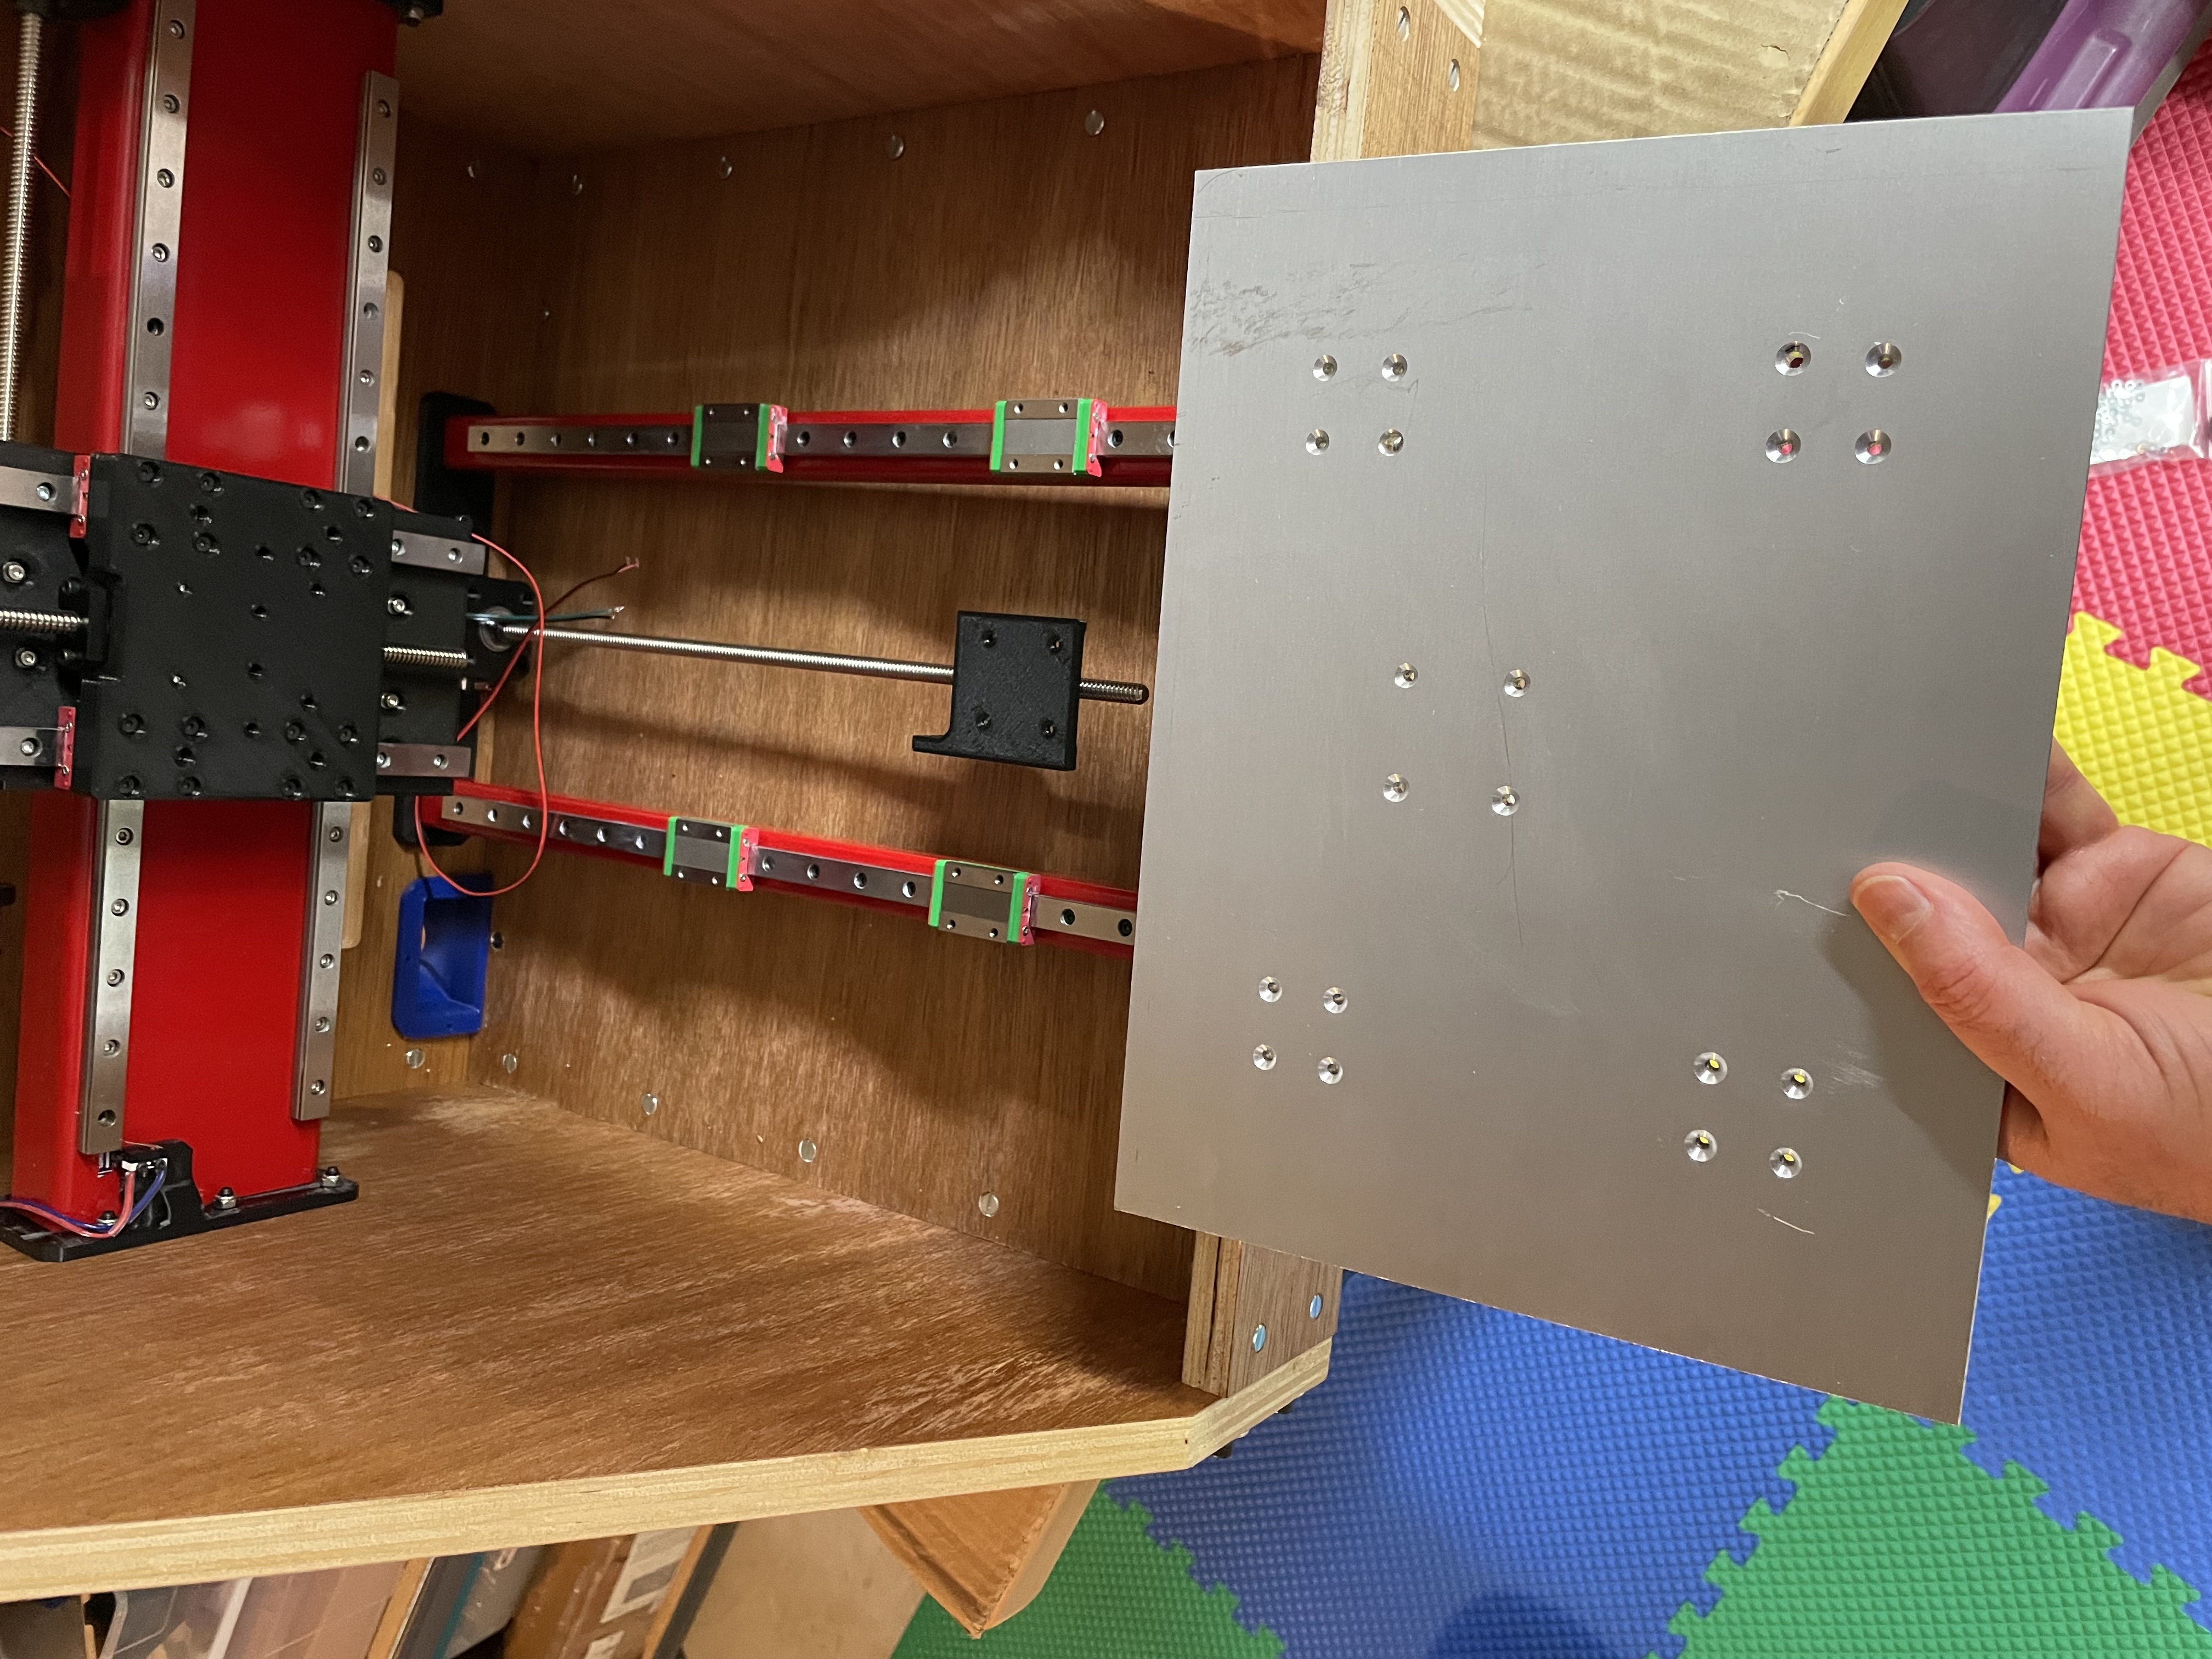
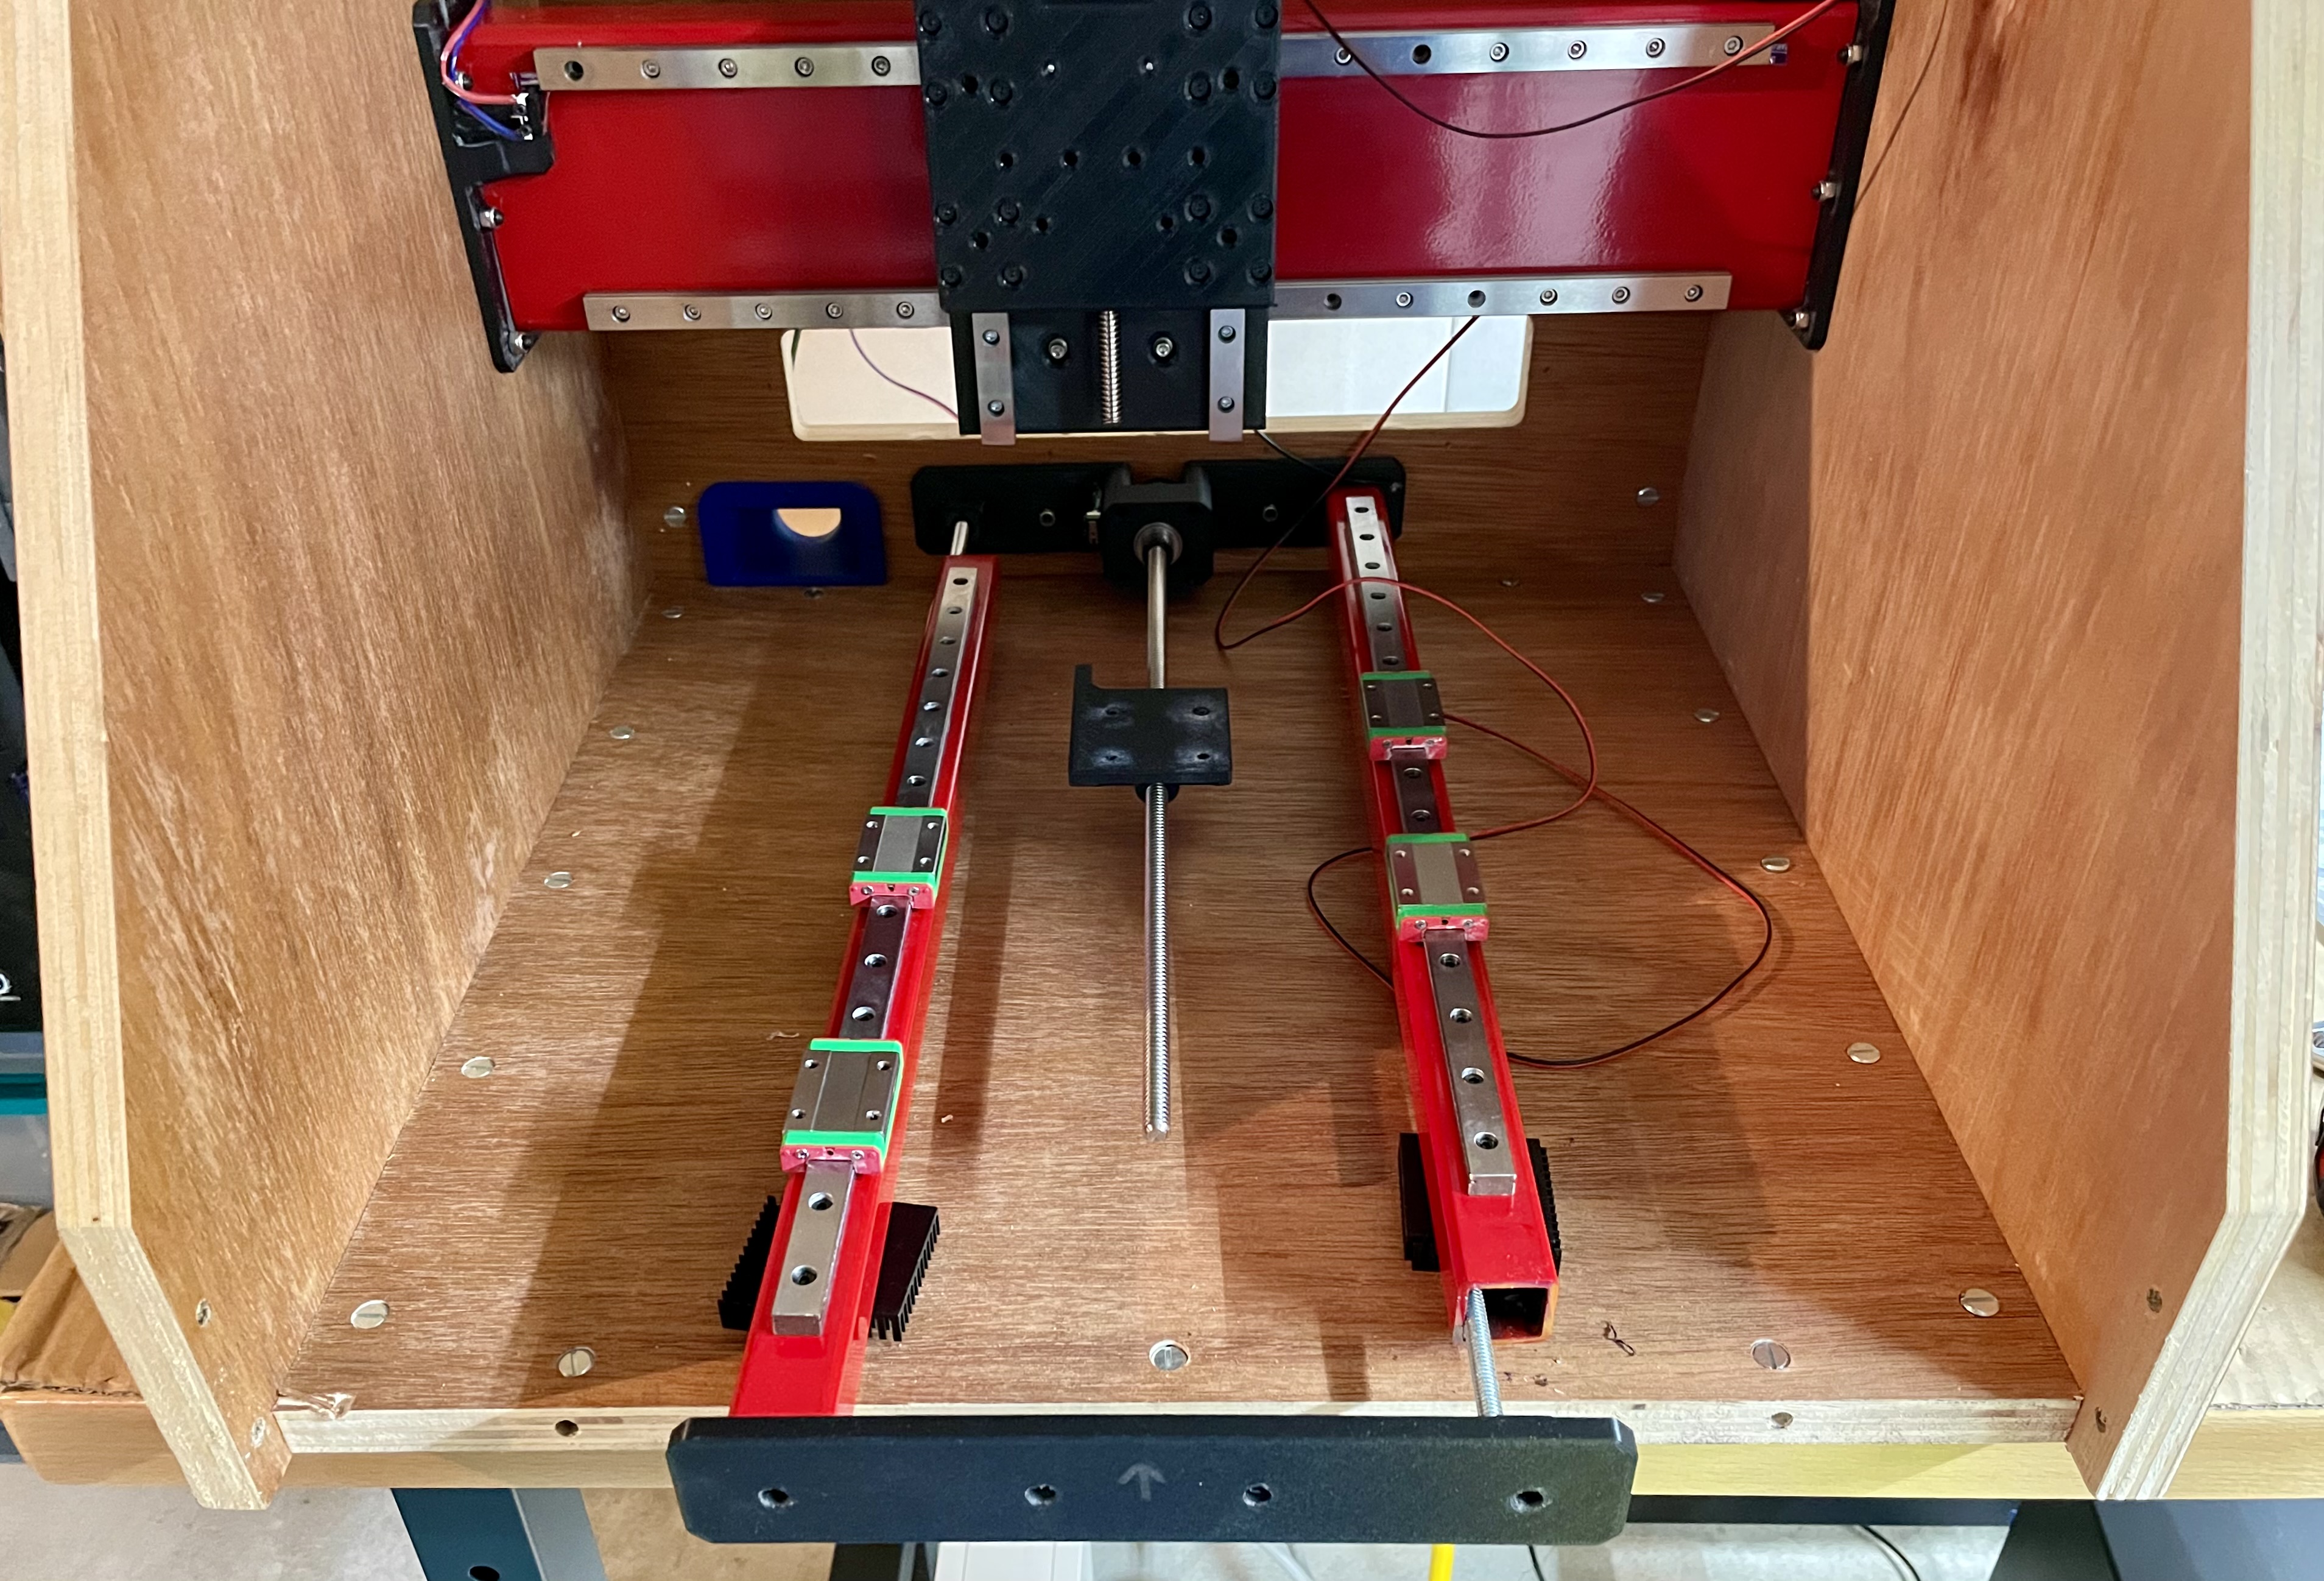
Uh Oh - Bed No Go!
The hard stuff was done, right? Now all I have to do is line up 4 carriages, screw them up, then line up four more bolts for the lead-screw holder, and move on to the next step? Right? Right? Wrong.

Turns out, after I screwed in the carriages on the left Y-axis rail, none of the holes on the right side rail would line up! I was crushed. Turns out, likely due to enough transfer punching or center punching errors, the two Y linear rails were about 0.5 to 0.7mm too close together. I was thinking about re-printing the Y-steel holders, or other more time consuming meausures, and then Stephanie-Lah from the Discord suggested I swap front to back on one or both of the Y-steel units! While it took a little disassembly, this worked great, and with much less re-work than the other options I was considering.

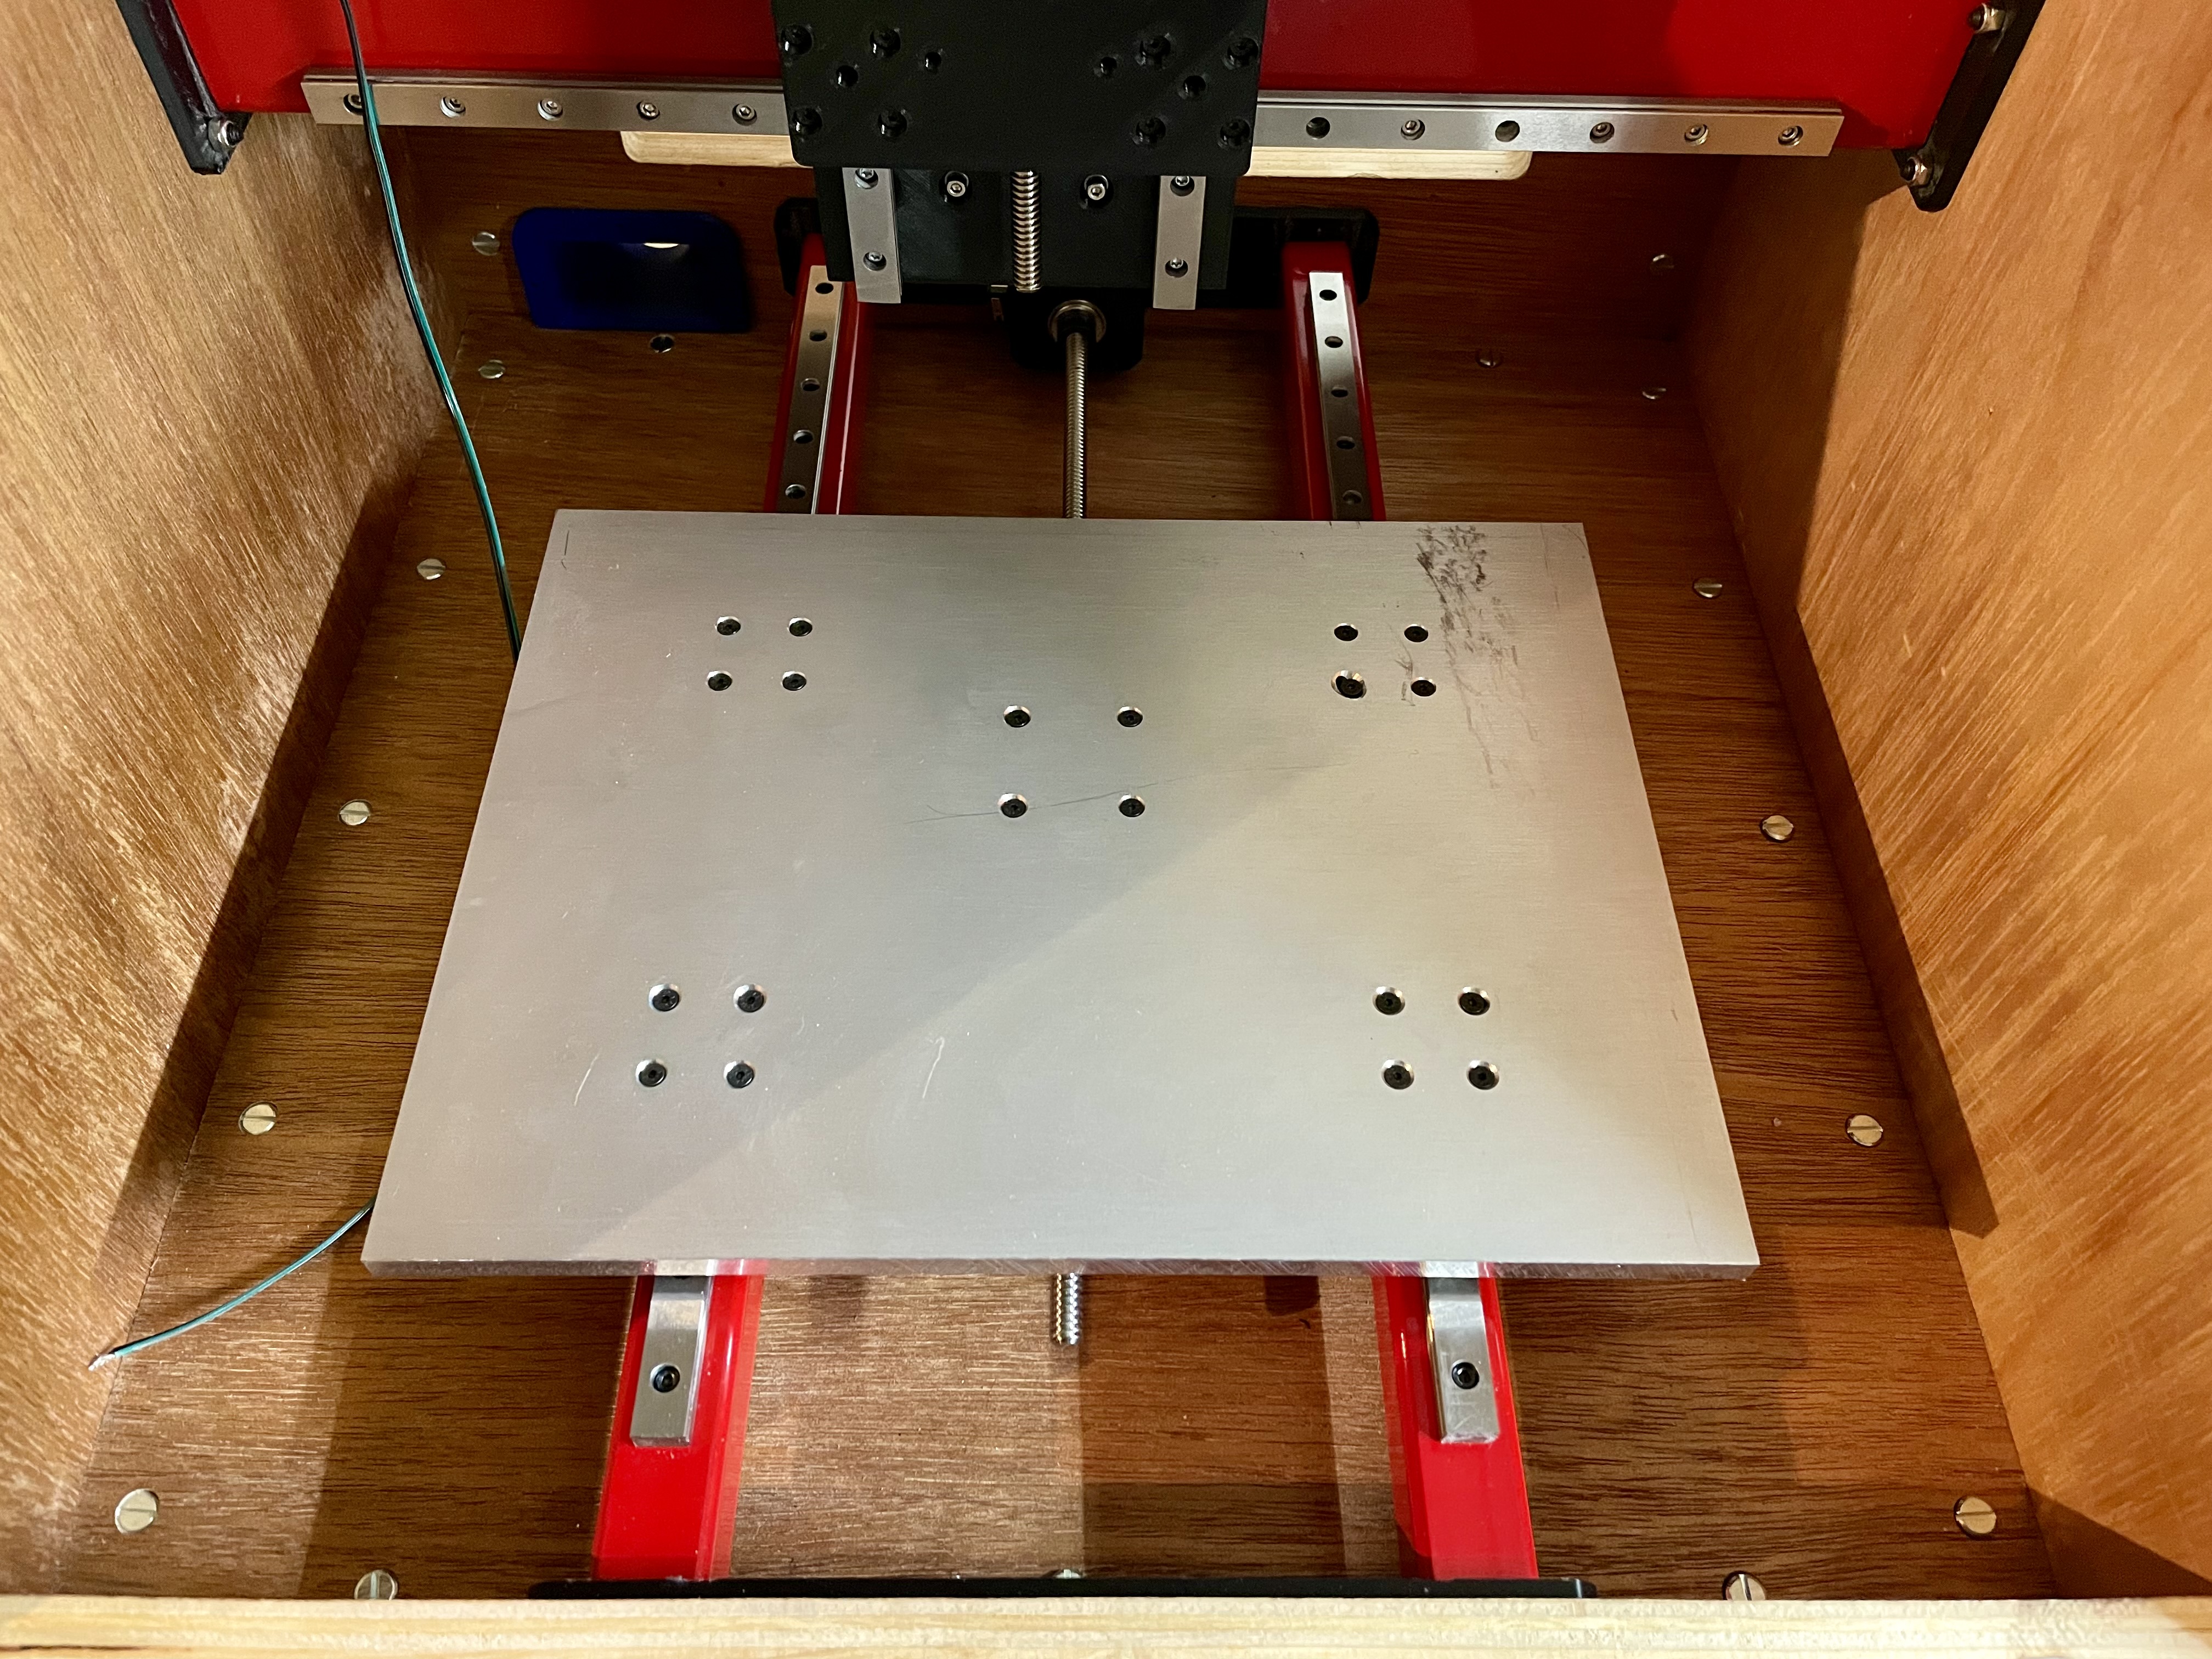
So, after much “forced skill acquisition” the bed was drilled and successfully installed into my MilkCr8!

Next stop: Electronics!