Adventures in (Bed) Drilling
Next step - drill 20 holes in the aluminum bed…easy peasy, right? ;)
After drilling and tapping 64 holes in the steel, and seeing how easy it was to make sub-1mm mistakes that caused real problems, I wanted to make sure I did a better job with the aluminum bed. In my favor, this time, I had only 20 holes, and the material was aluminum. Running against me was the fact that alignment for all holes was pretty critical. Unlike with mounting the linear rails to the steel, I couldn’t skip a couple. These all had to work.
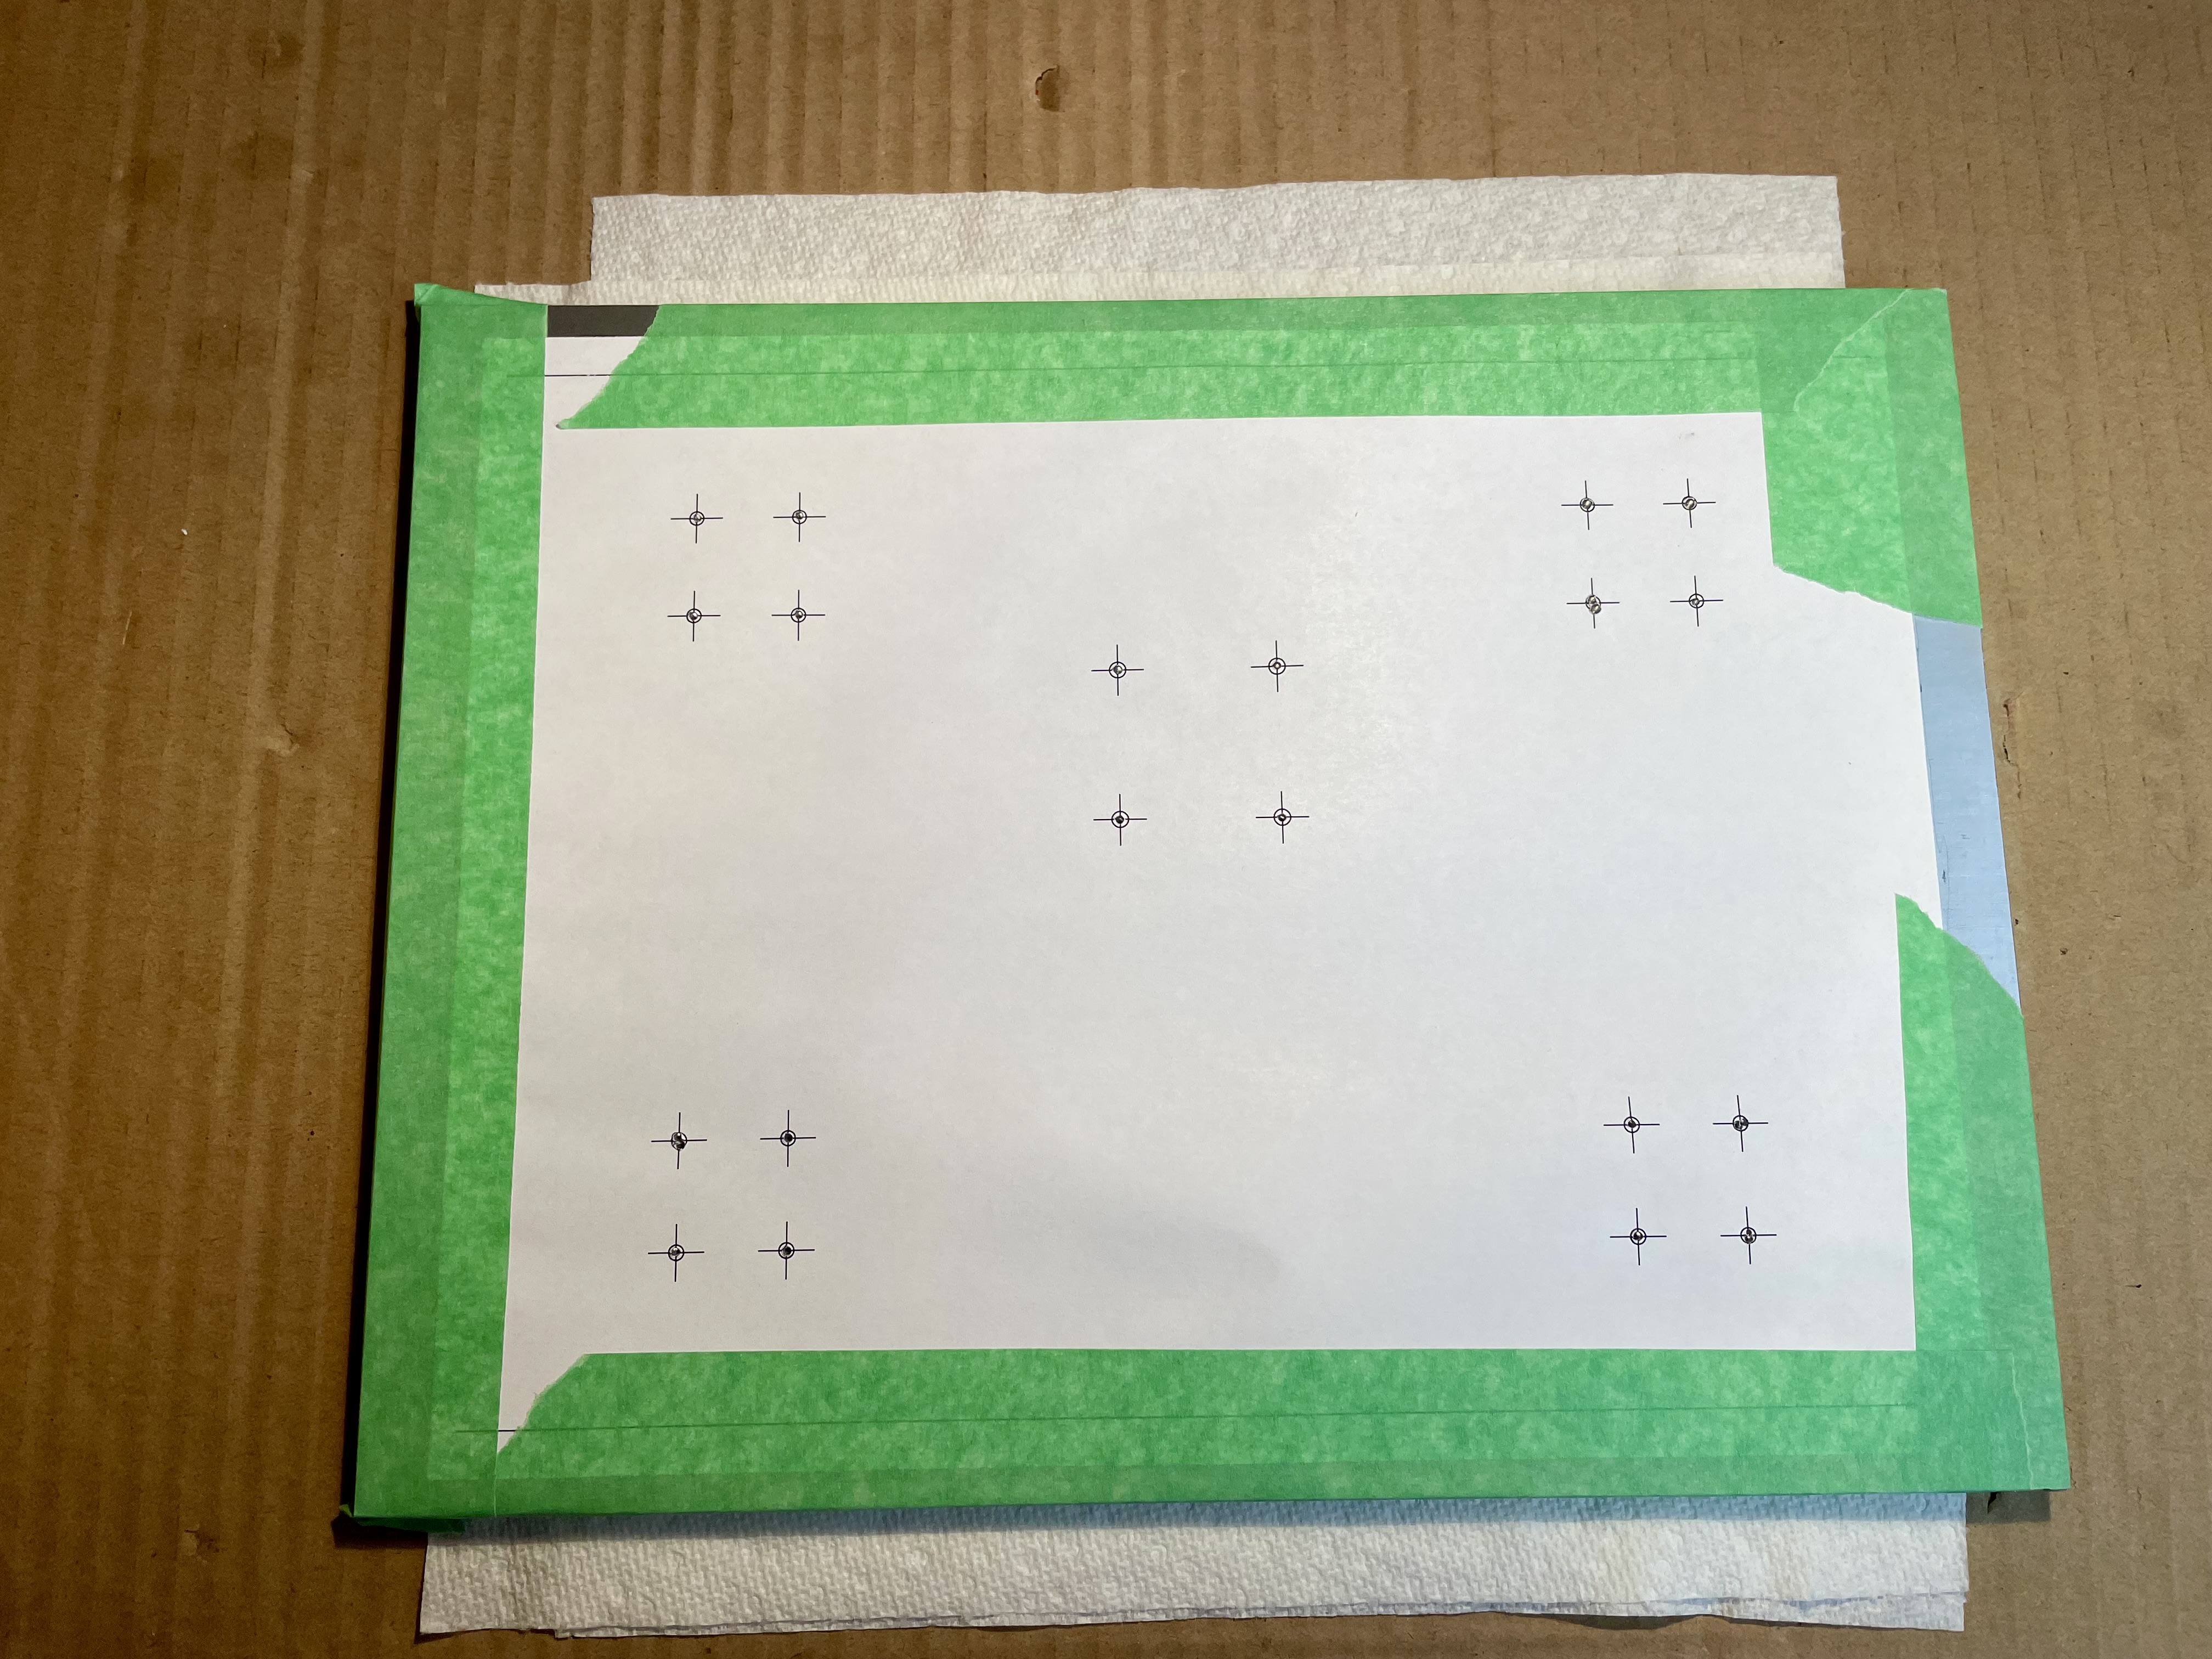
First step was to print out the bed template. Second step was to measure distance between the drill points to confirm that the distances printed on my 2D laser printer matched what was required – it was.
After centering the bed template on the aluminum, I used my center punch to mark the 20 holes. Here I made the mistake of punching too hard (as this was just aluminum and not steel). That caused me to slightly move the punched position of 3 holes. This came back to bite me later.

Given the criticality of straight, well-aligned holes, I decided I needed to enlist the help of a friend with a drill press!
My buddy Bob had a spare piece of aluminum for me to use to get the feel for the drill press. It also allowed me to practice setting maximum depths for using the countersink bit. It turned out, I had the drill press running too slowly, so we had to move belts to increase RPM for cleaner cuts.
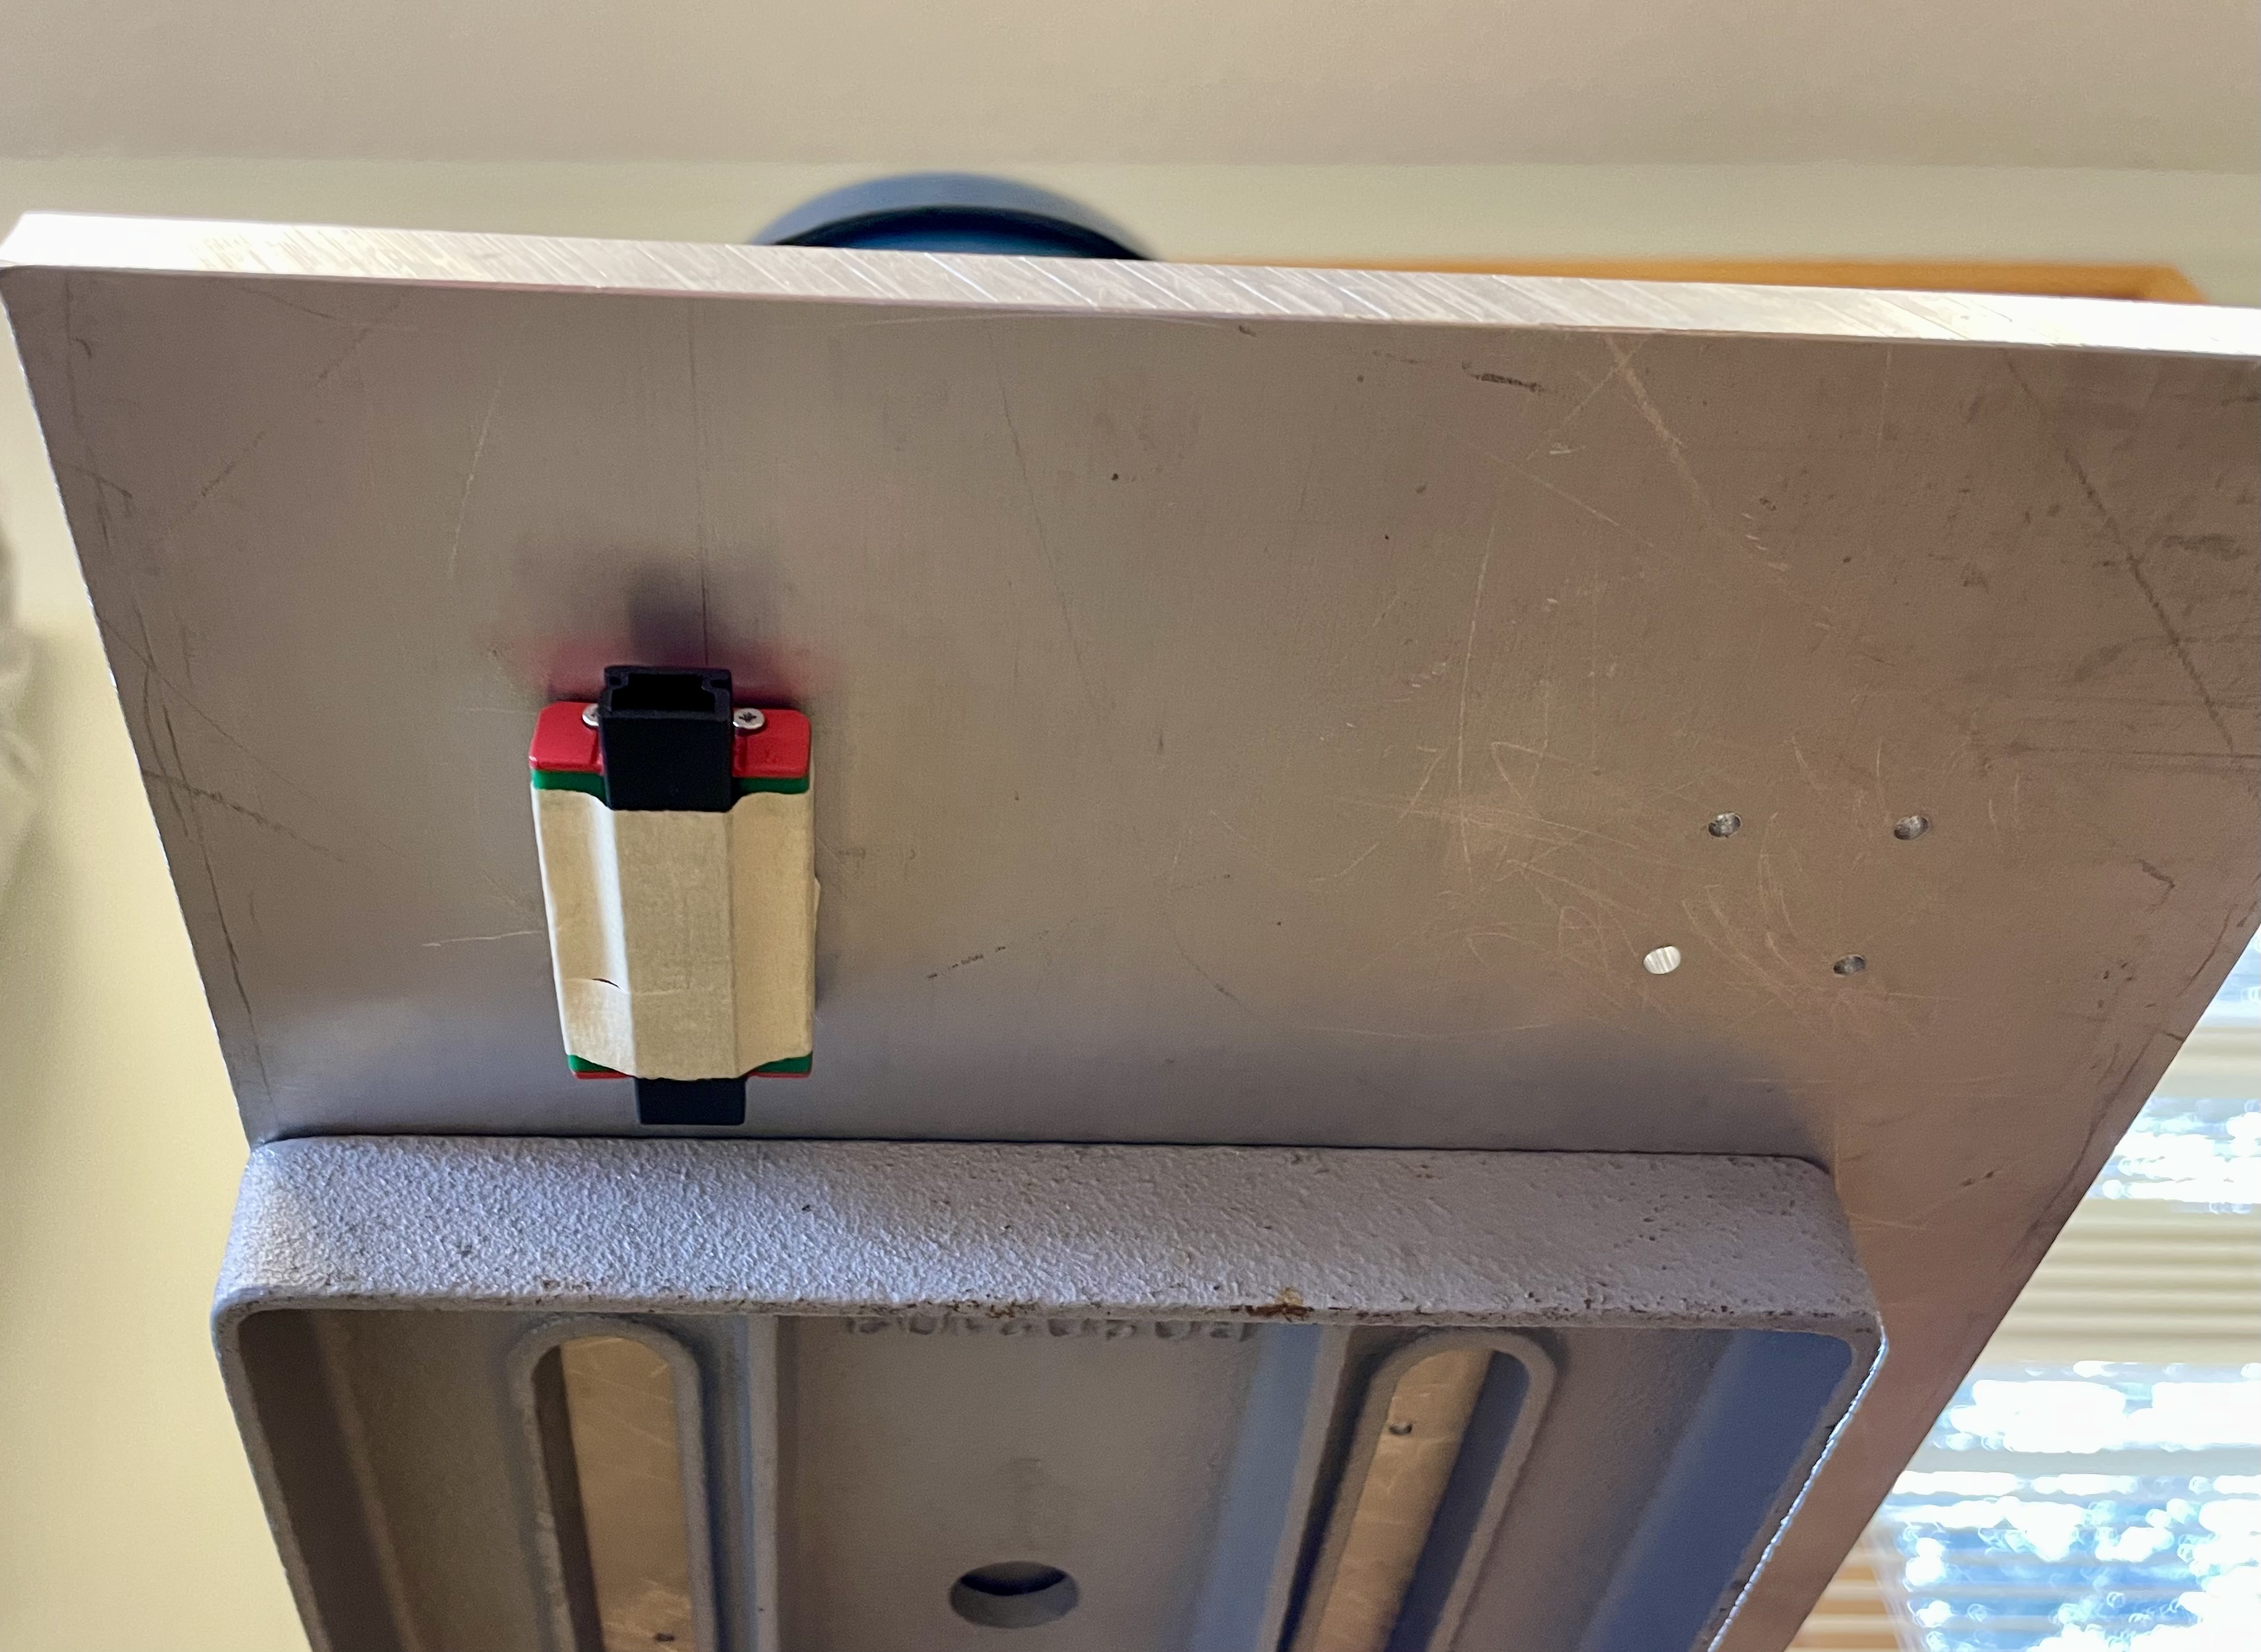
I brought along a spare linear rail carriage to check my measurements and test my results.

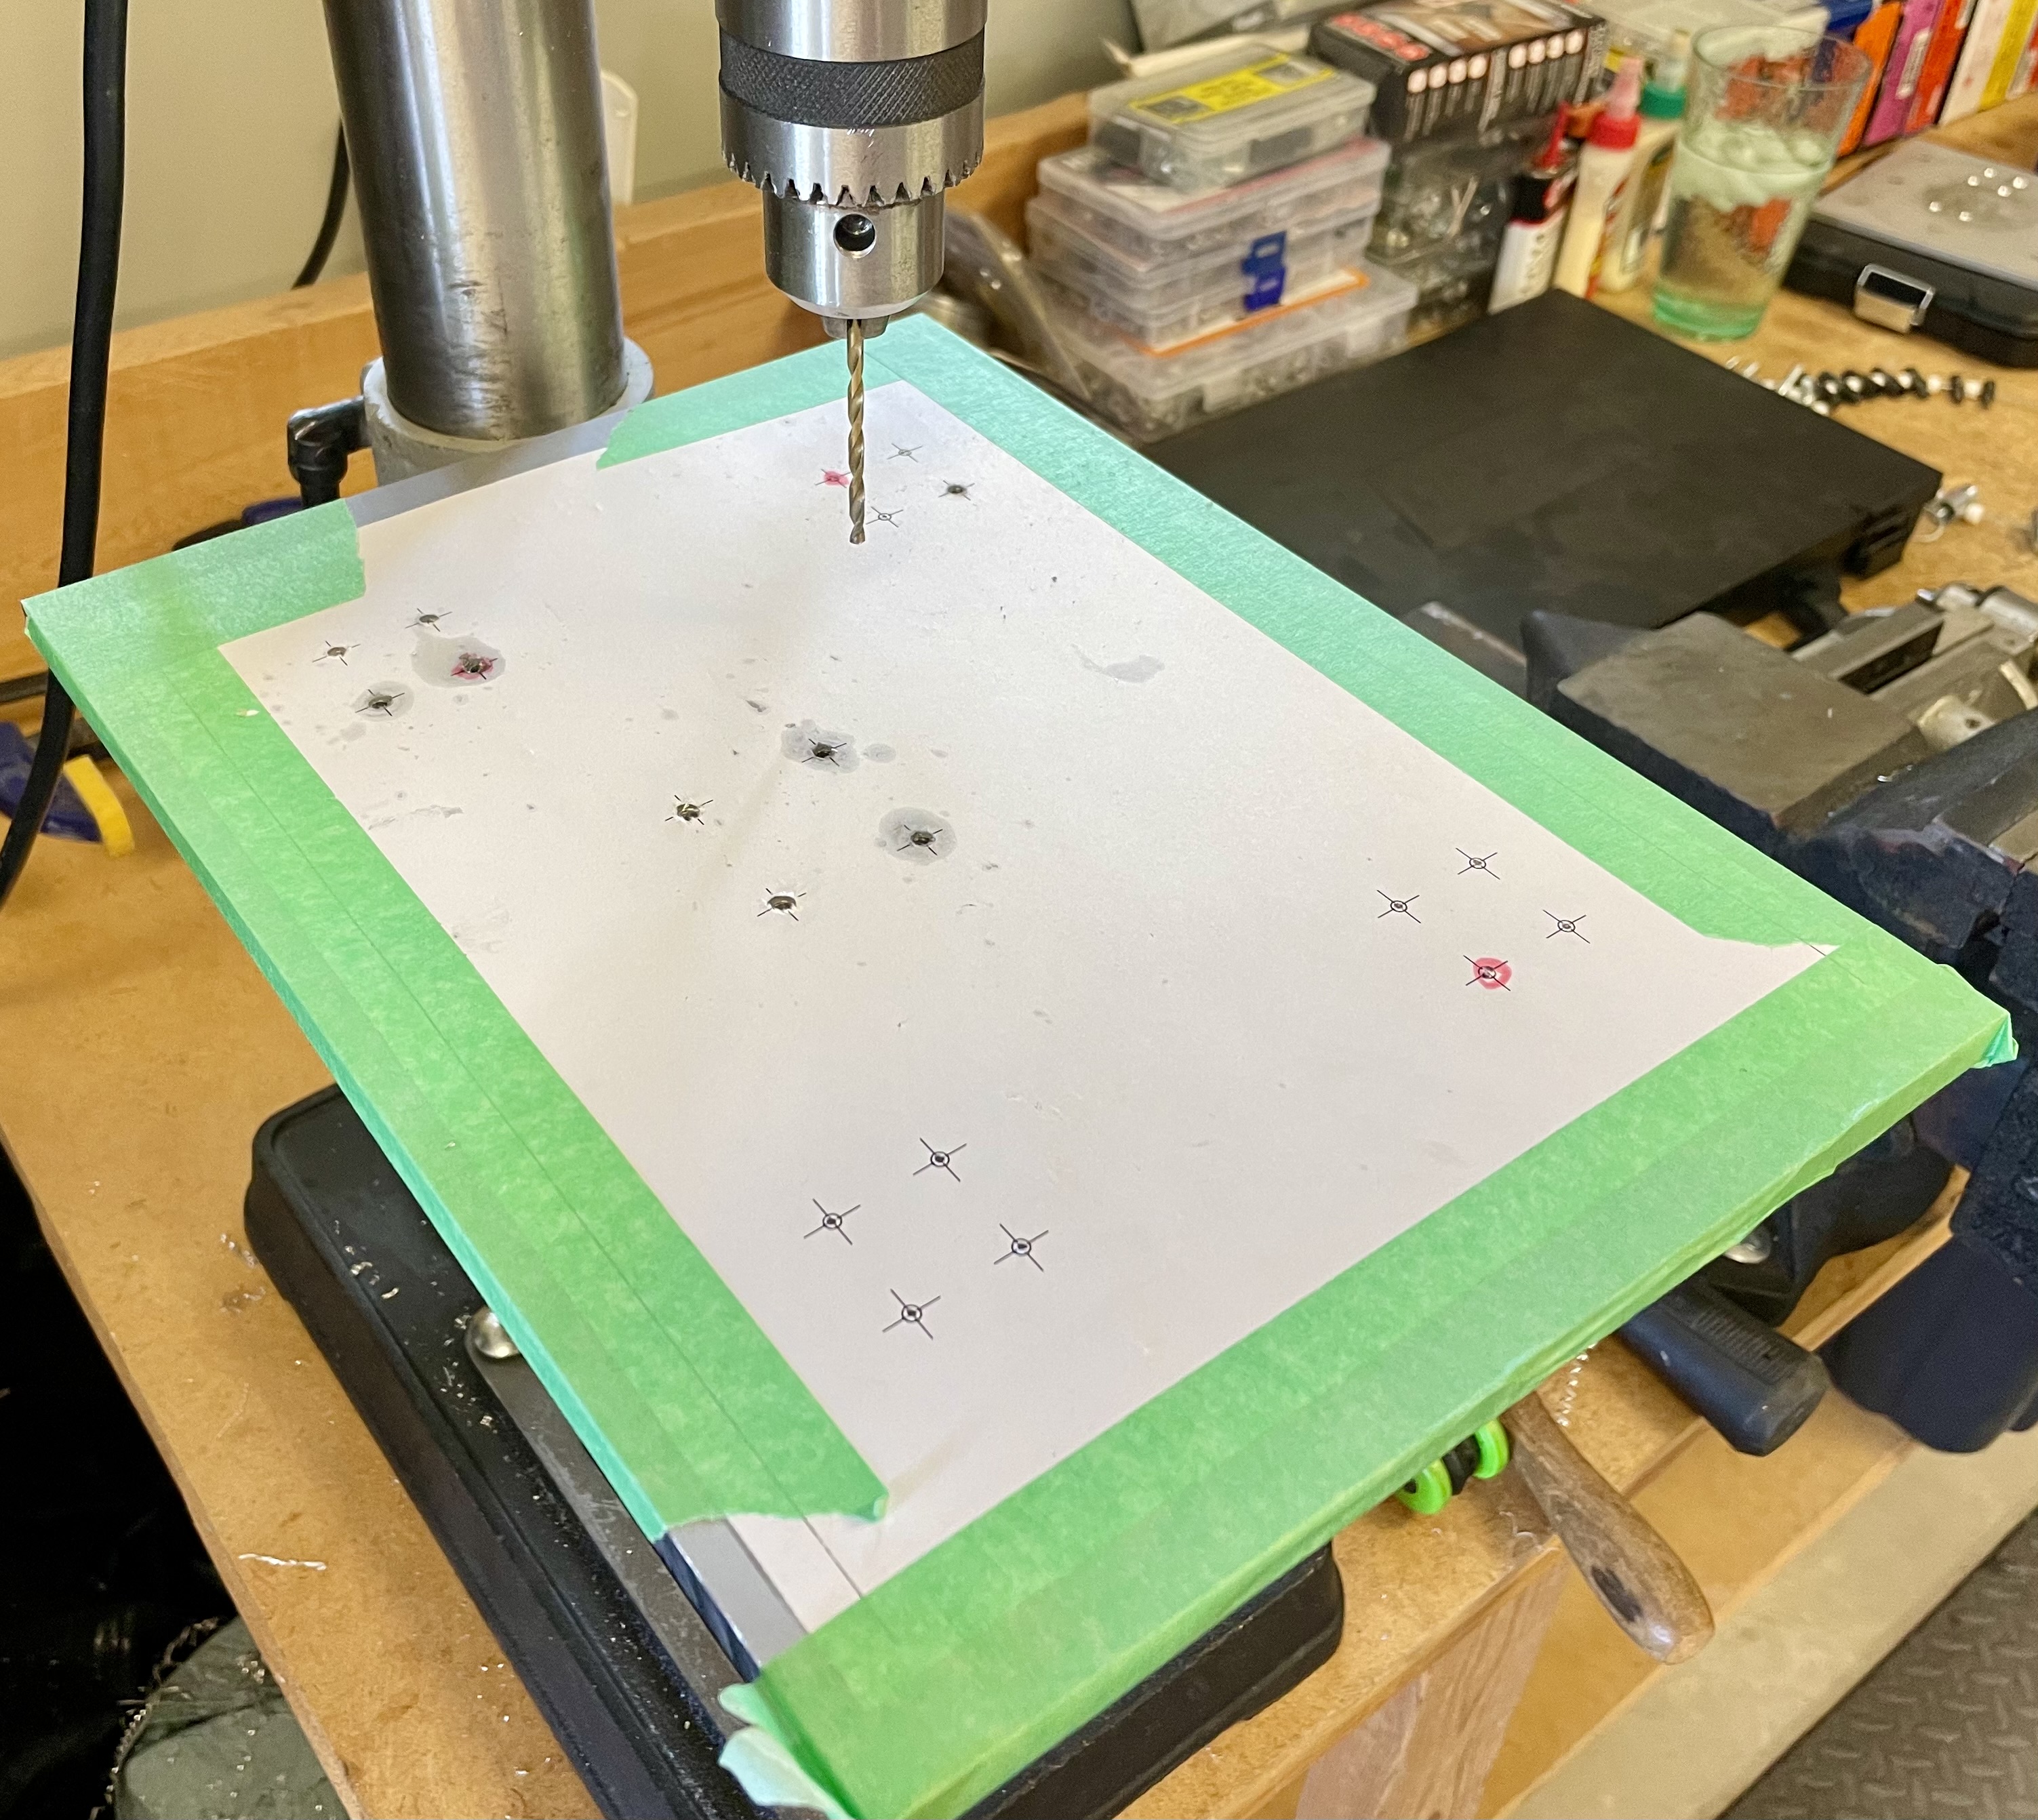
Finally, it was time to drill the bed.

The actual drilling was pretty straightforward. Find the spot, clamp the aluminum, add a drop of TapMagic, and lower the drill. Sadly, all three of the mis-punched holes caused me issues. I had hoped the clamped aluminum would allow the drill press to drill on the marked spot, but the slightly off center-punched holes attracted the drill bit. I ended up having to user a larger bit to drill out these 3 holes – one of them, pretty substantially.
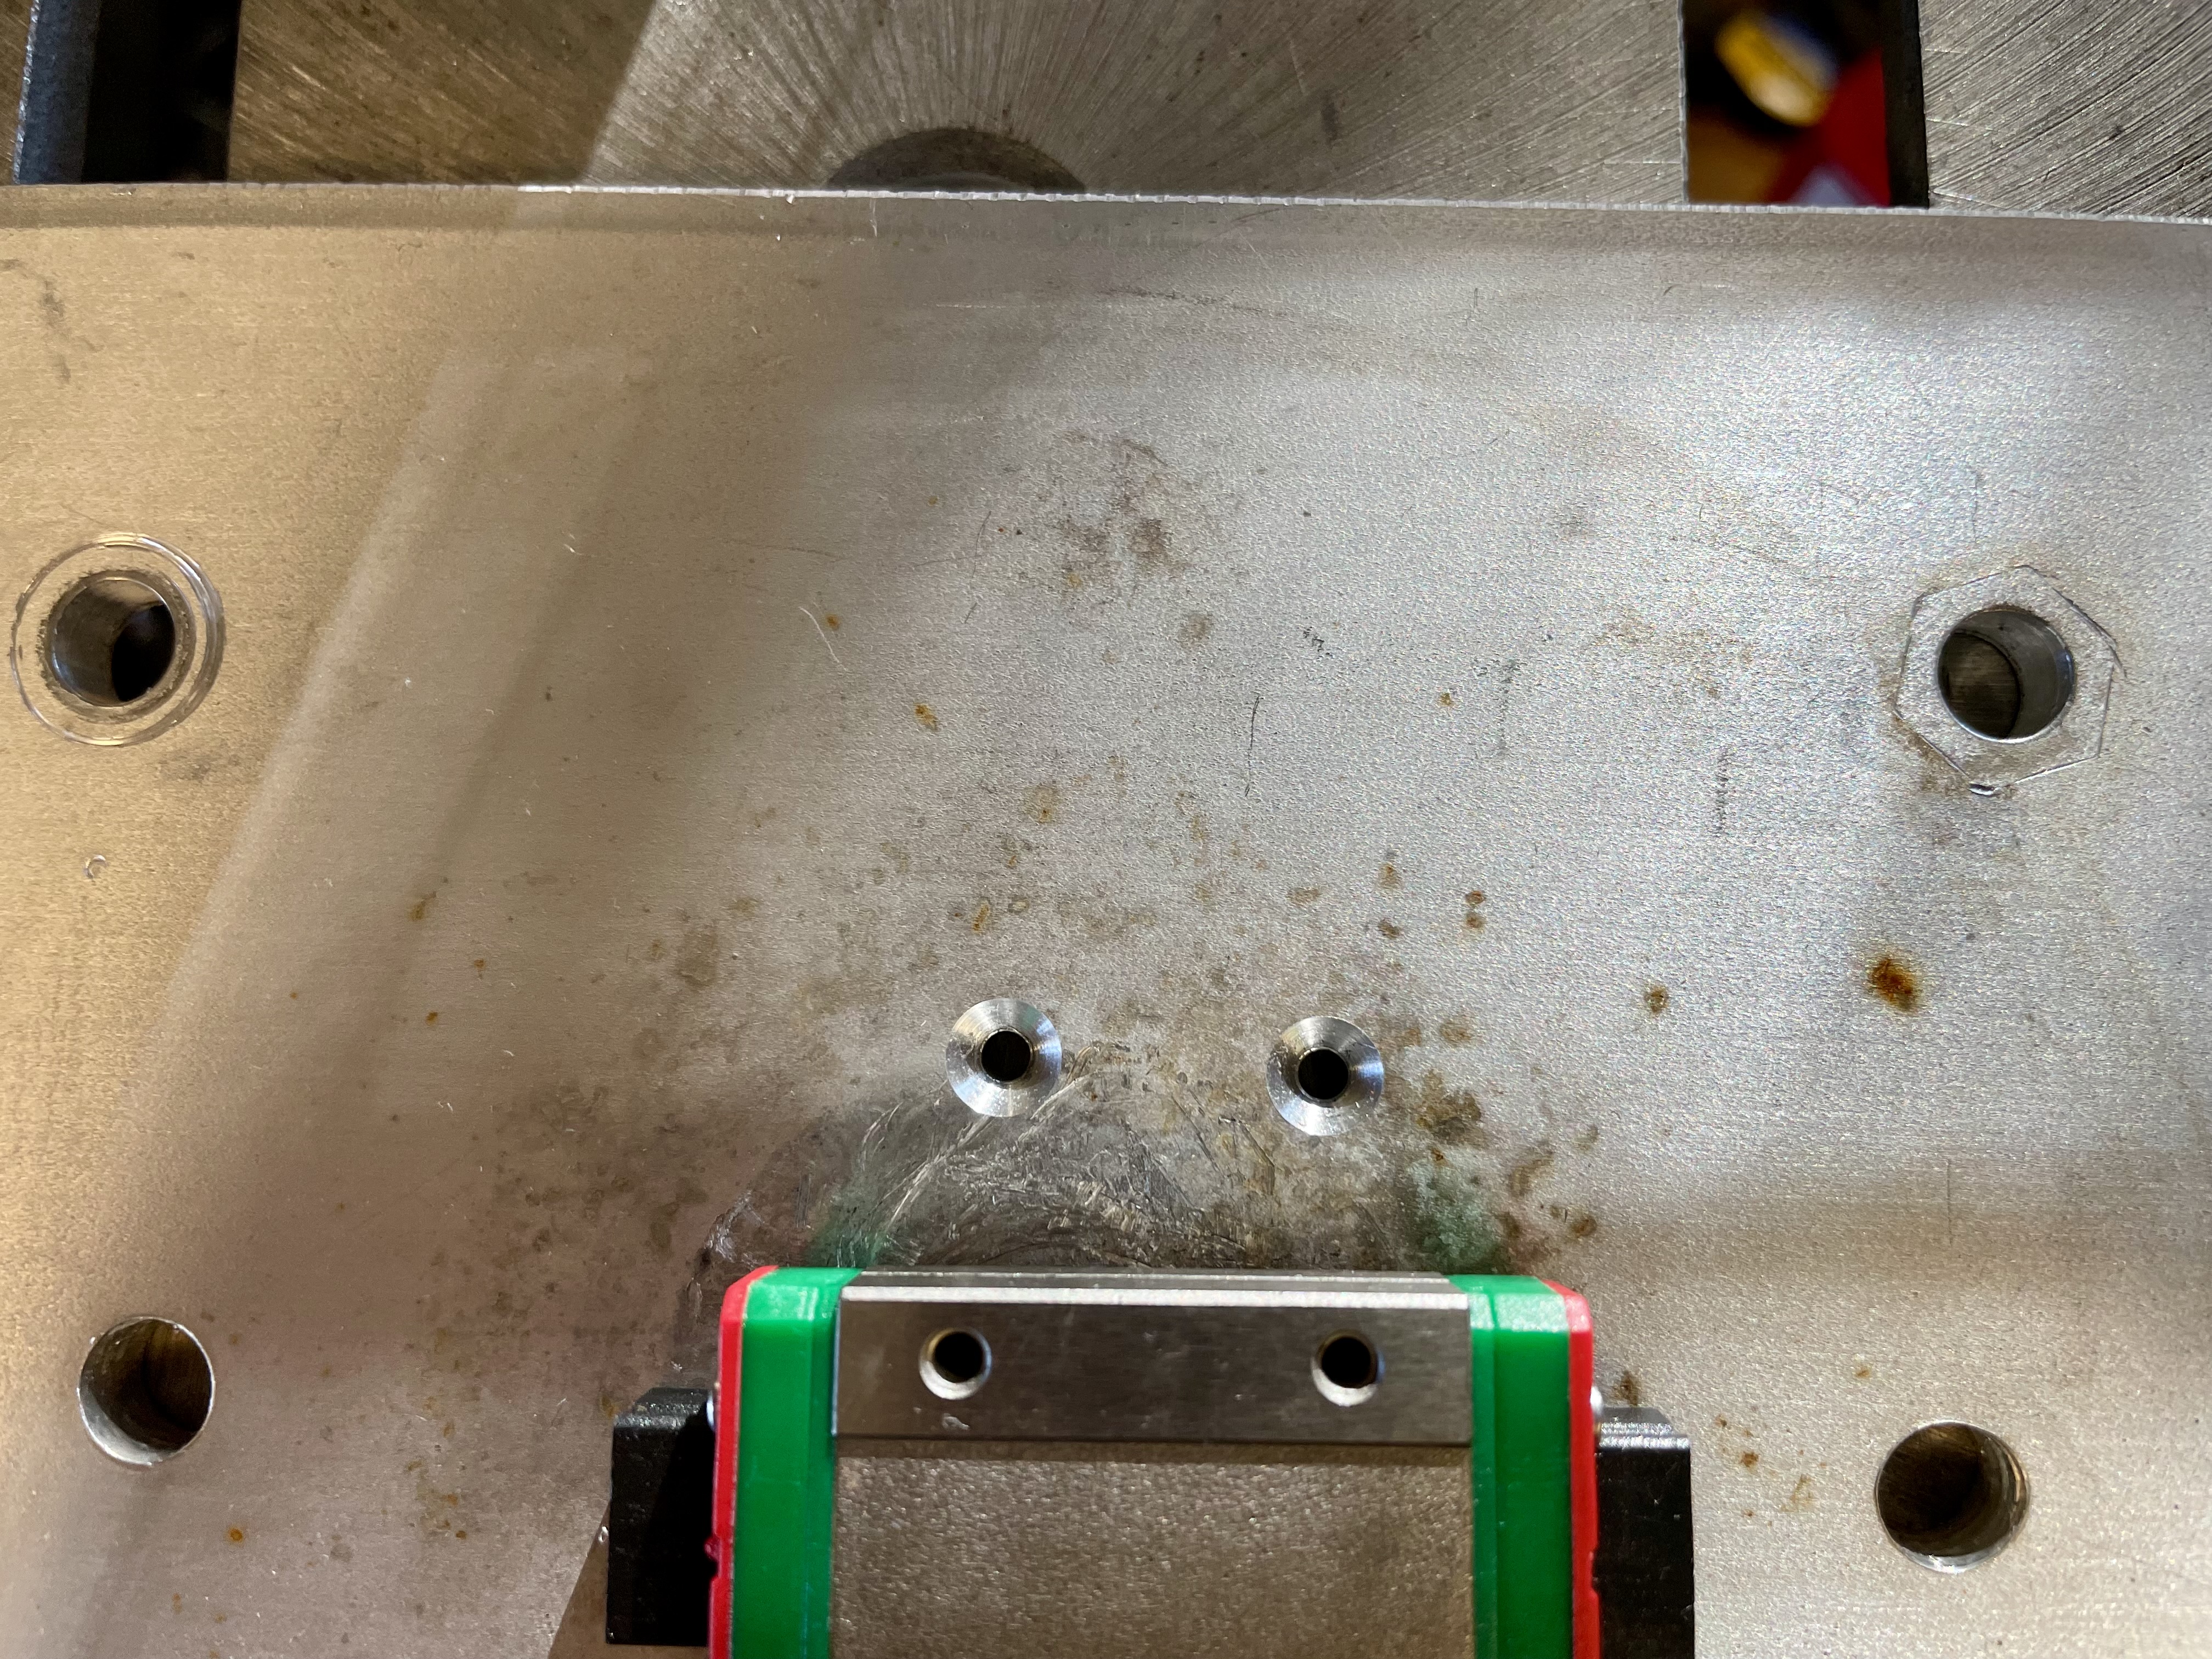
As I went around the bed, I test-fit the carriage at each of the four locations. Once the holes were drilled for the M3 bolts, I switched to the 90° countersink bit. I then set the depth stop, so I didn’t drill too deep. I found I didn’t need to clamp the aluminum here, as the countersink naturally centered itself on each hole.

After that, time to clean up the shop and head home. I did wonder later why the back of my left hand was all scratched up – looked like a cat got after it. Then I remembered the bits of aluminum coming off the drill bit would often hit my hand as it came off the spinning drill bit.