Making it go Round ‘n Round
After the X and Y axis steel assemblies were installed into the wooden MilkC8 crate, it was time to set up the leadscrews for X and Y. Unlike the Z-axis, which has a stepper motor with an integrated leadscrew, the X and Y axis required a leadscrew to be attached to the stepper motor spindles. The assembly was familiar to me, as I’ve used it when assembling 3D printers. A flexible coupler is used to join the 5mm diameter stepper motor shaft to the 8mm diameter leadscrews.
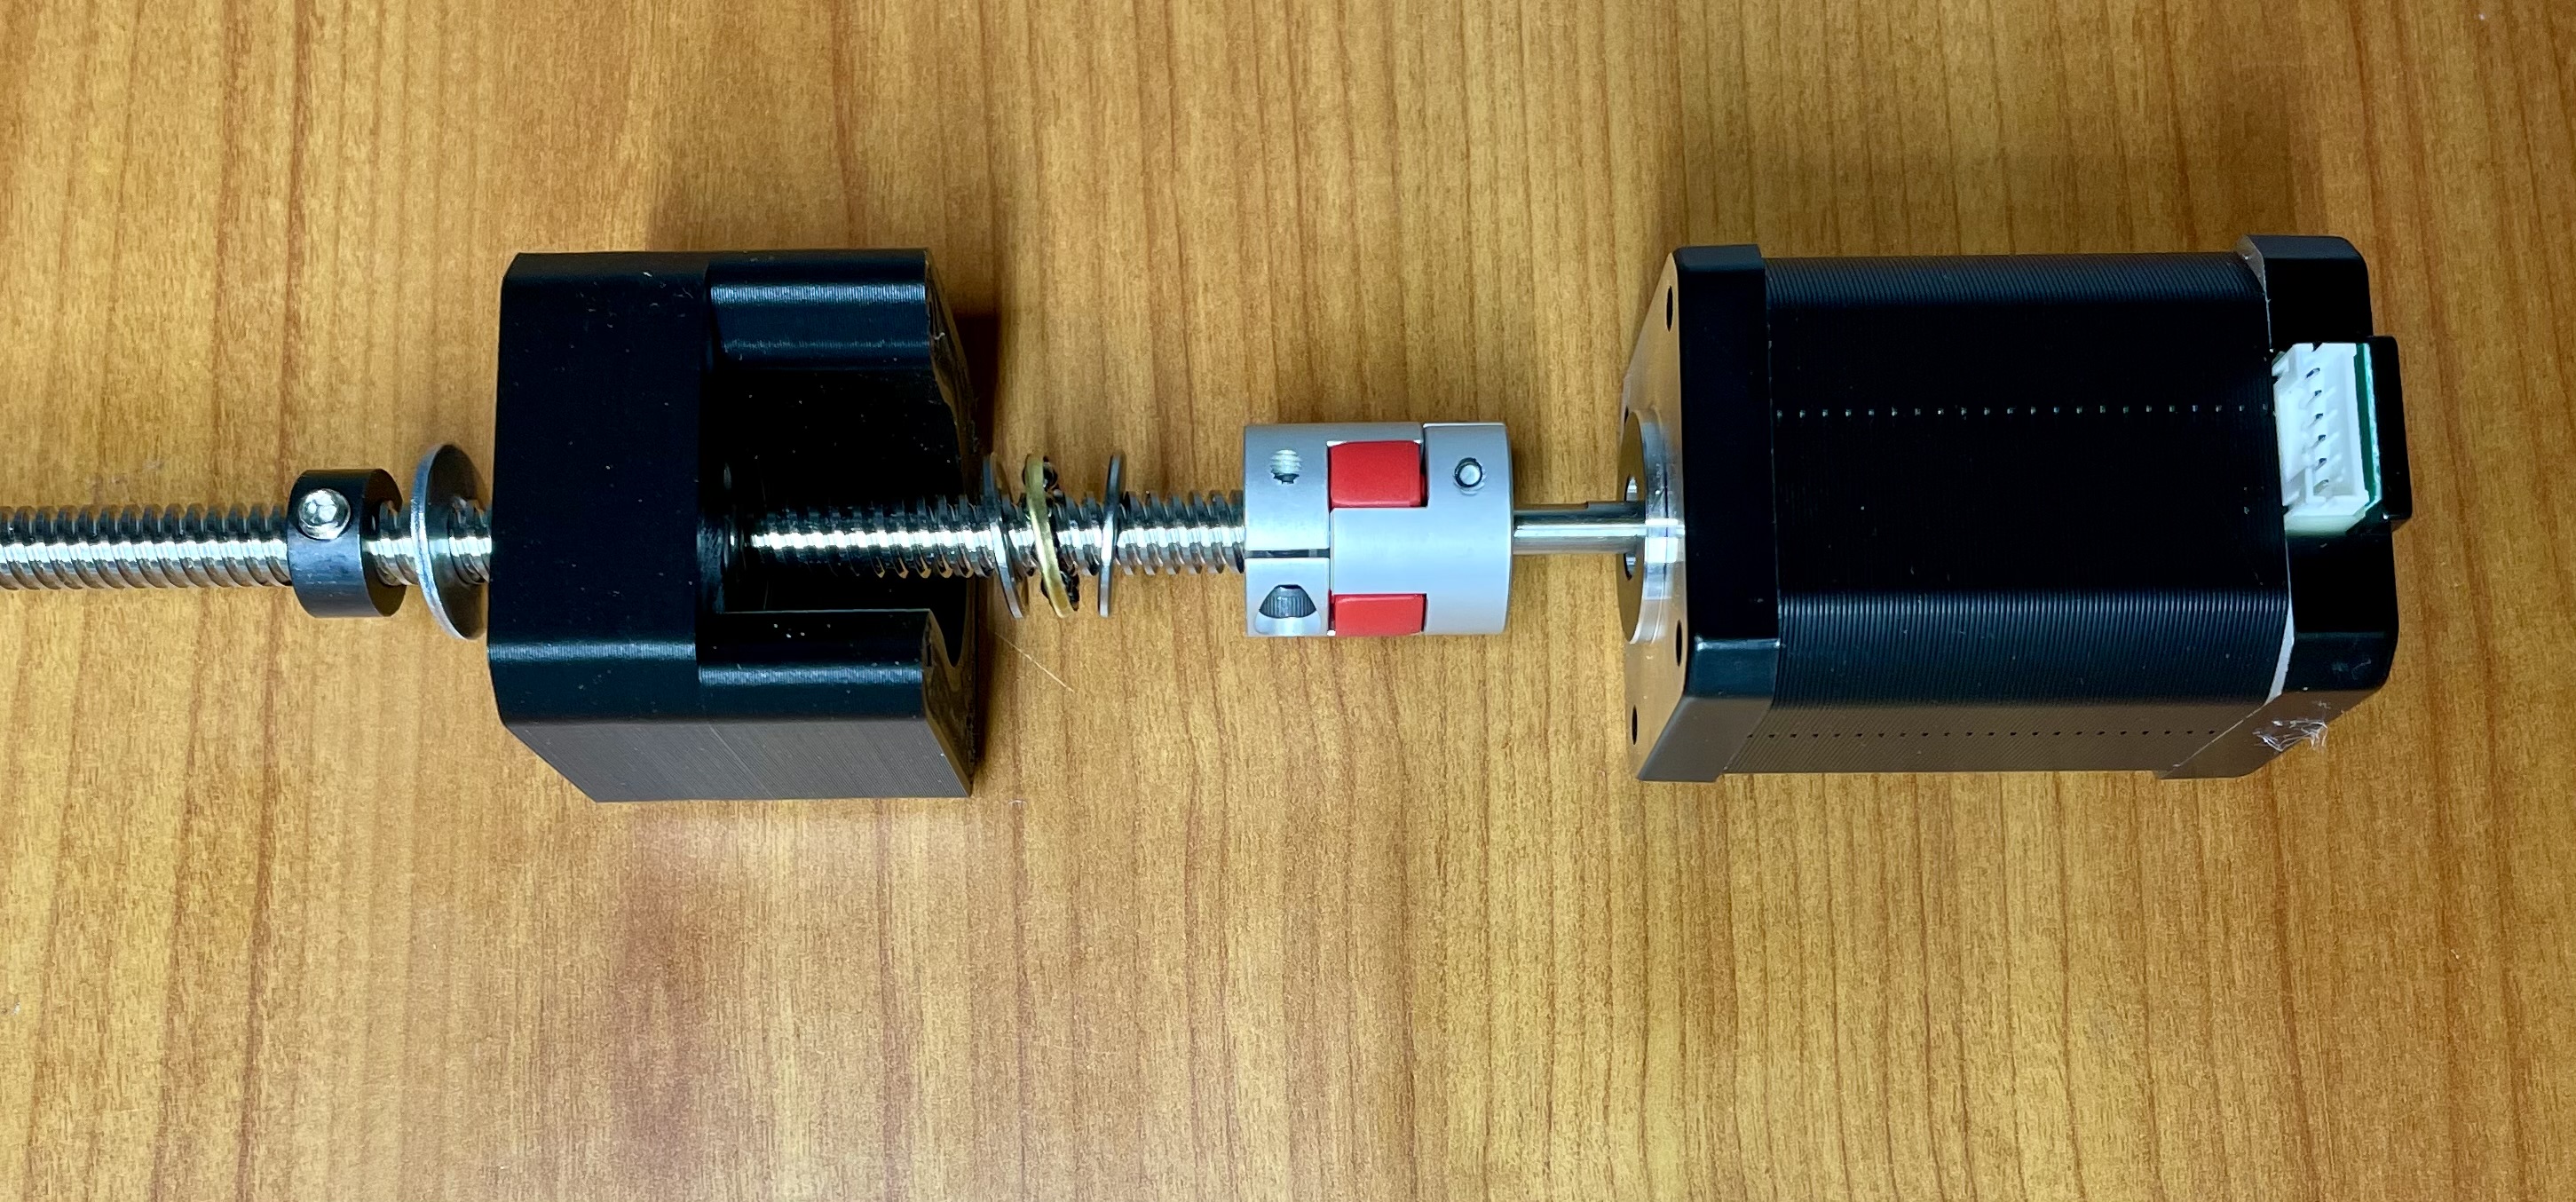
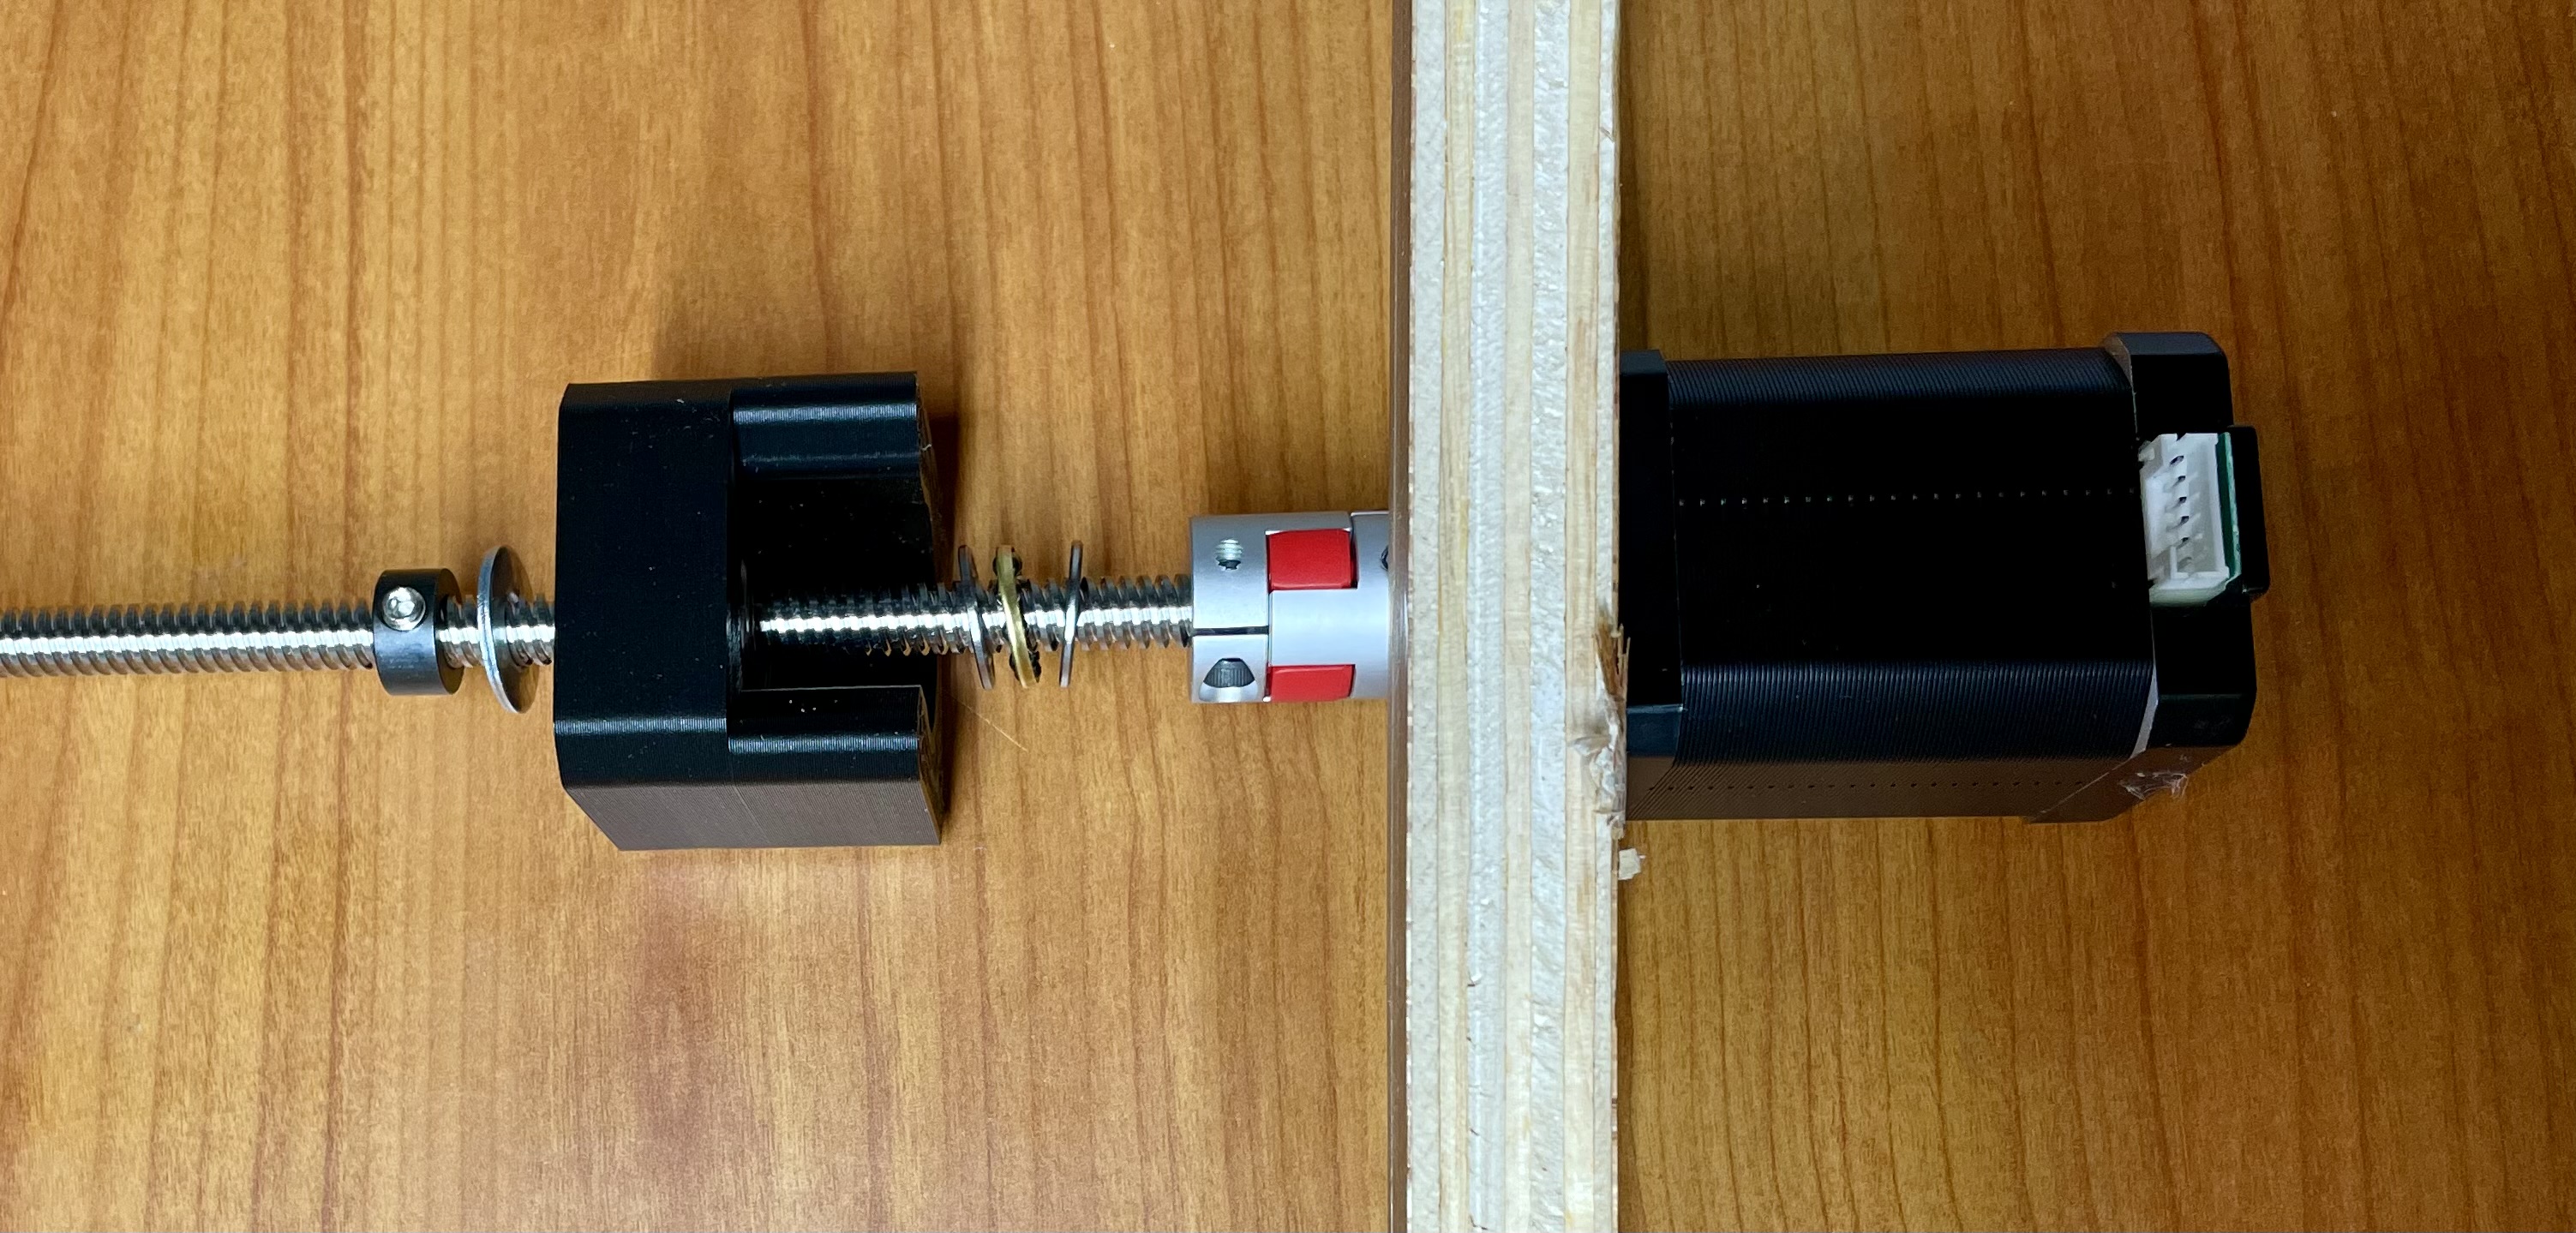
Leadscrew installed - X-axis. While the leadscrew nut mount is present, I waited until later to install the actual nut so i could easily move things around during assembly.
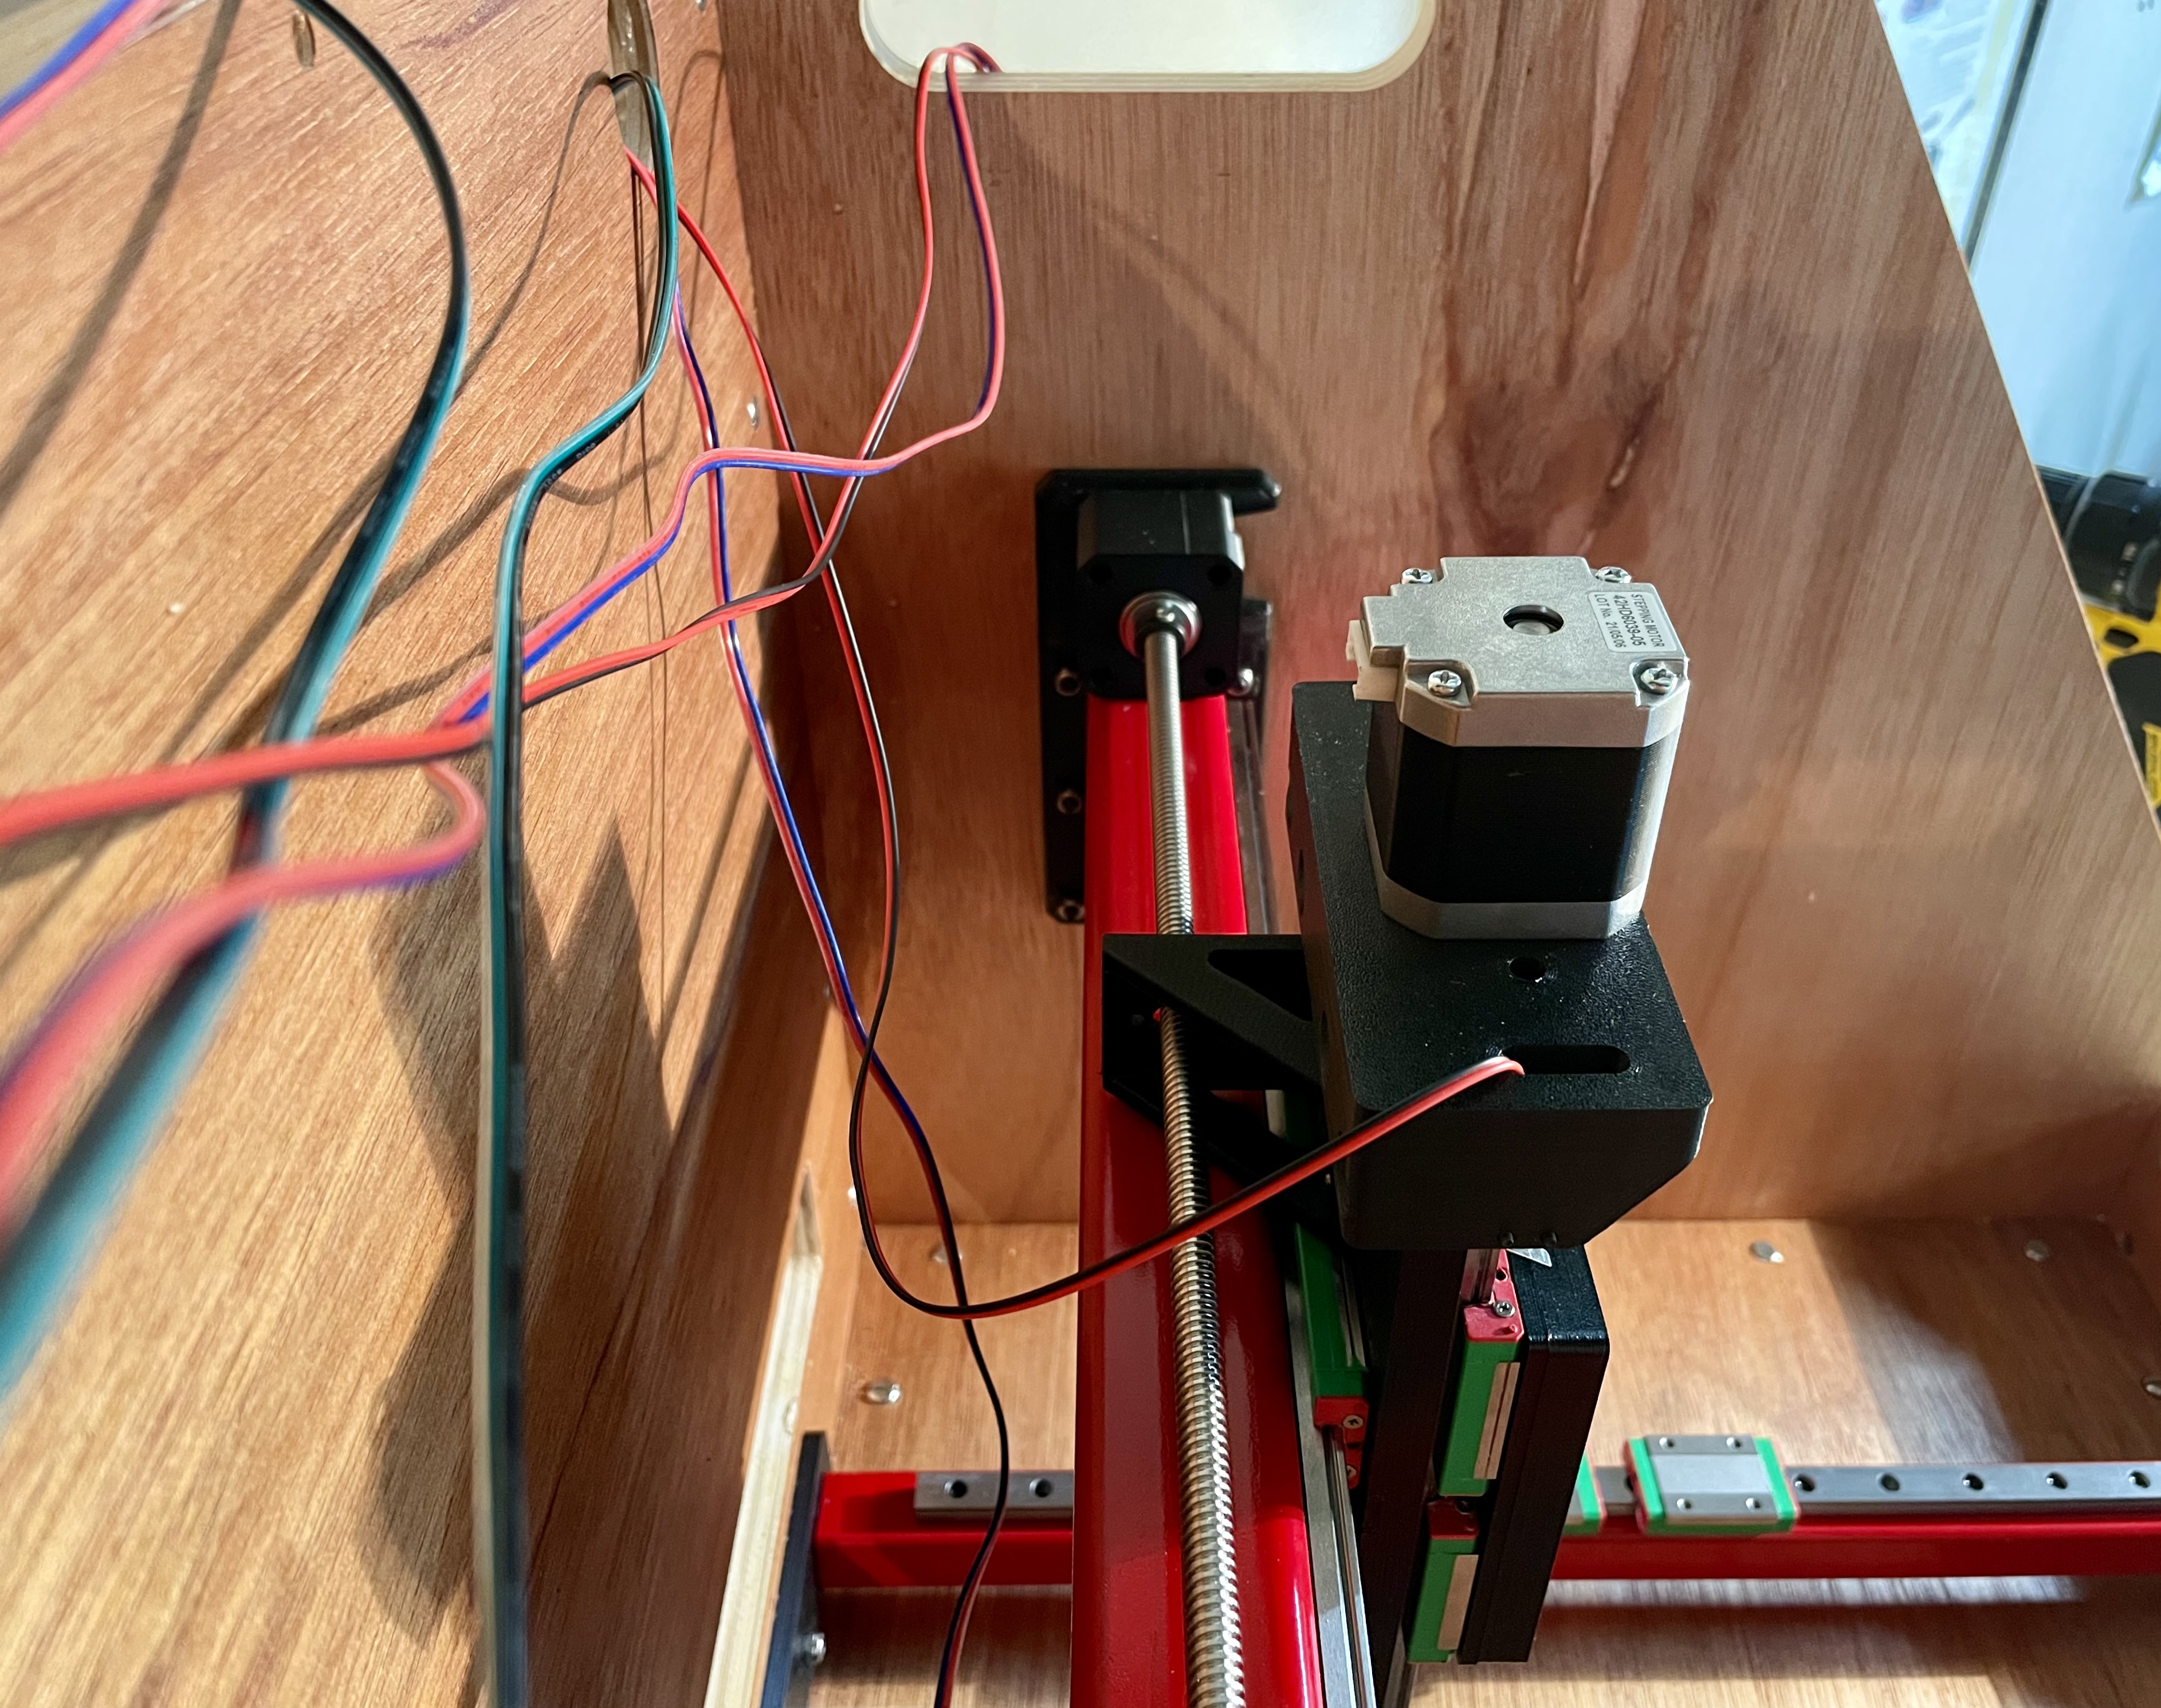
Leadscrew installed - Y-axis:
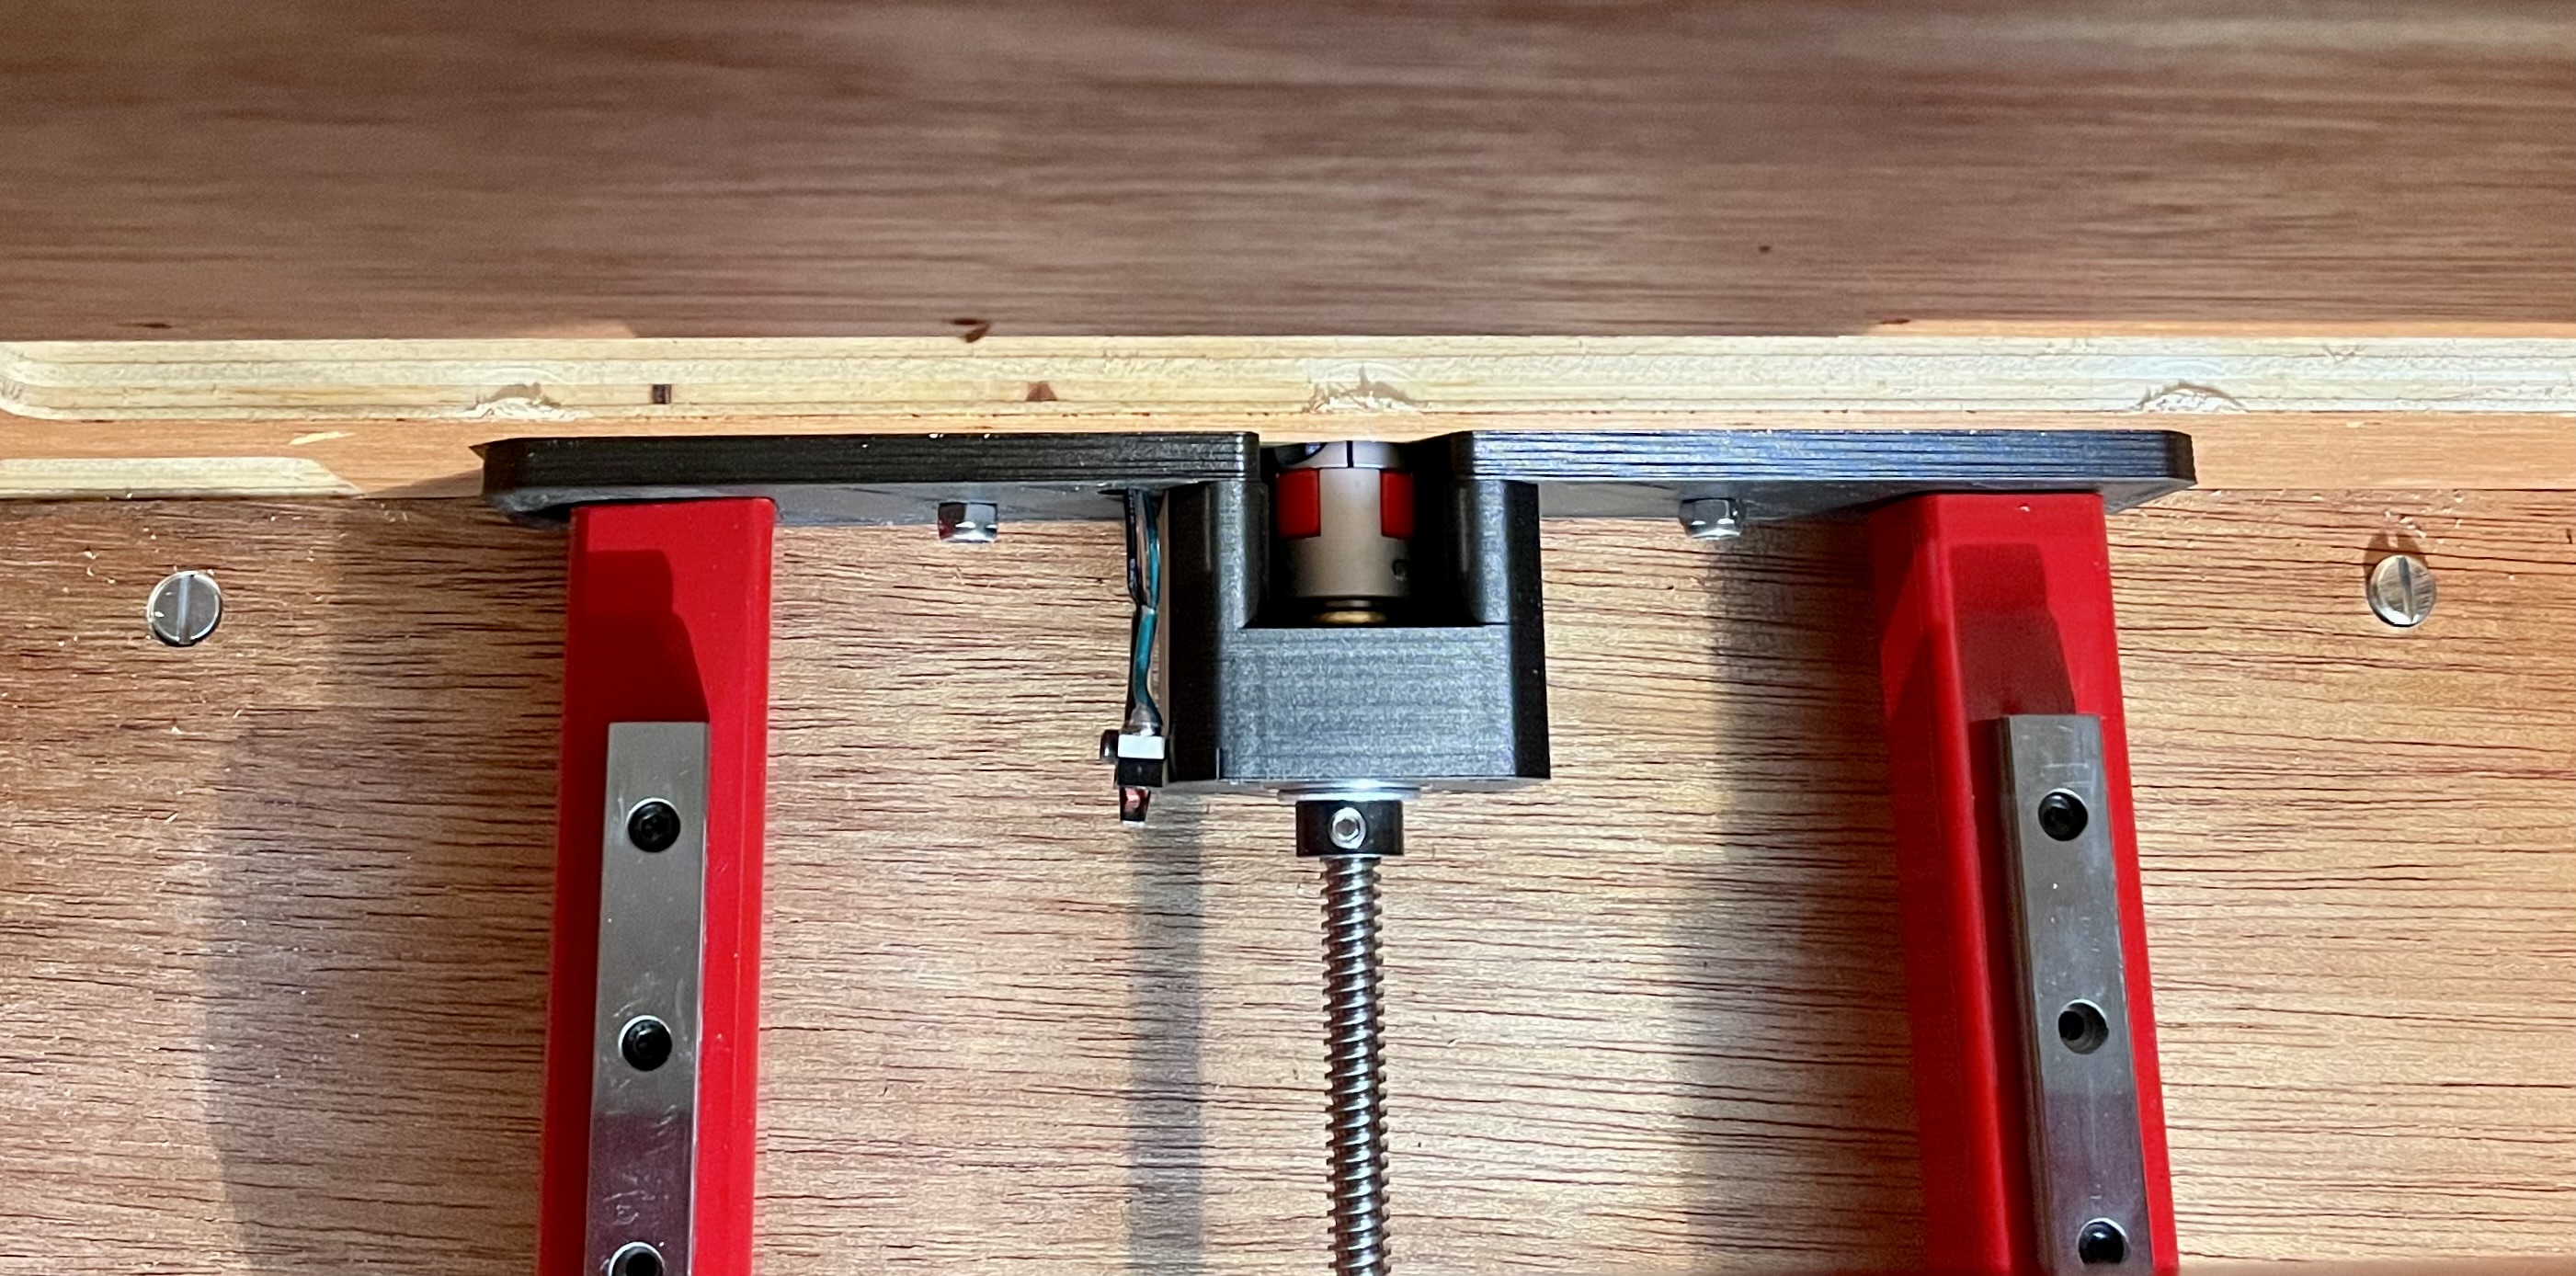
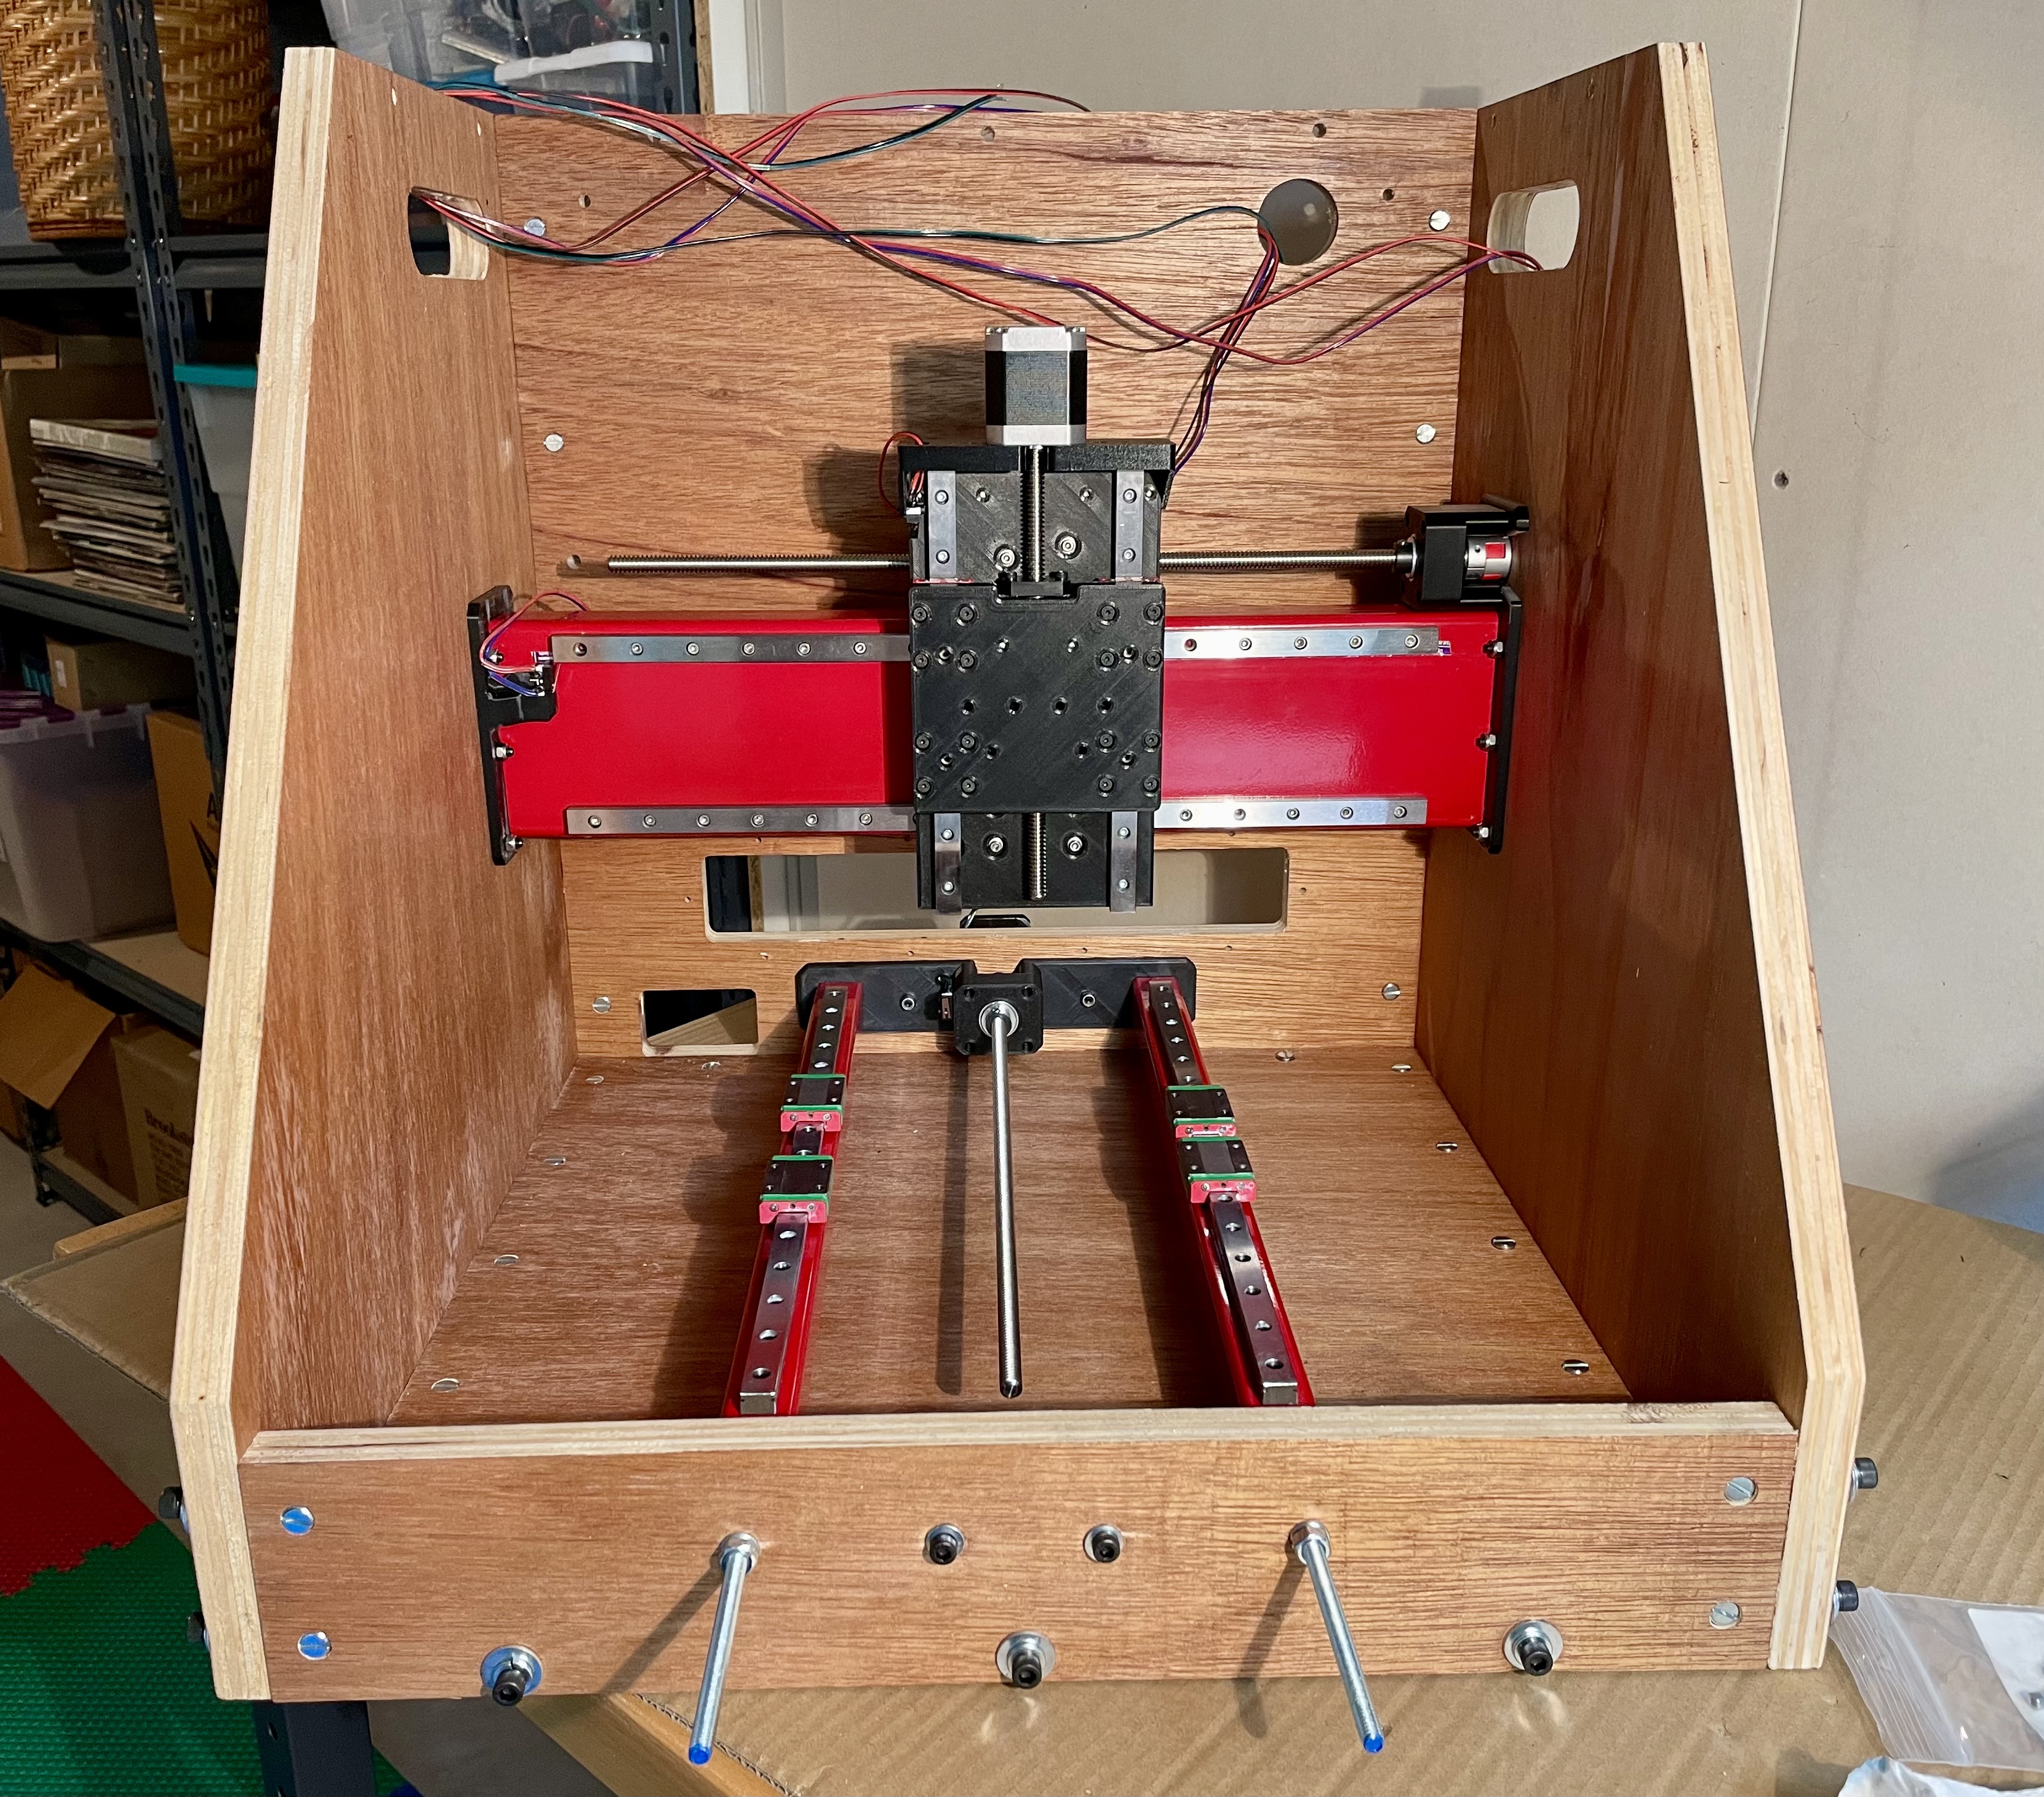
Front view at this stage of assembly:
Next step: The bed!