Ikea Ain’t the Only Game in Town
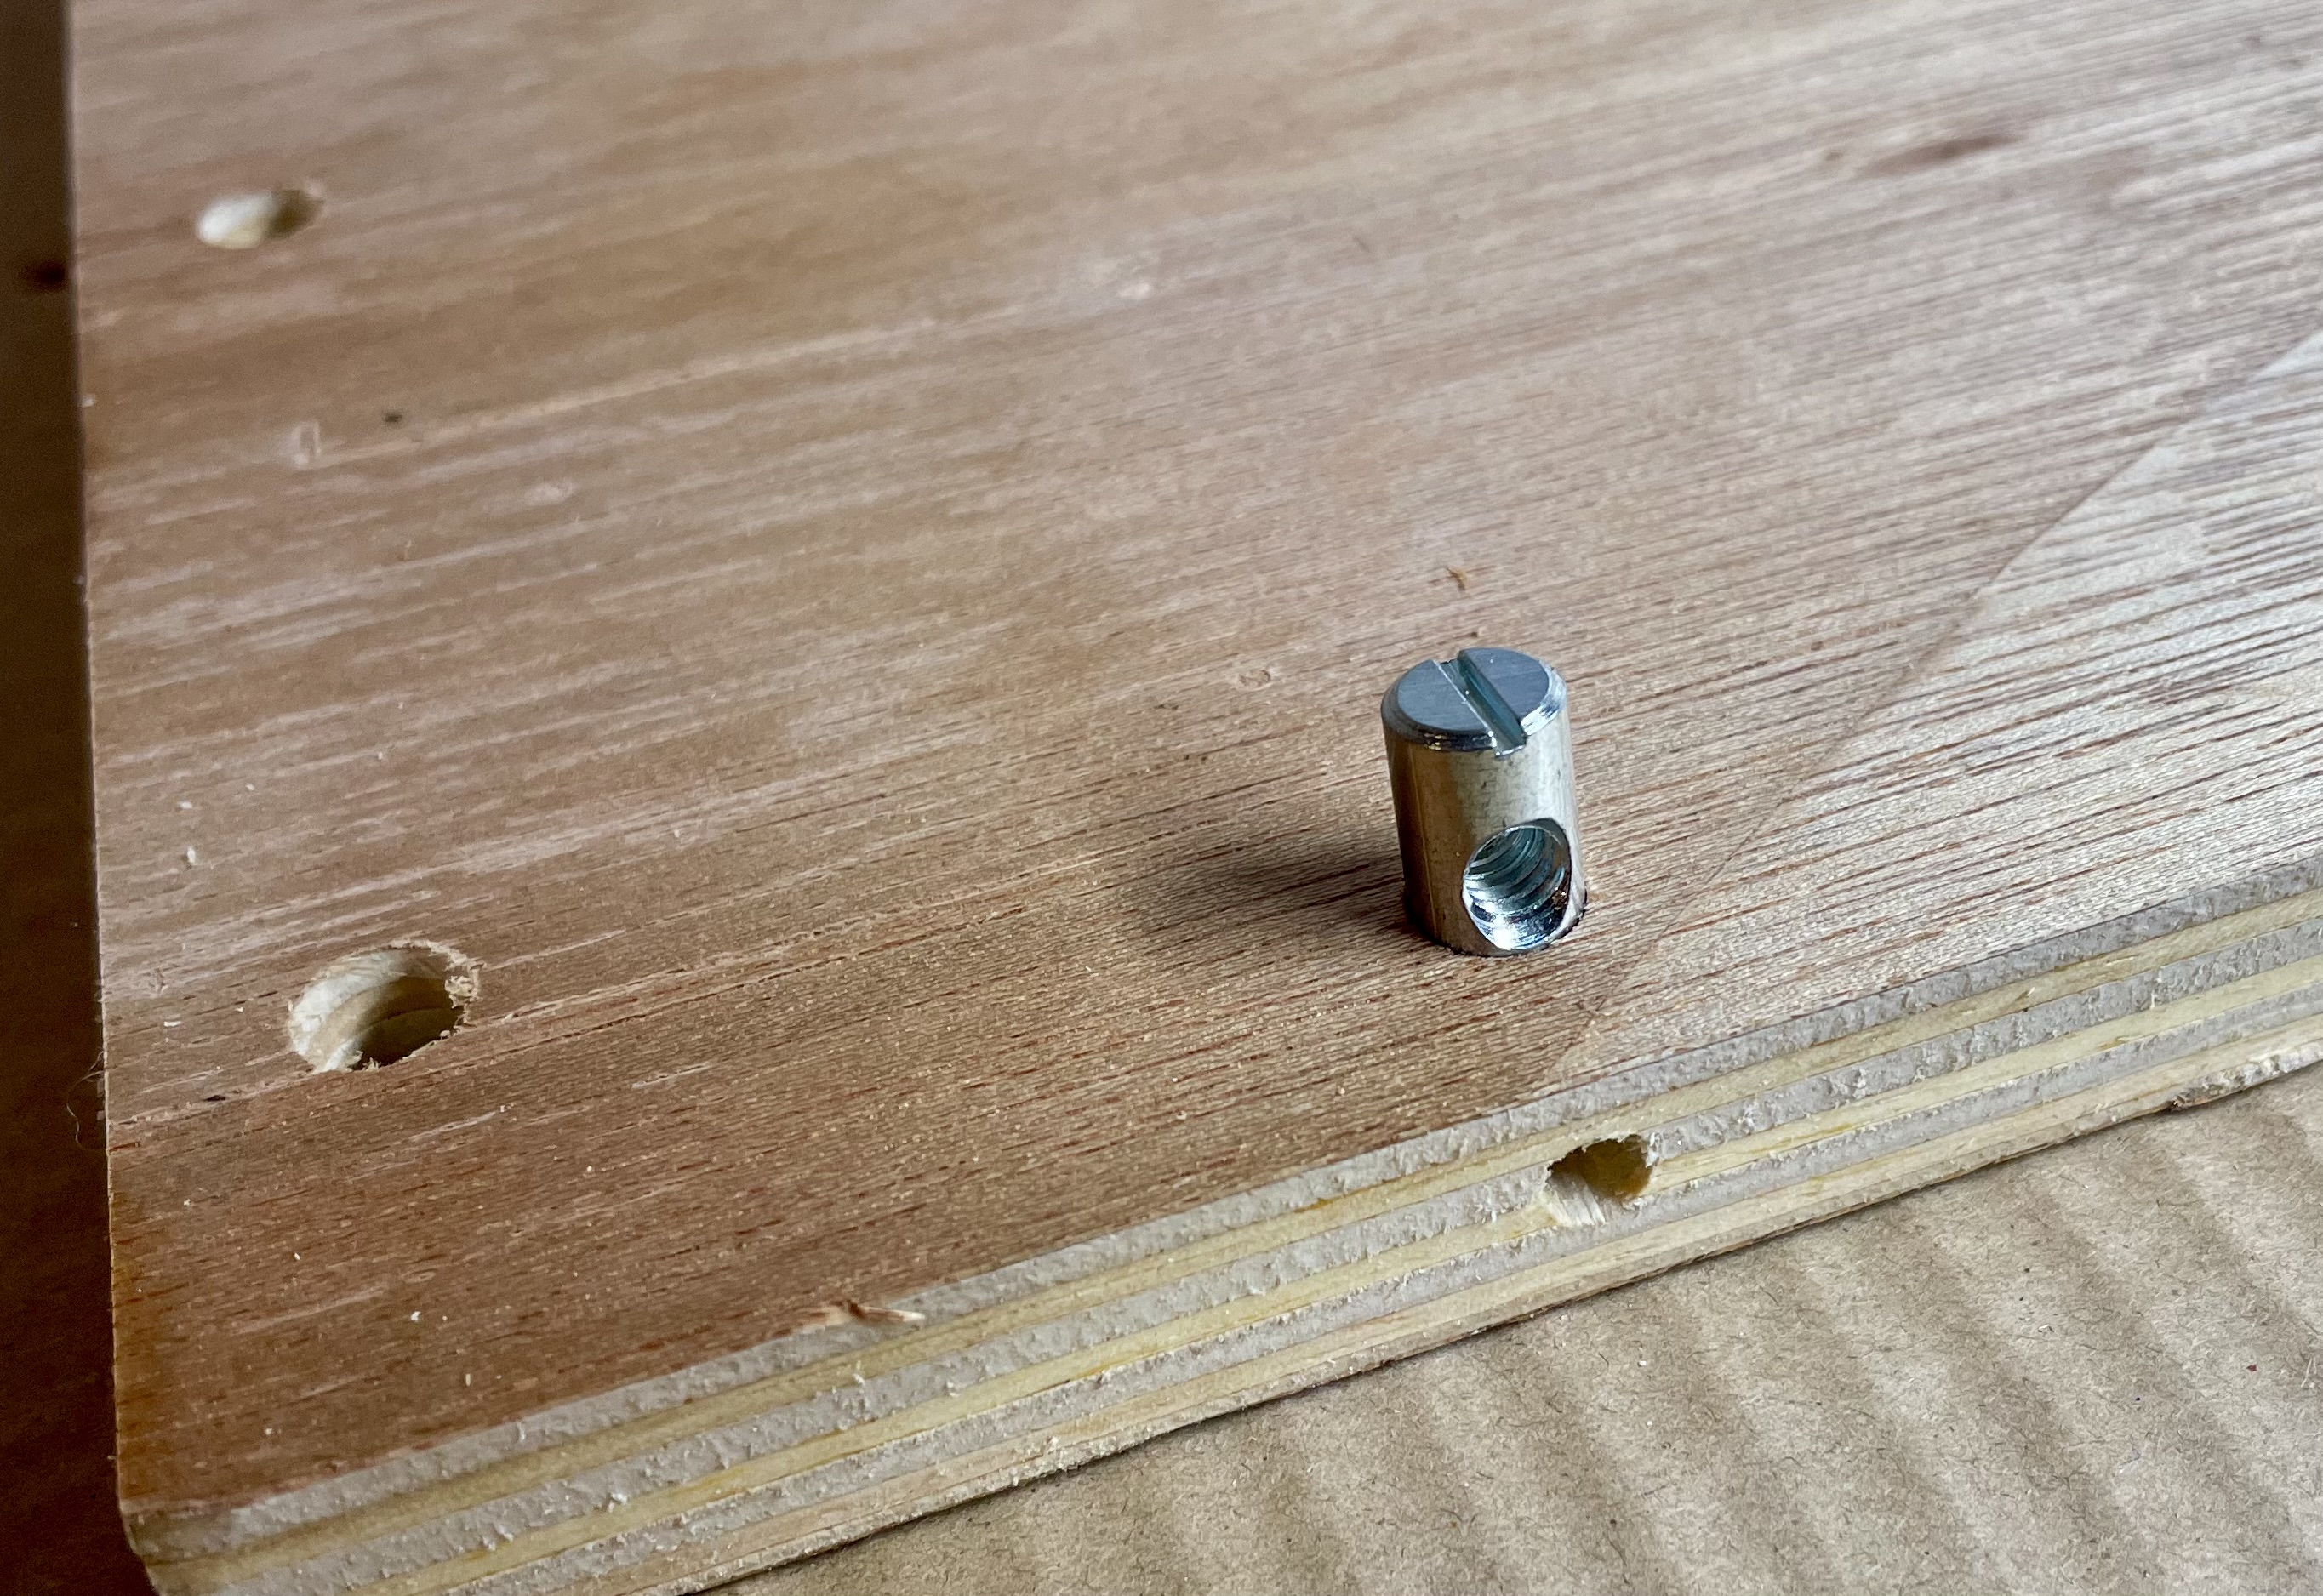
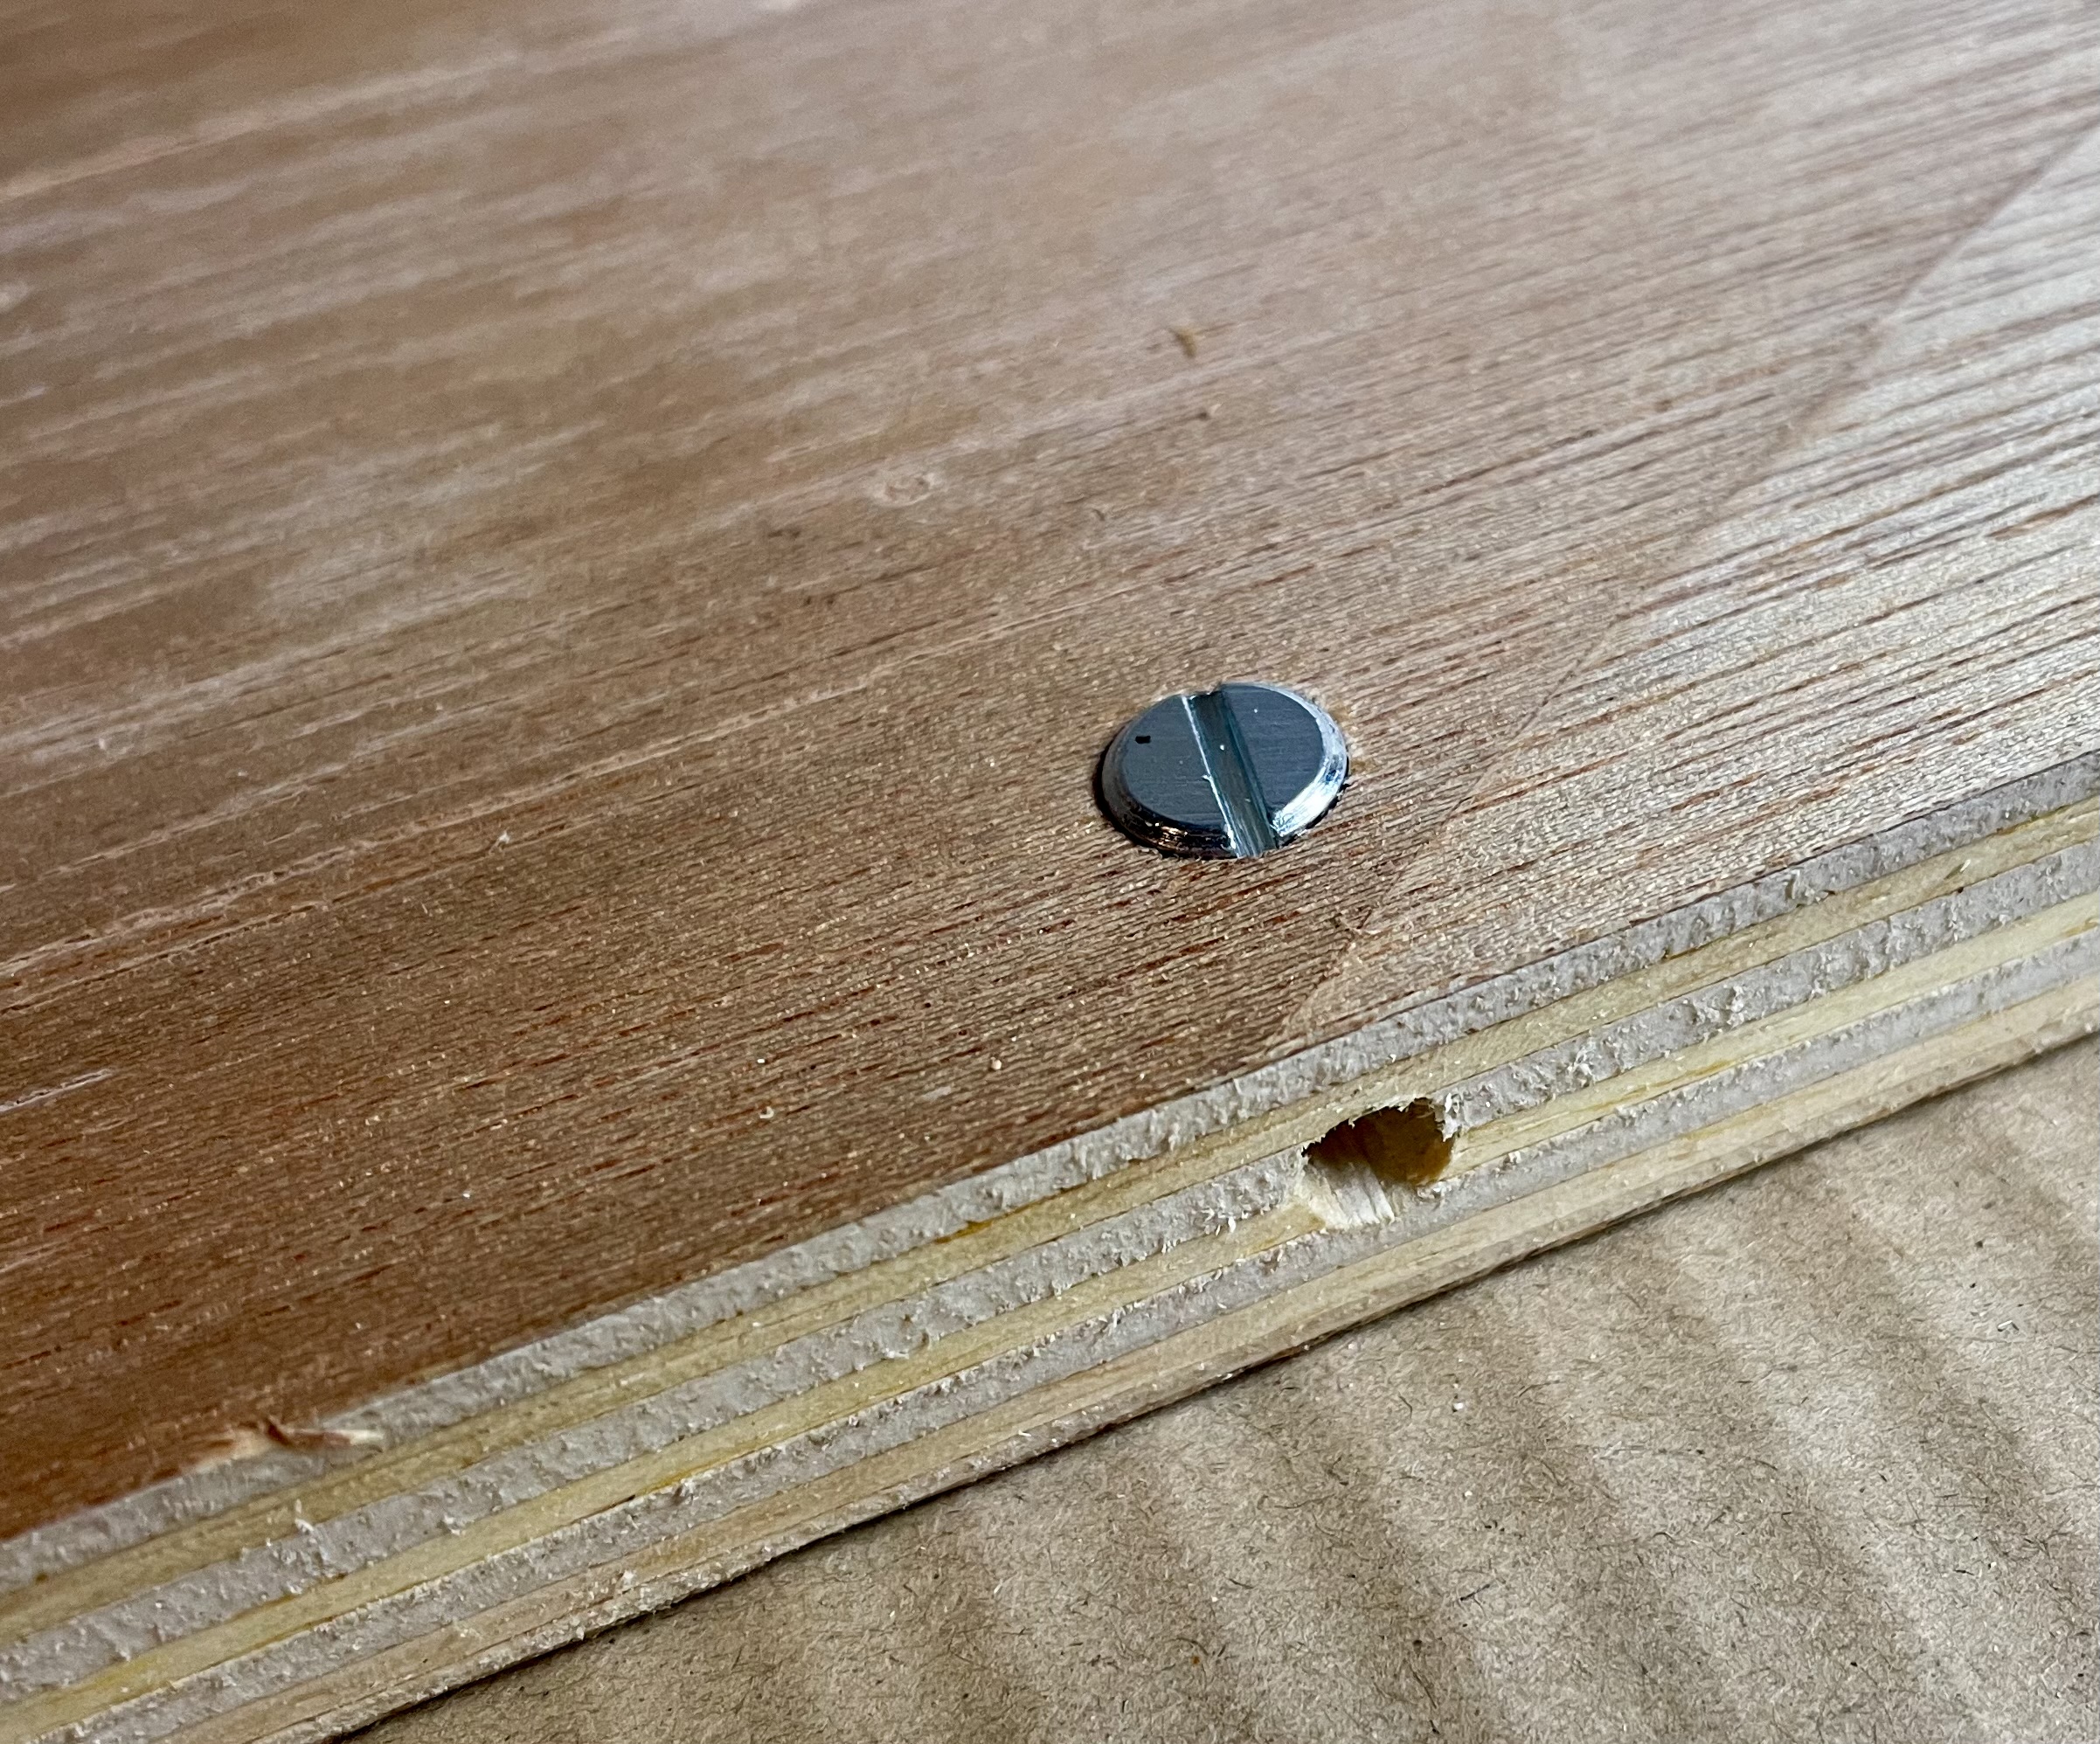
Now that I had some of the internals figured out, it was time to find a place to put them. Oh yeah, that’s the whole point of the MilkCr8! At this point, I was really, really glad I had asked Joe to cut the frame for me. Assembly was really straightforward! There was some jiggling of dowels requred, and a couple of holes needed to be “convinced” with a little drilling action, but overall, the assembly went smoothly, and really started to look like I was going to finish this thing!
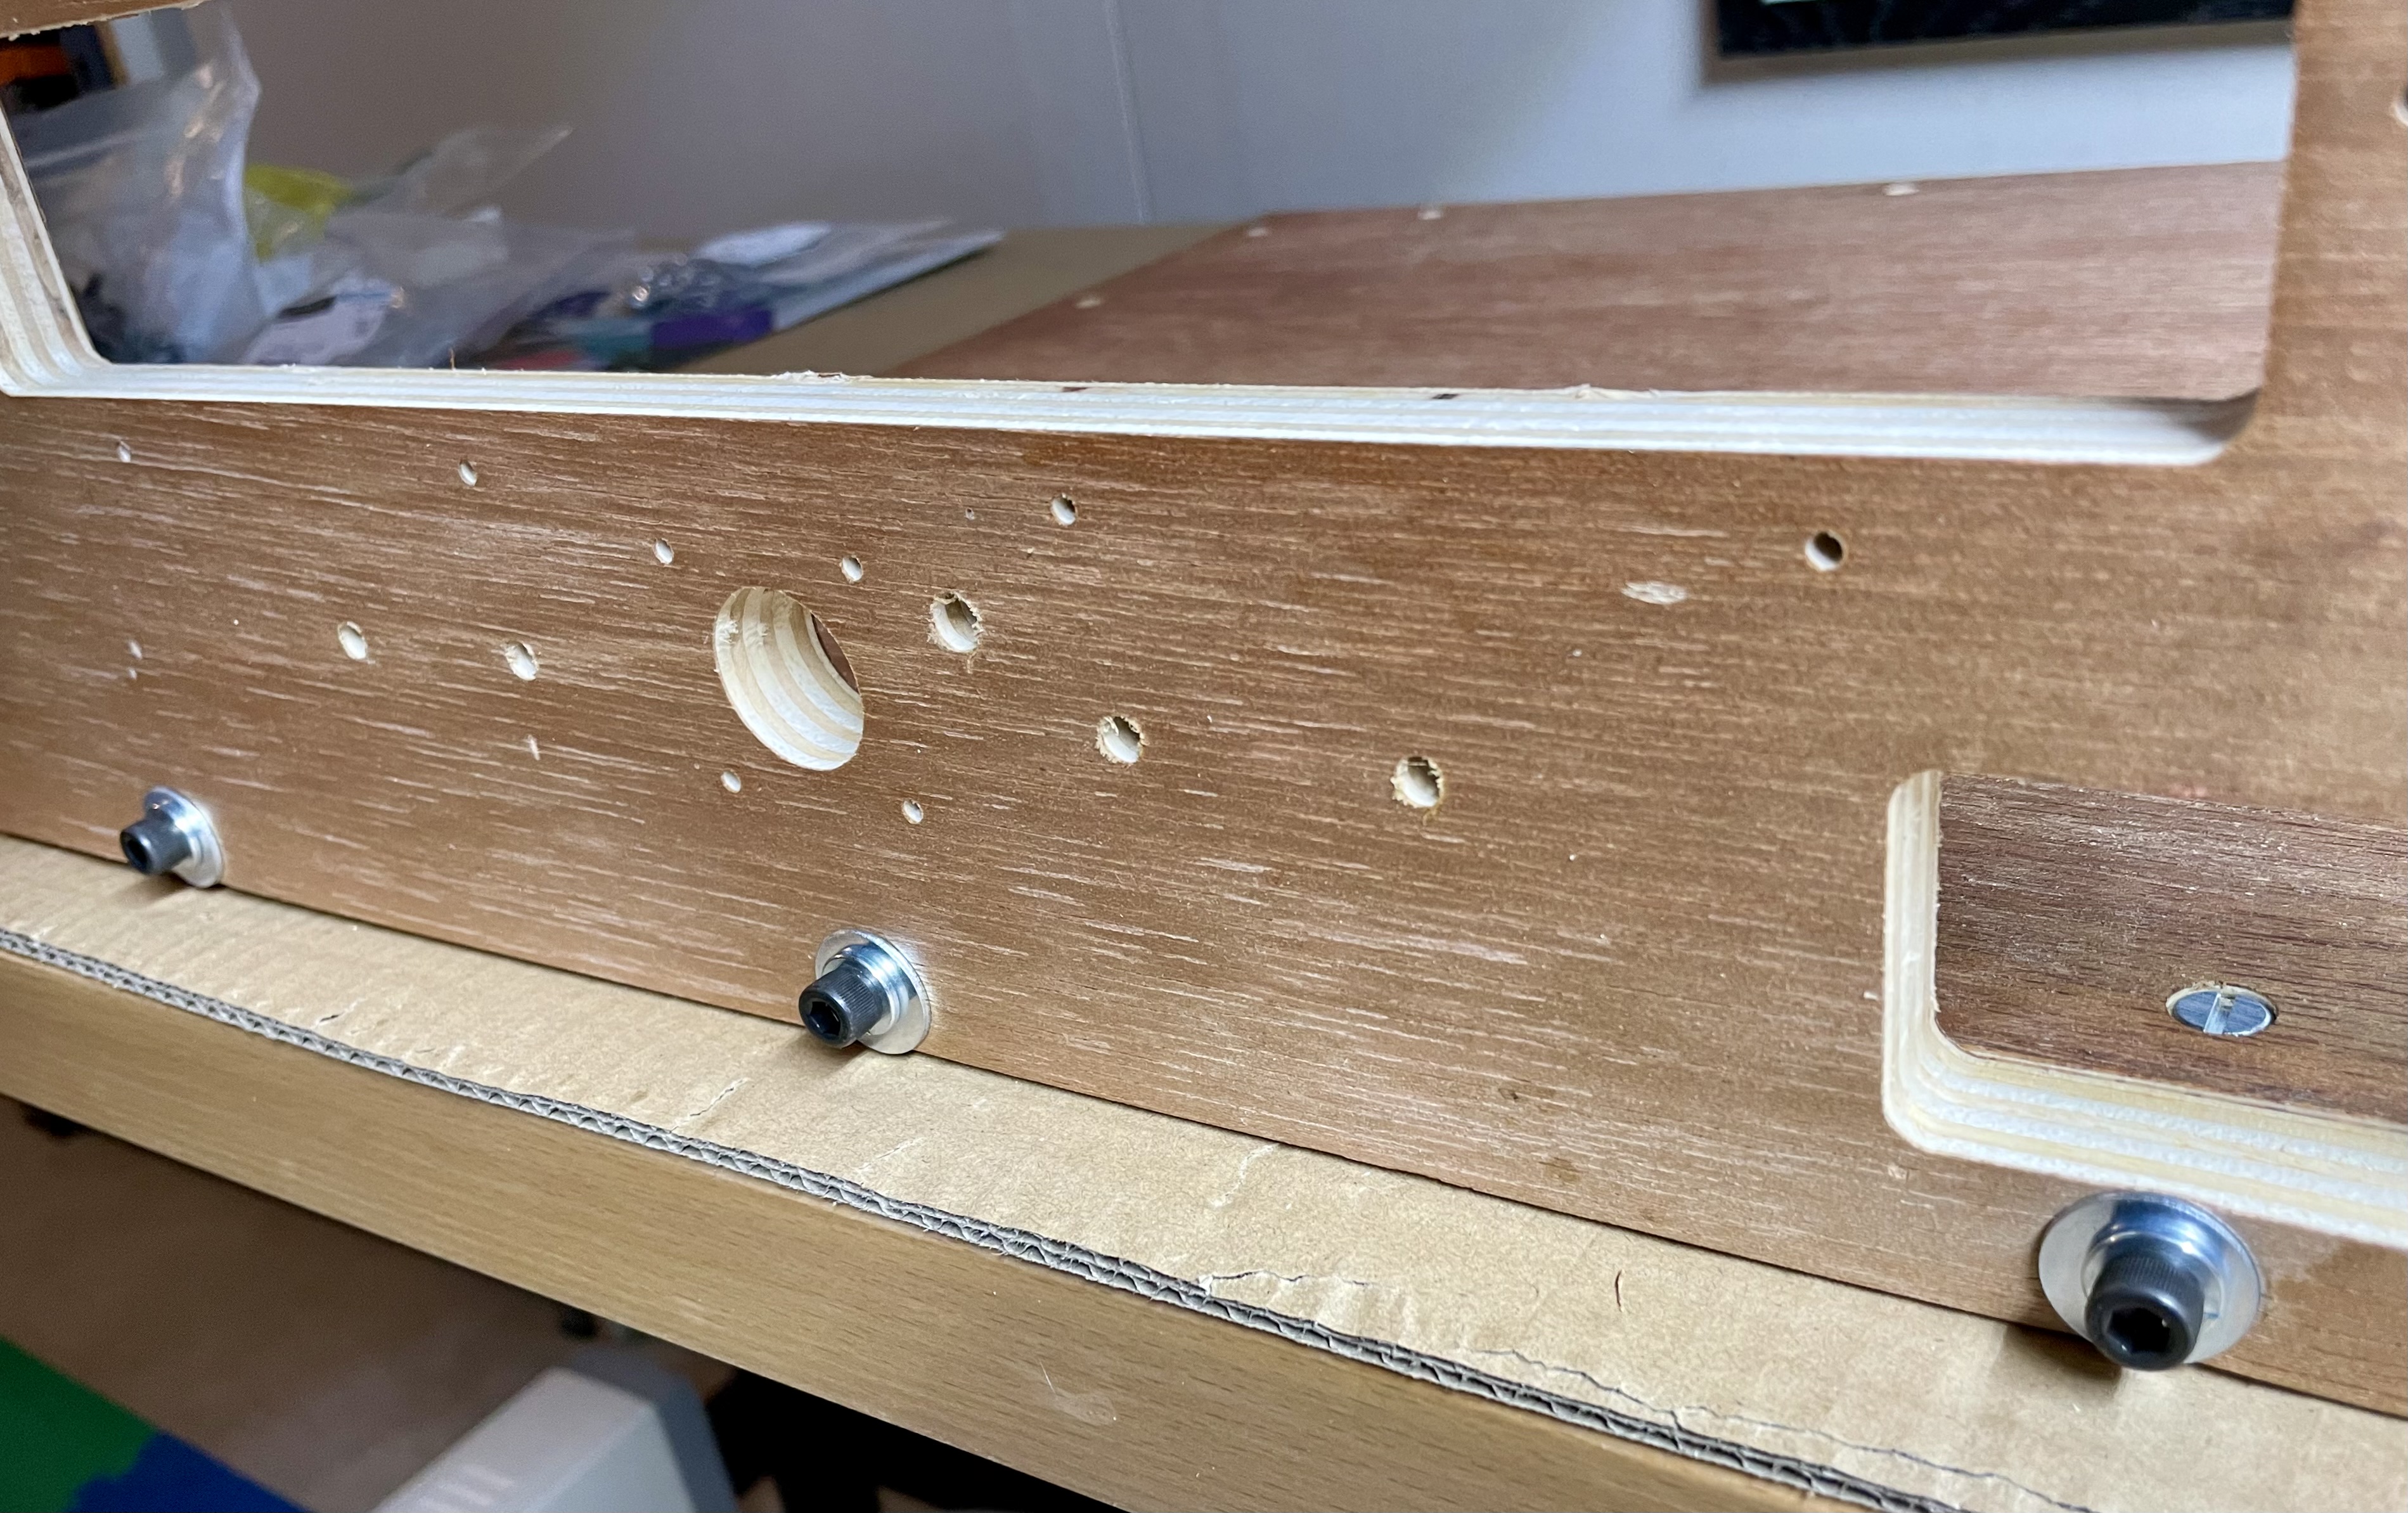
When it came time to install the X-axis, it seemed folks were having some difficulties getting the threaded rod into place. I decided to first thread the rods through the X-steel and printed ends. I then stacked some stuff to the correct height, and pushed the rods through the righe side of the crate. After that, I attached the left side of the crate. Easy as pie.
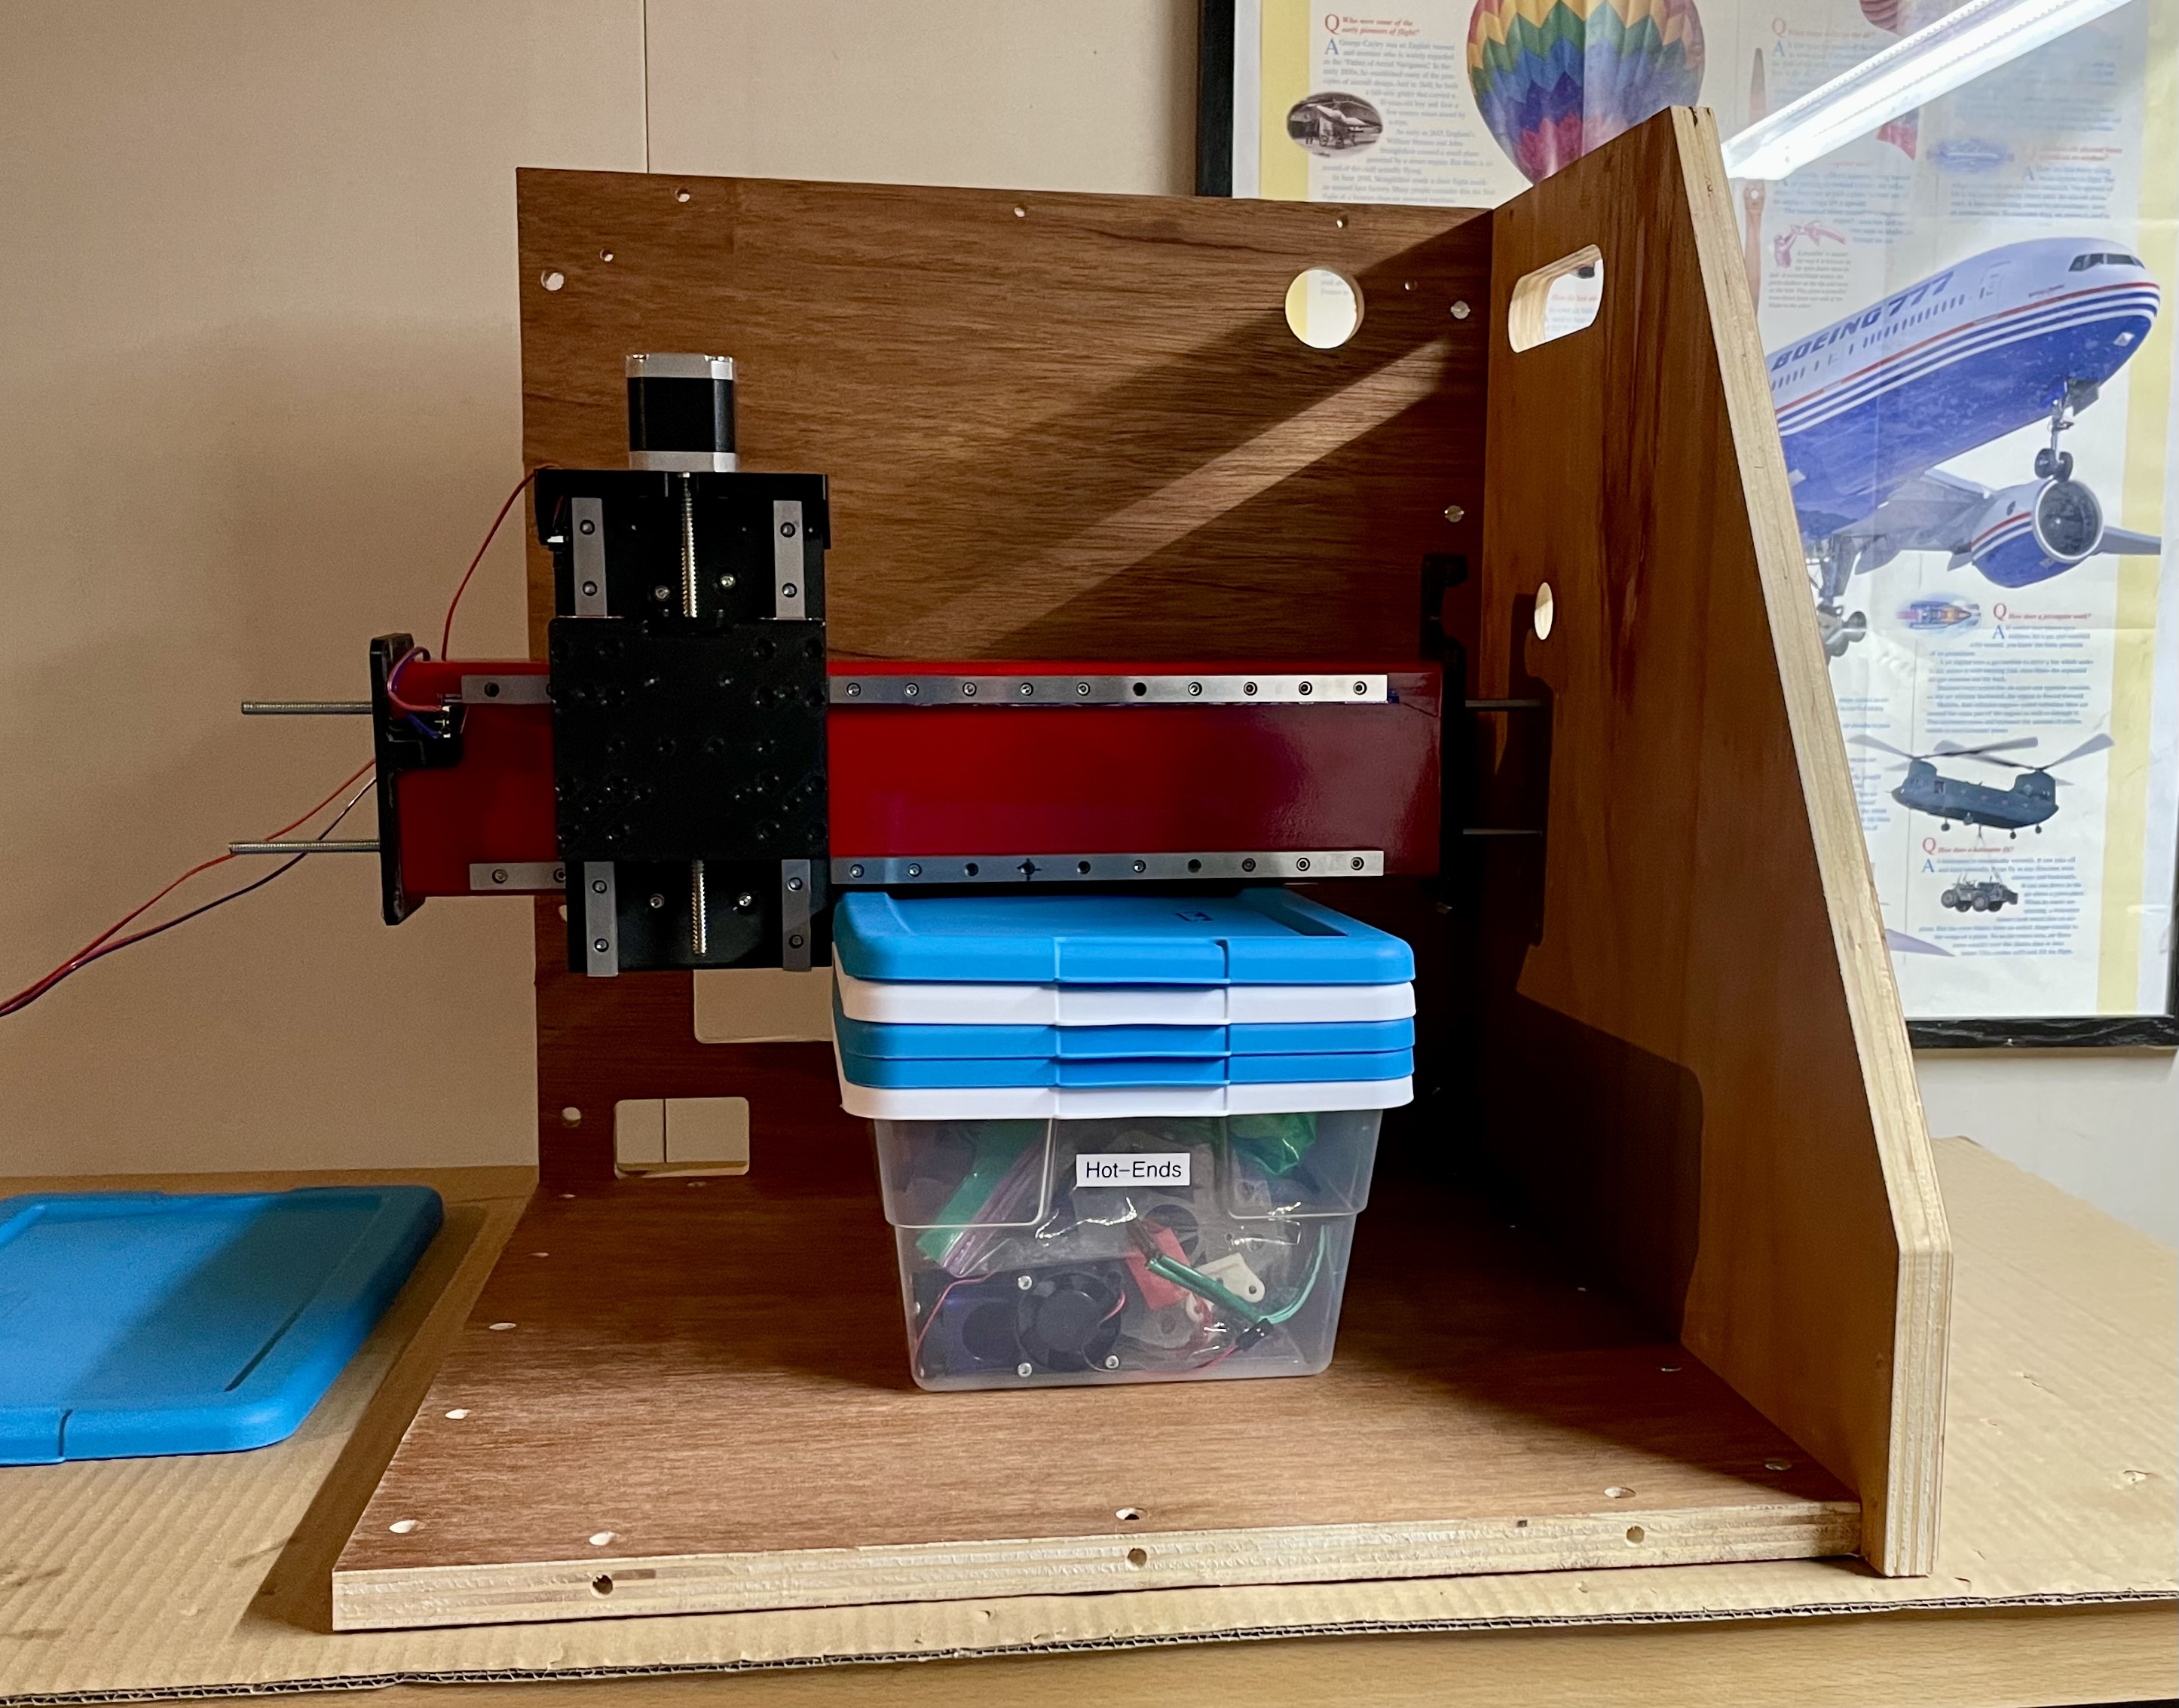
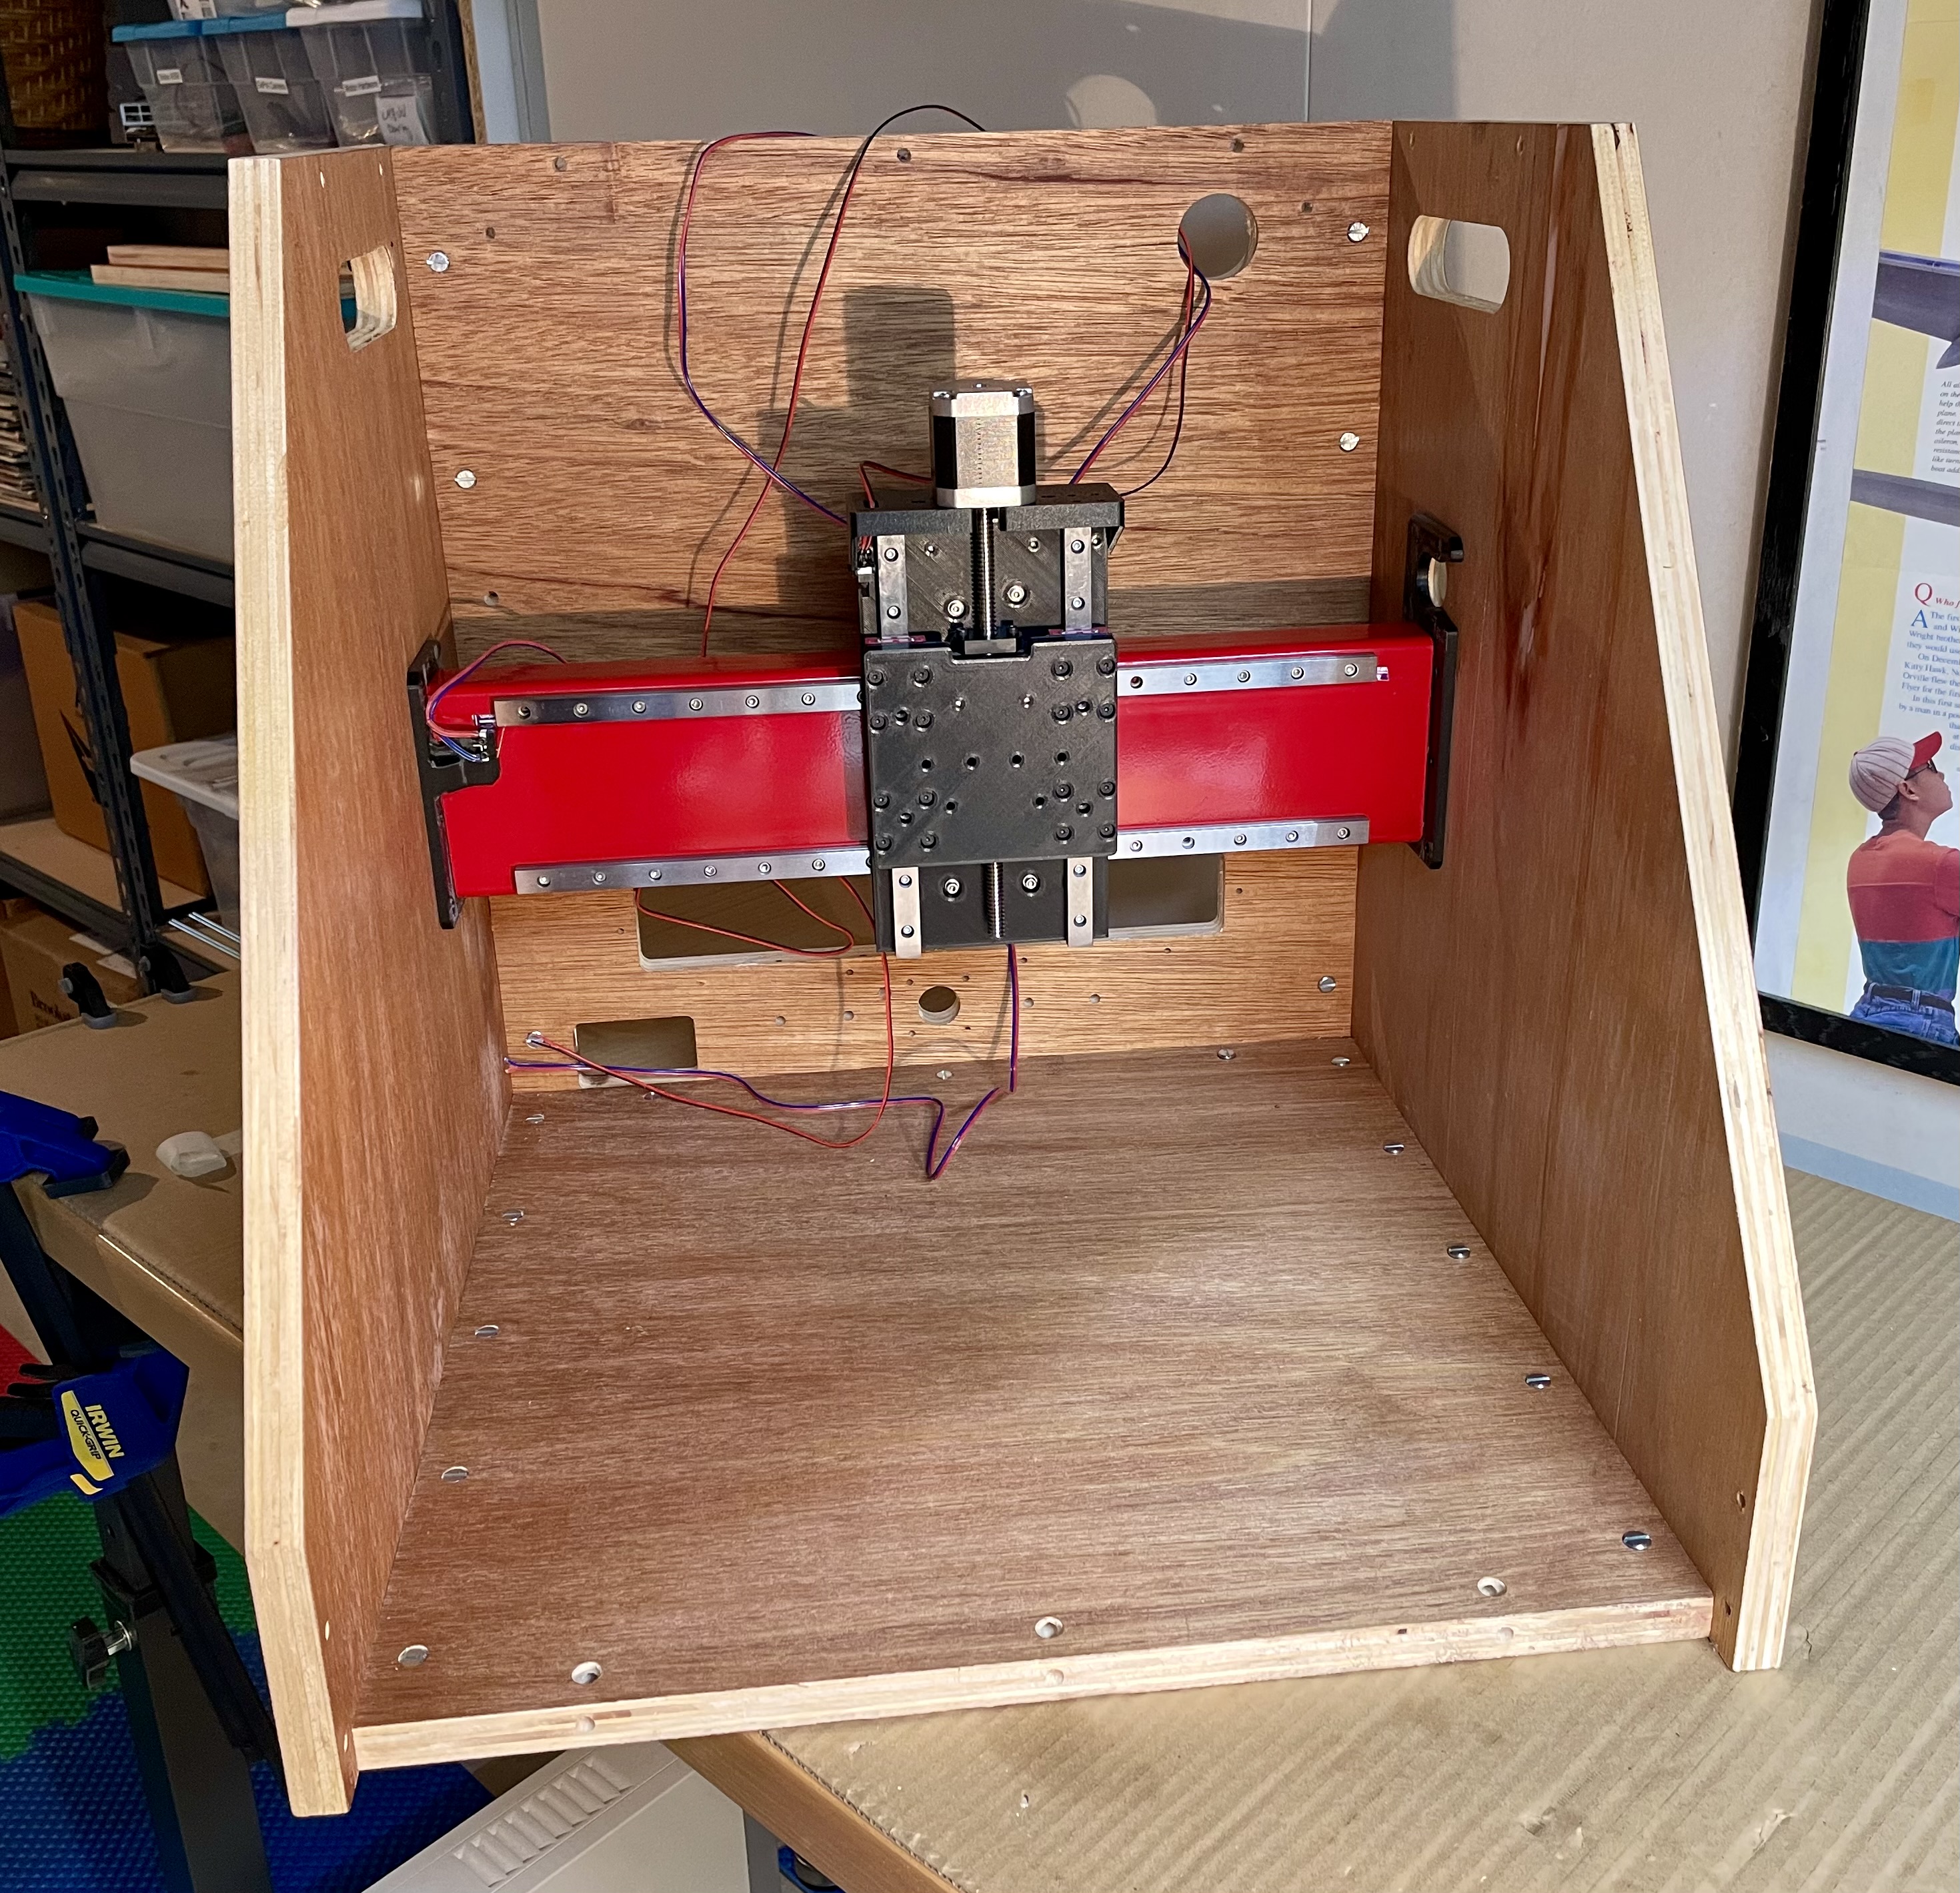
Y-assembly into the crate was similar.
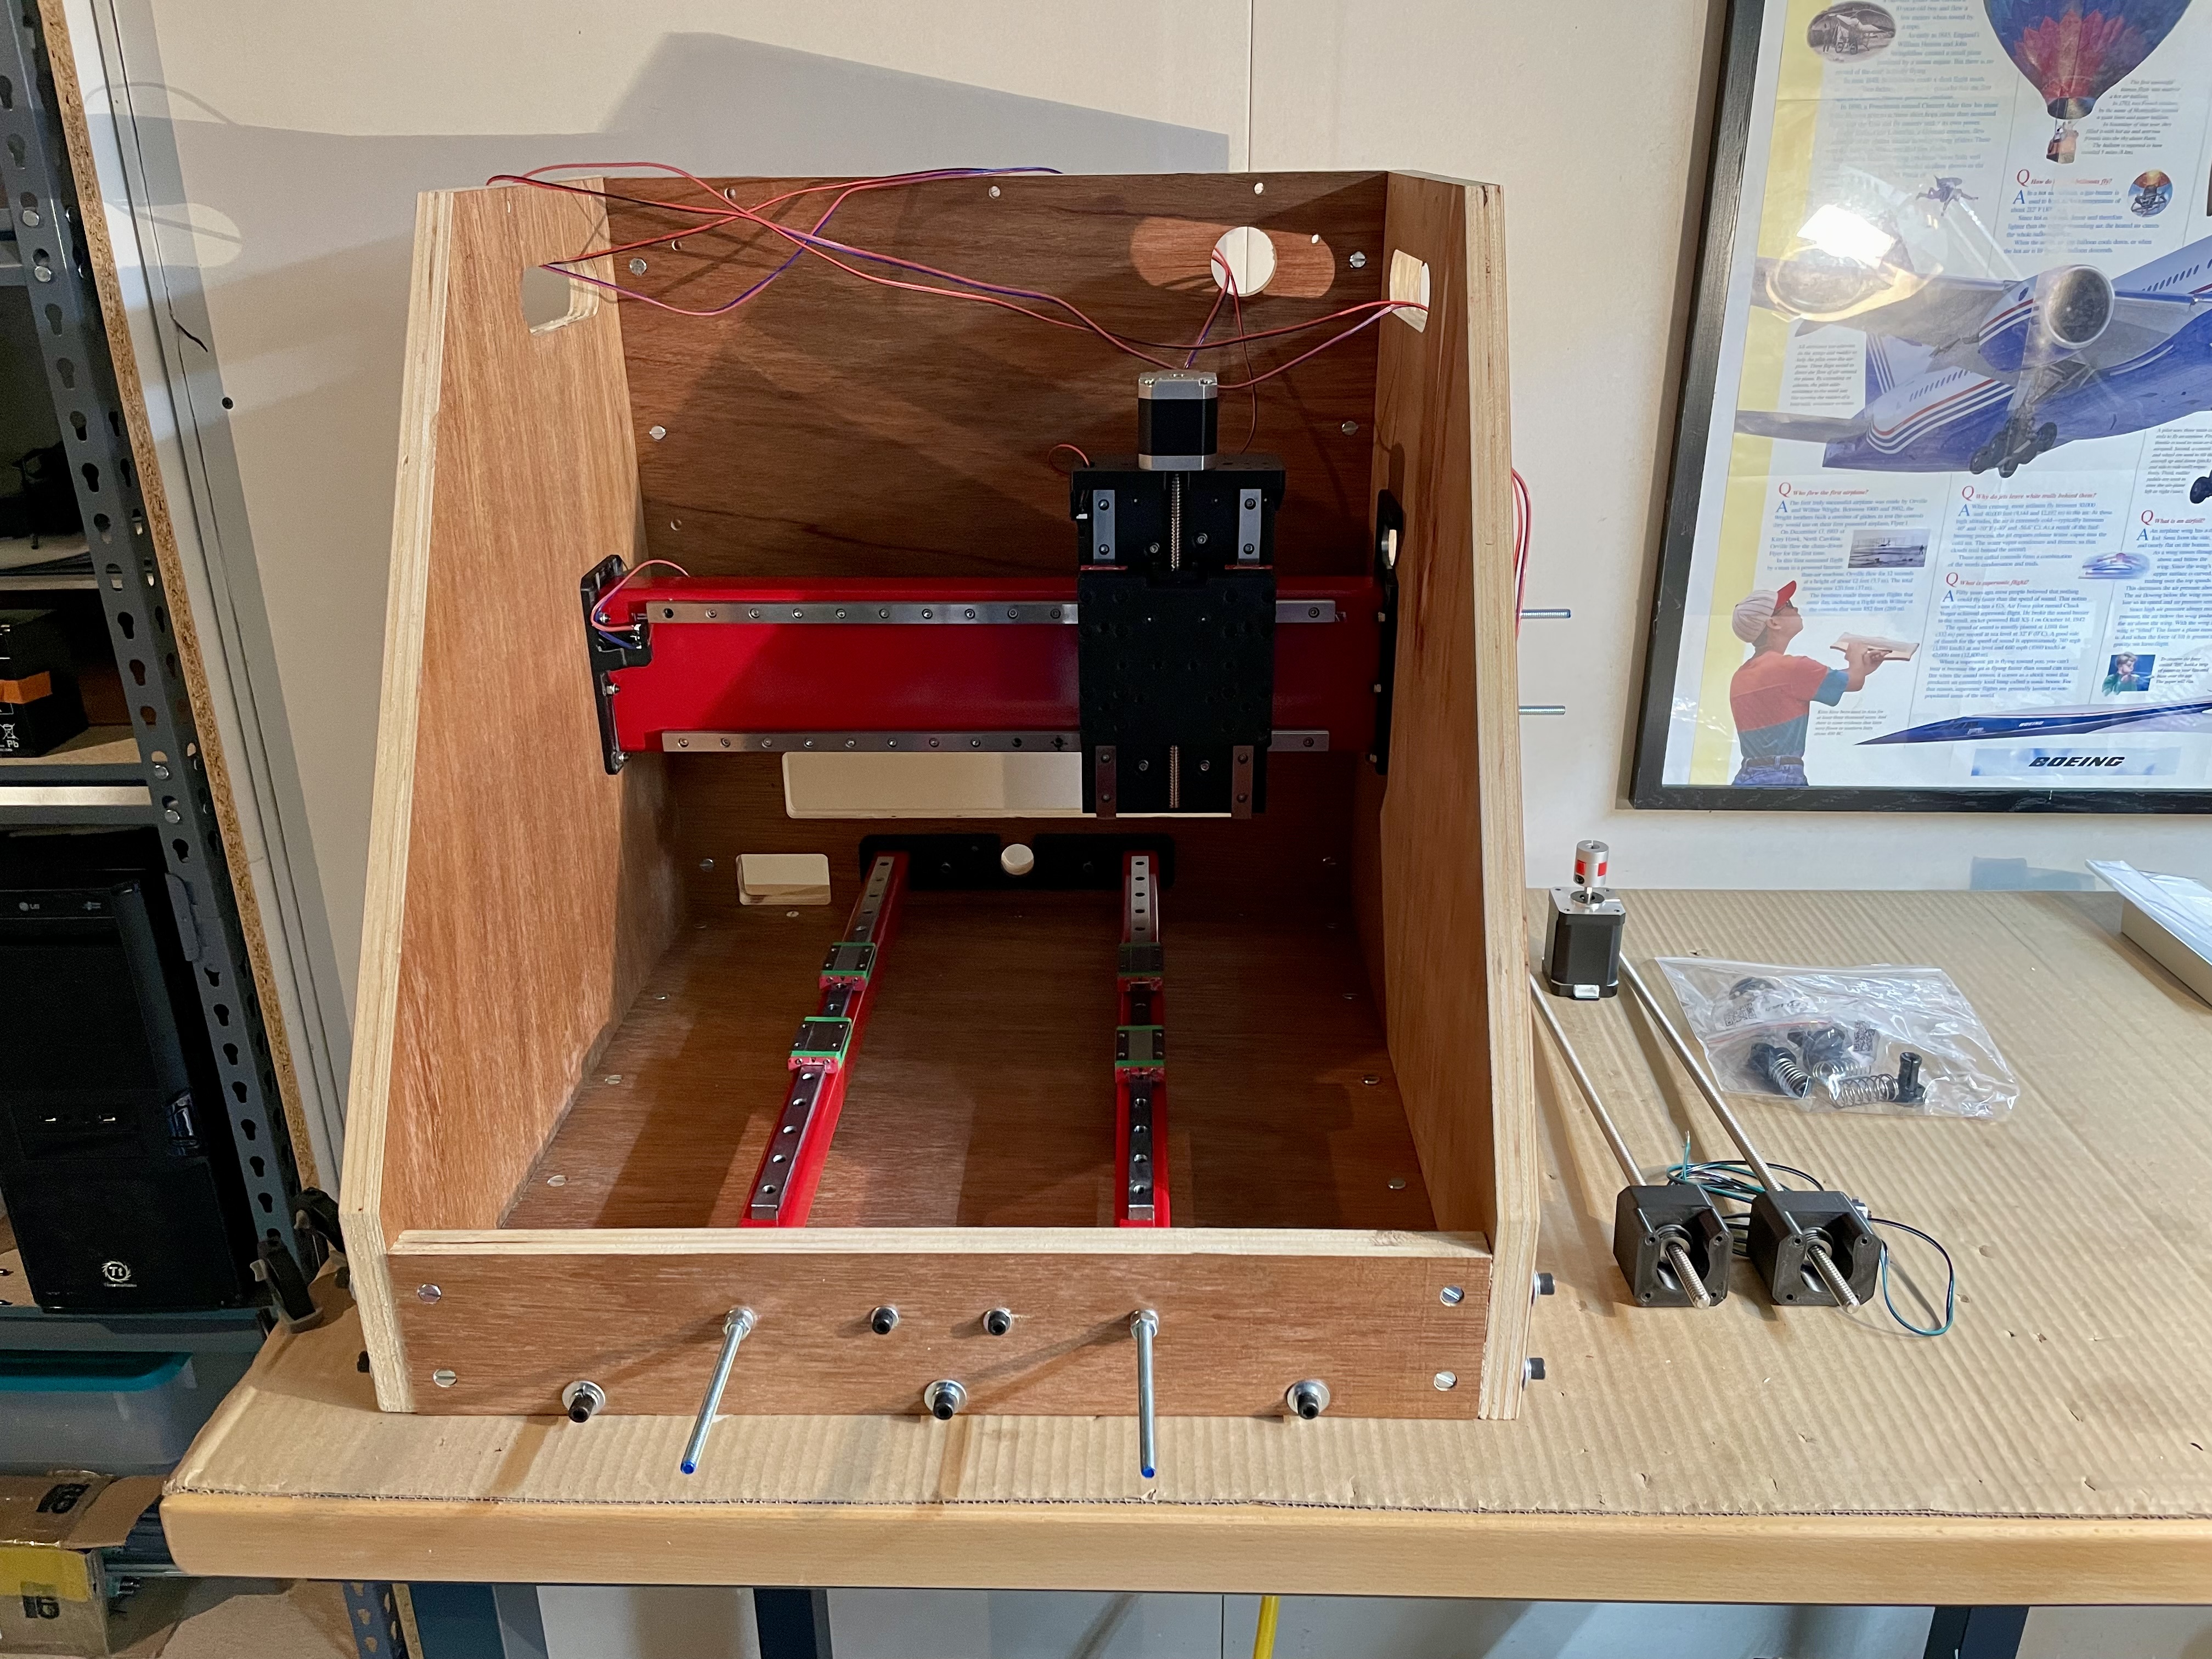
Next up - leadscrew to stepper motor assembly - but we’ll leave that to the next entry.