Take Me to the Limit (Switches)
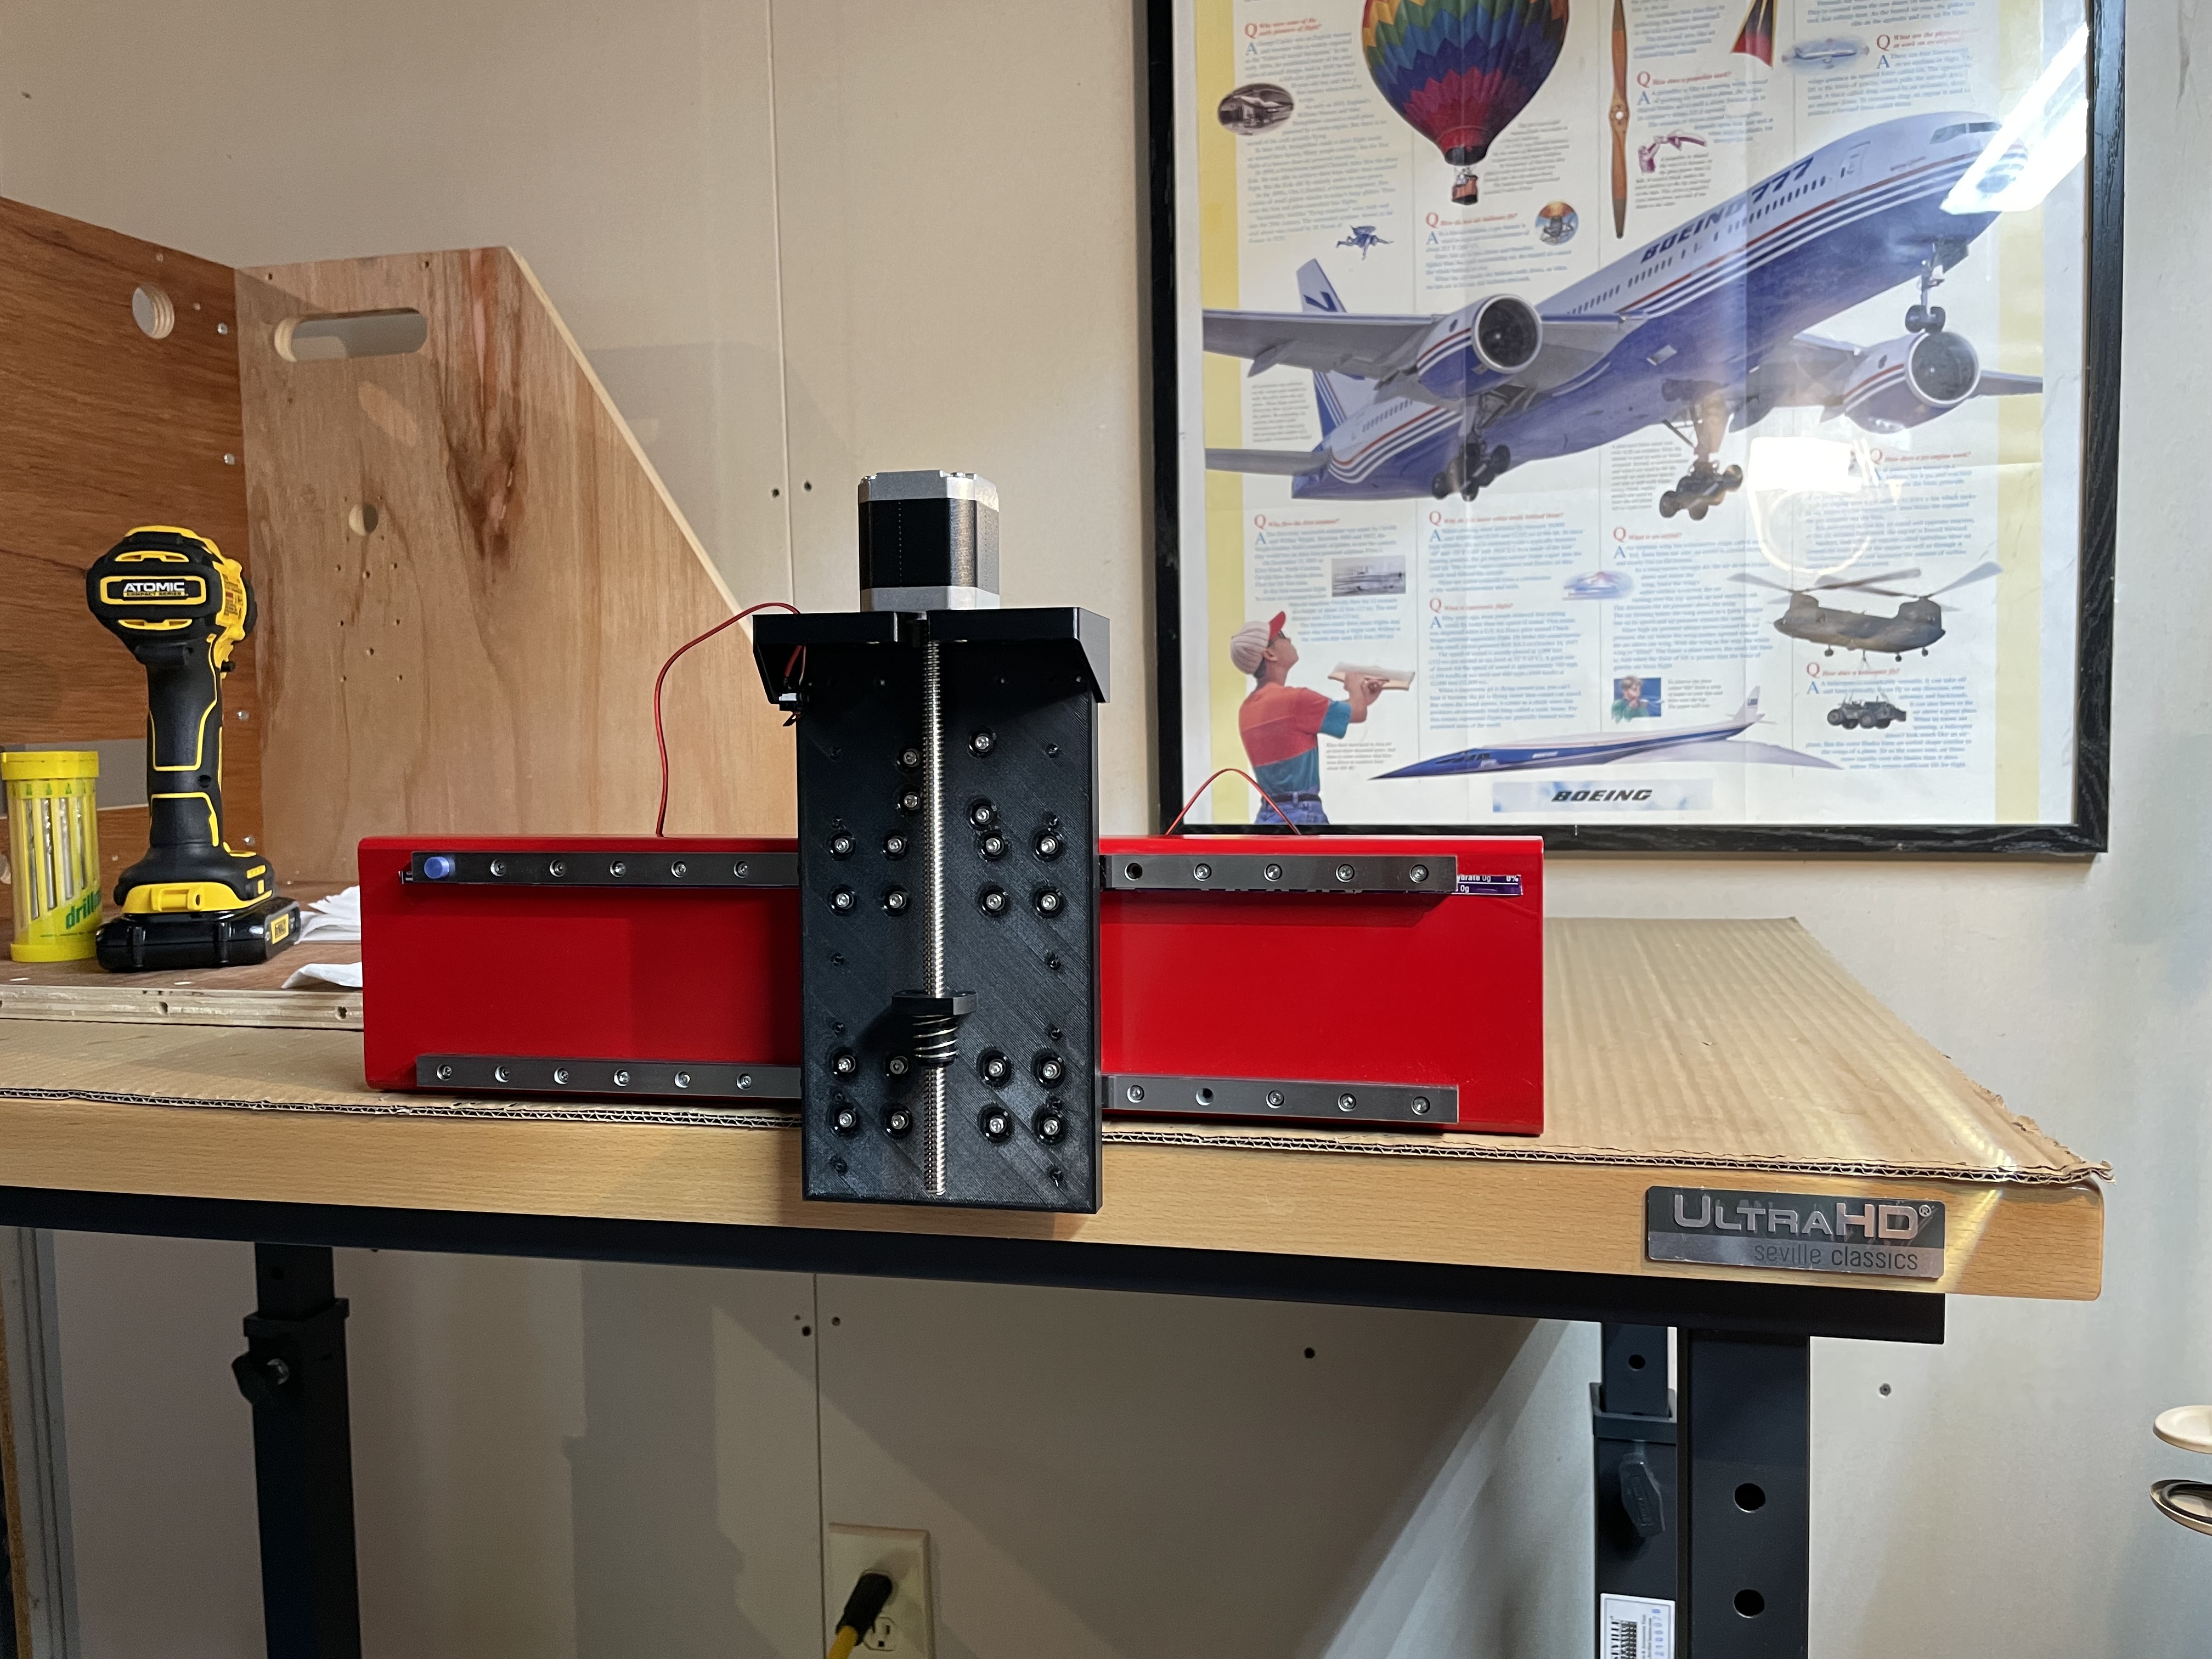
Once the XZ plate was attached to the X-axis steel (and moving smoothly) it was time for a little glory photo. Unfortunately, that photo showed me that I had forgotten to shorten the Z-axis leadscrew to 200mm.
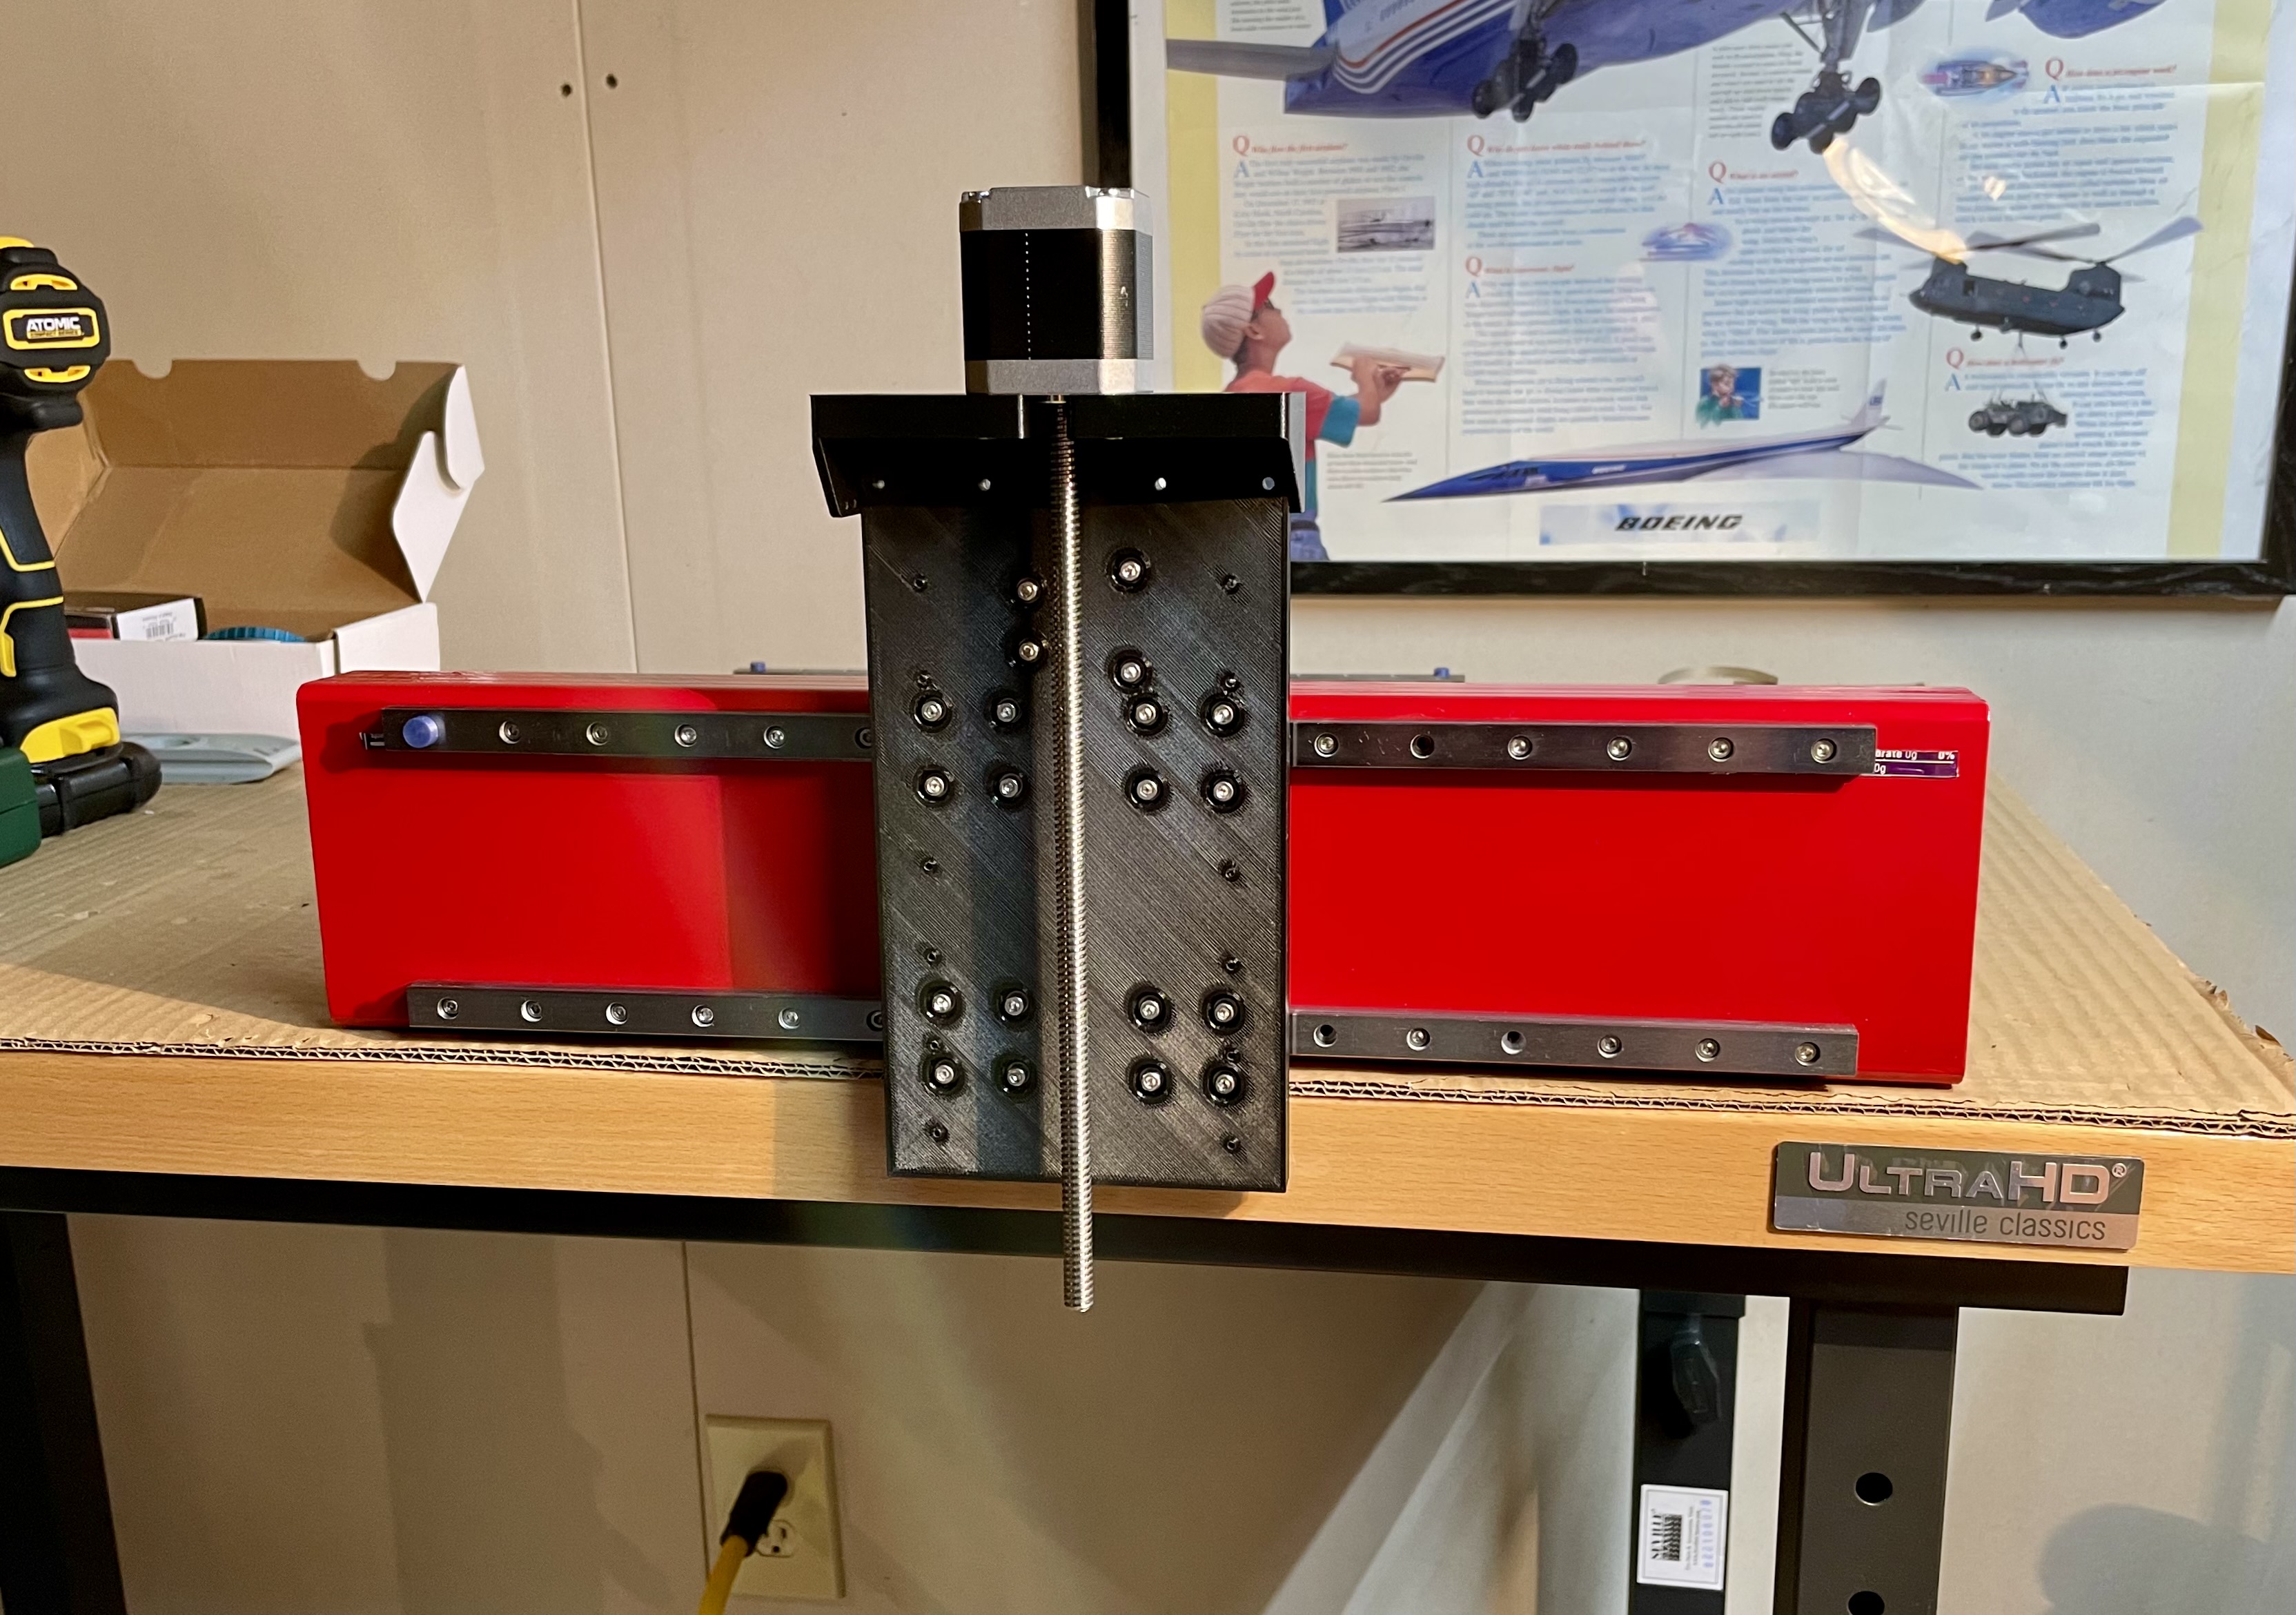
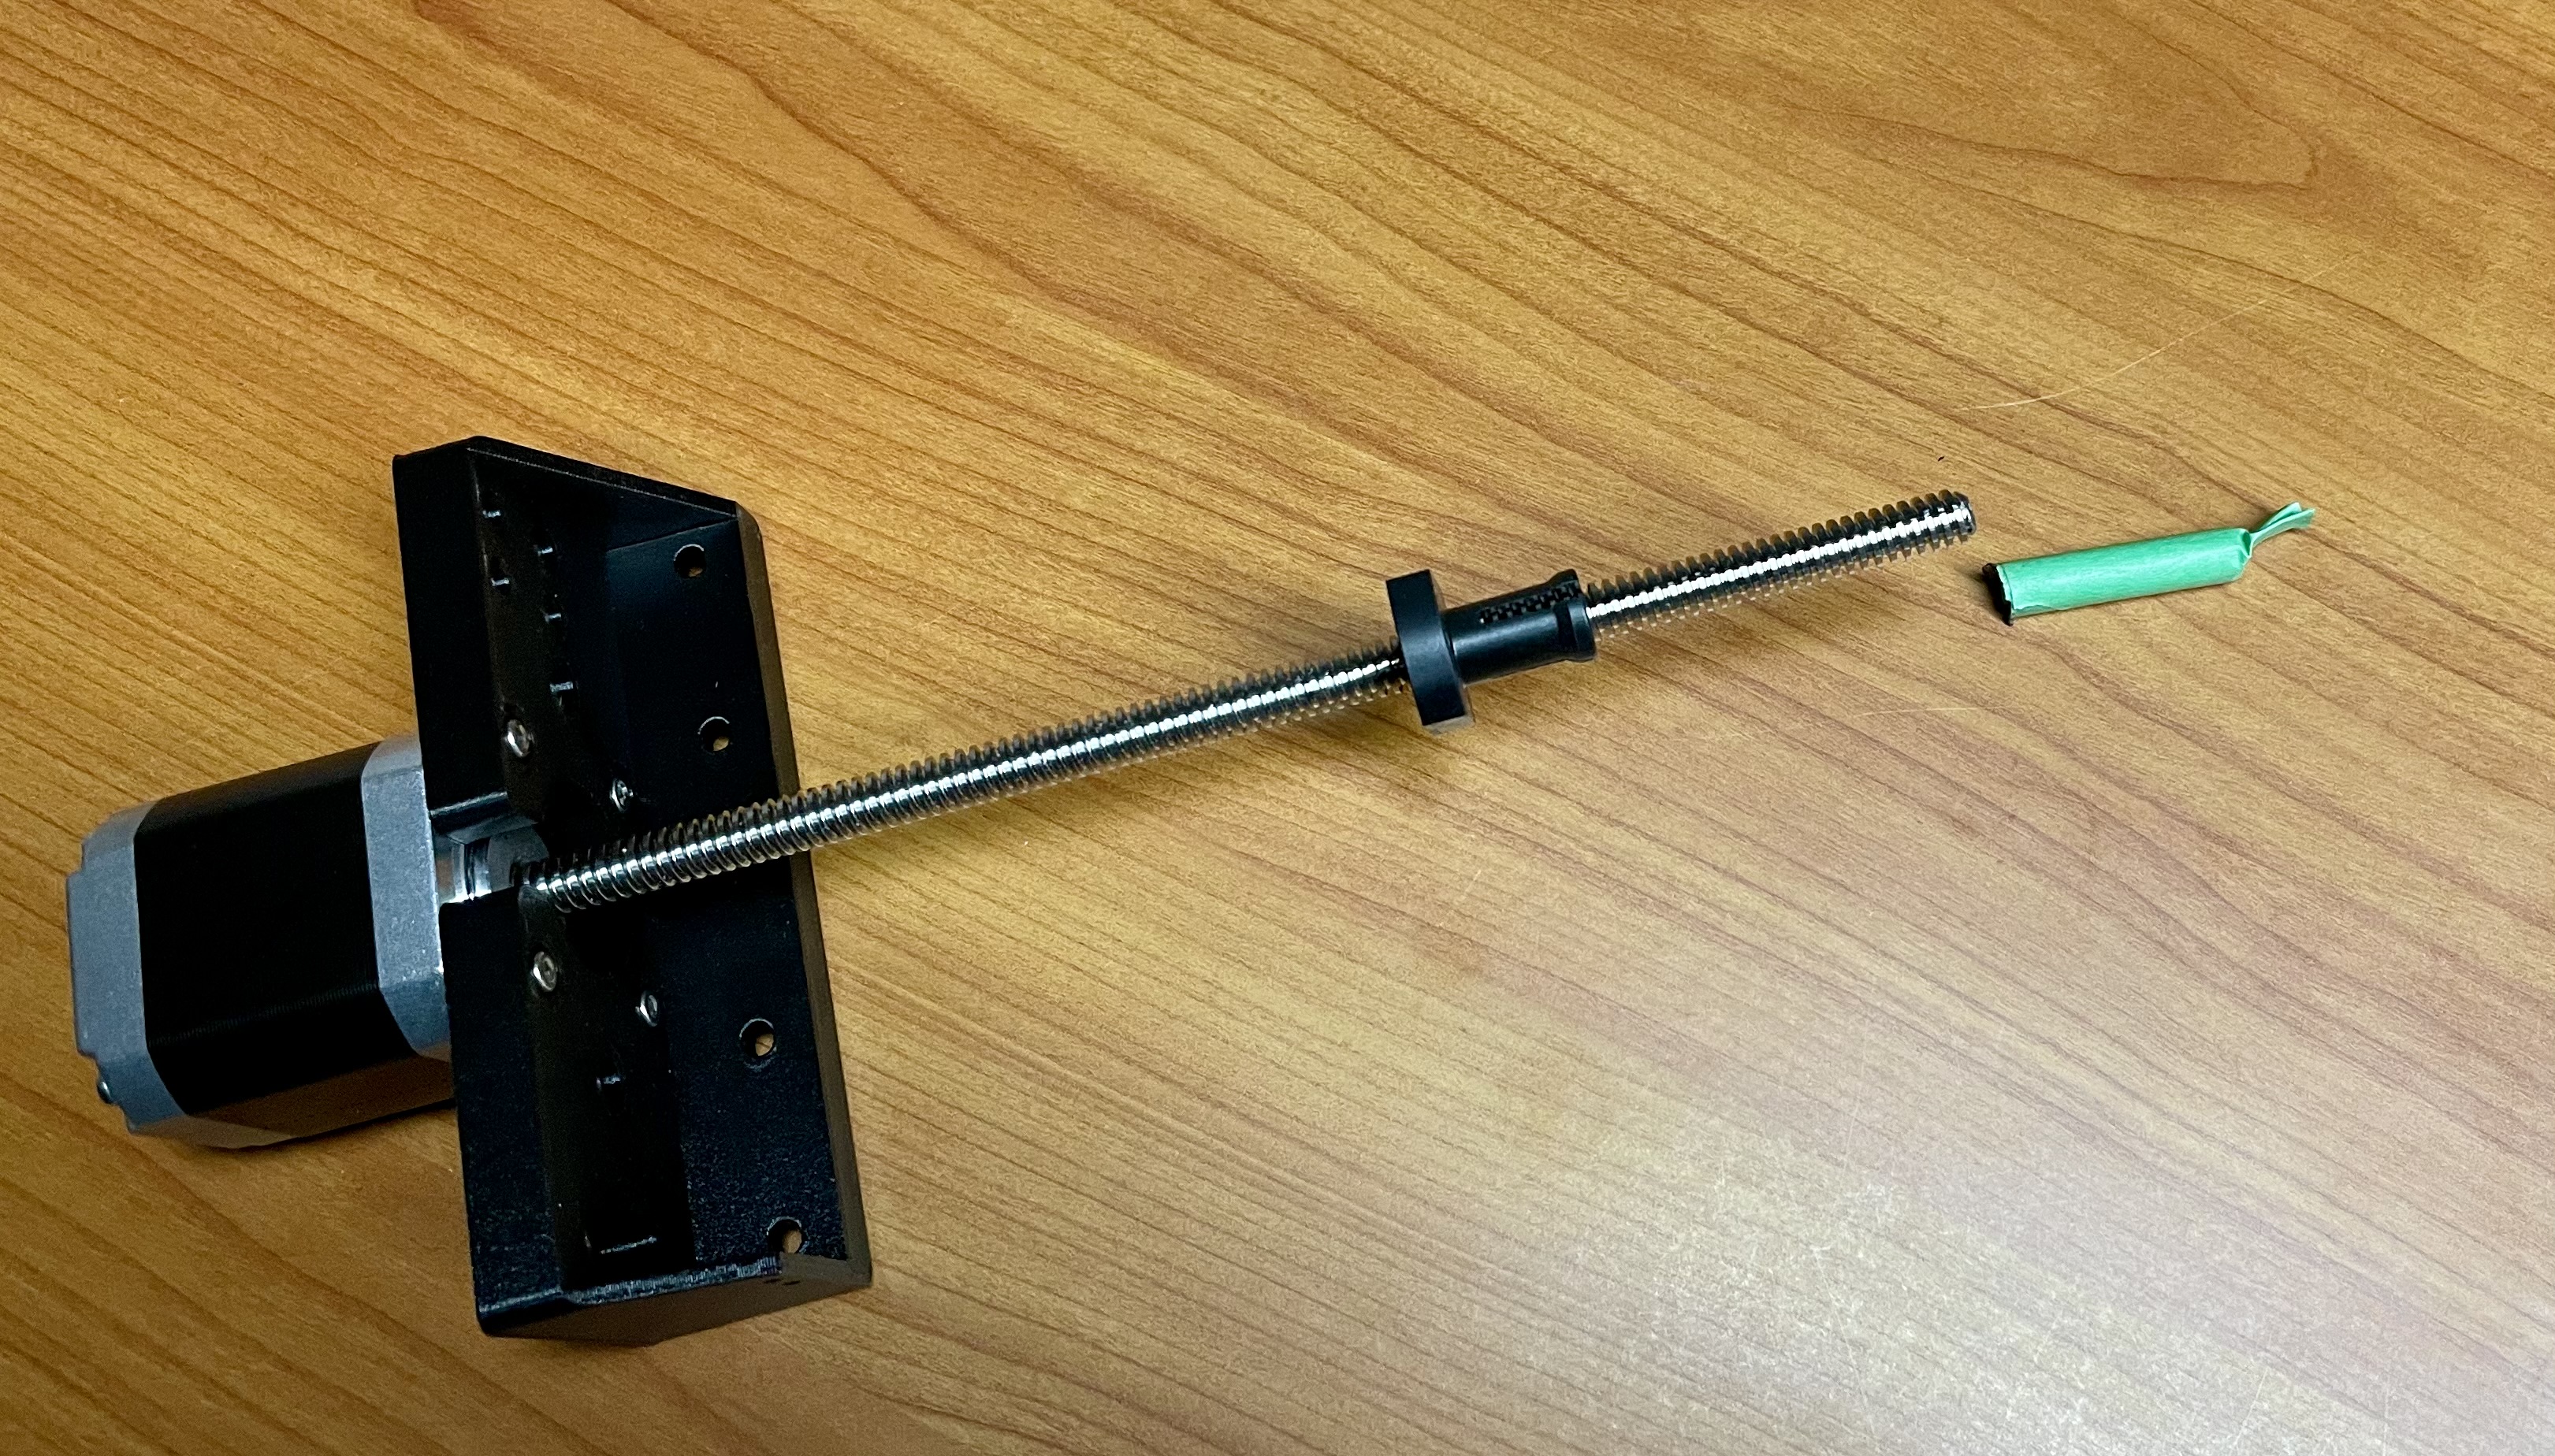
Thankfully, my trusty angle grinder and cutoff wheel was able to make quick work of that unneeded length. After cutting off the end, I used the grinding wheel followed by some manual filing to clean out the grooves.
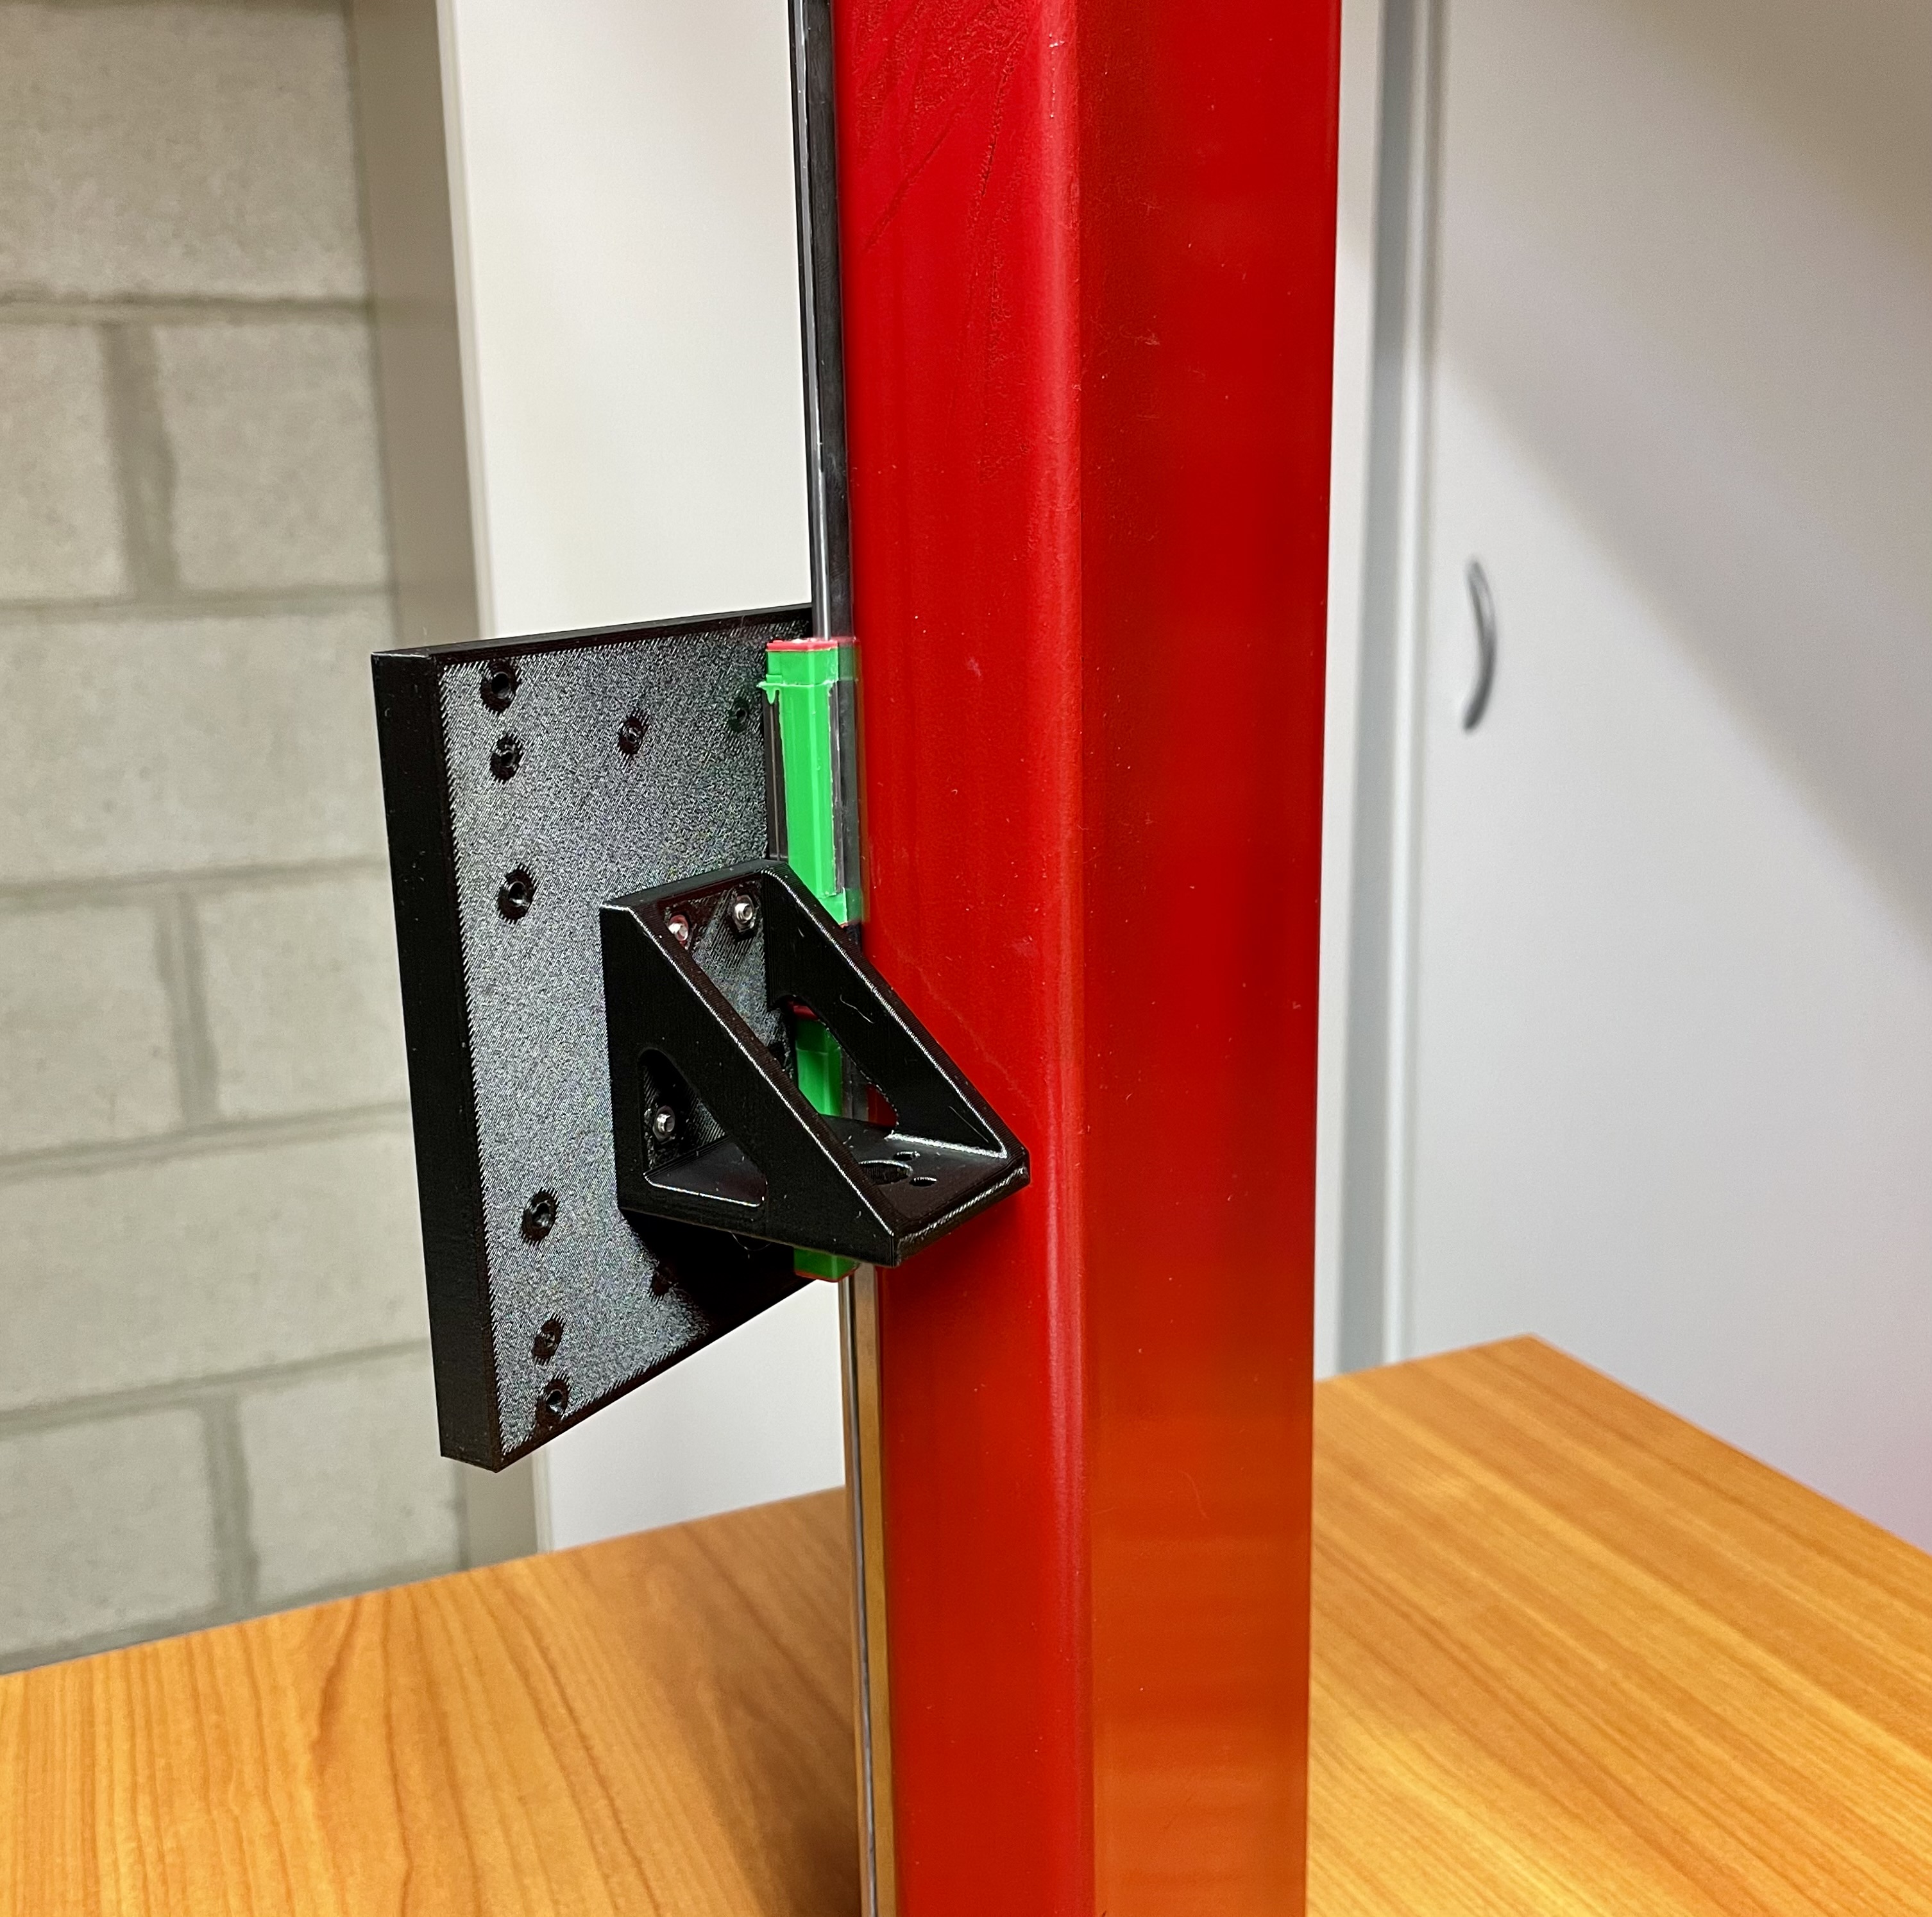
One angle I wanted to show was the back-side of the XZ-plate with the X-leadnut attached. This was a bit unclear to me in the assembly guide, so here is that photo.
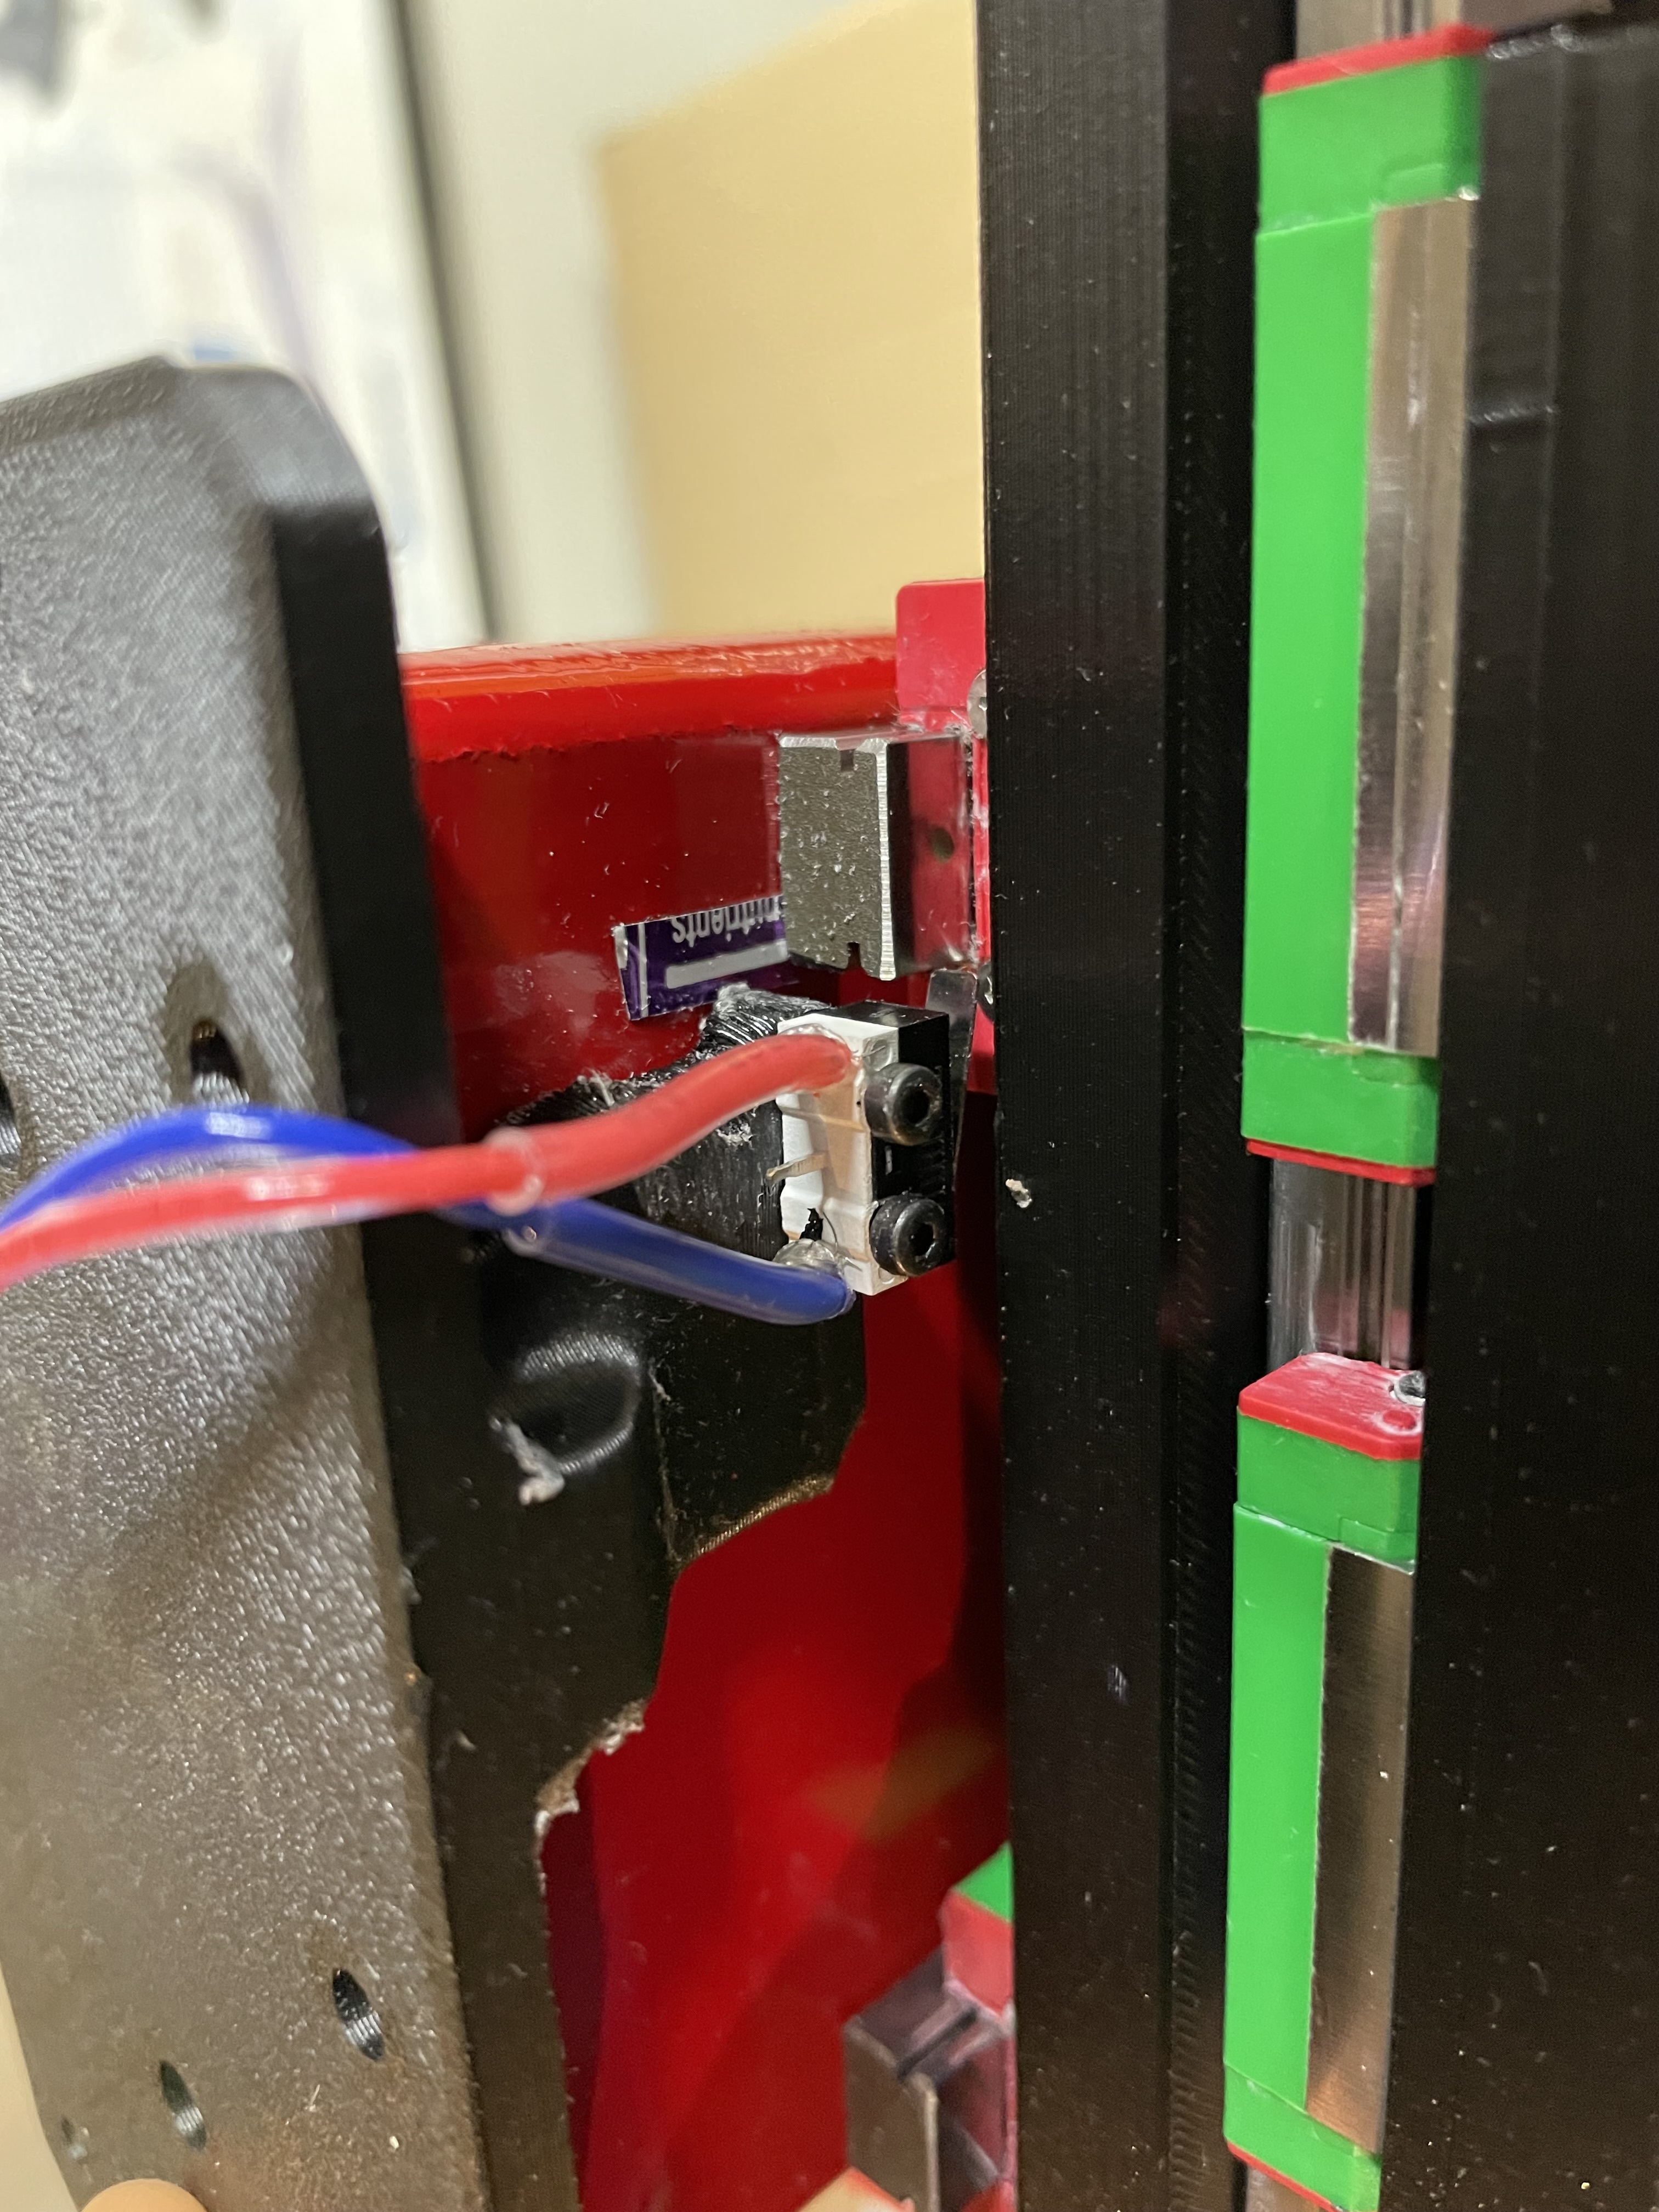
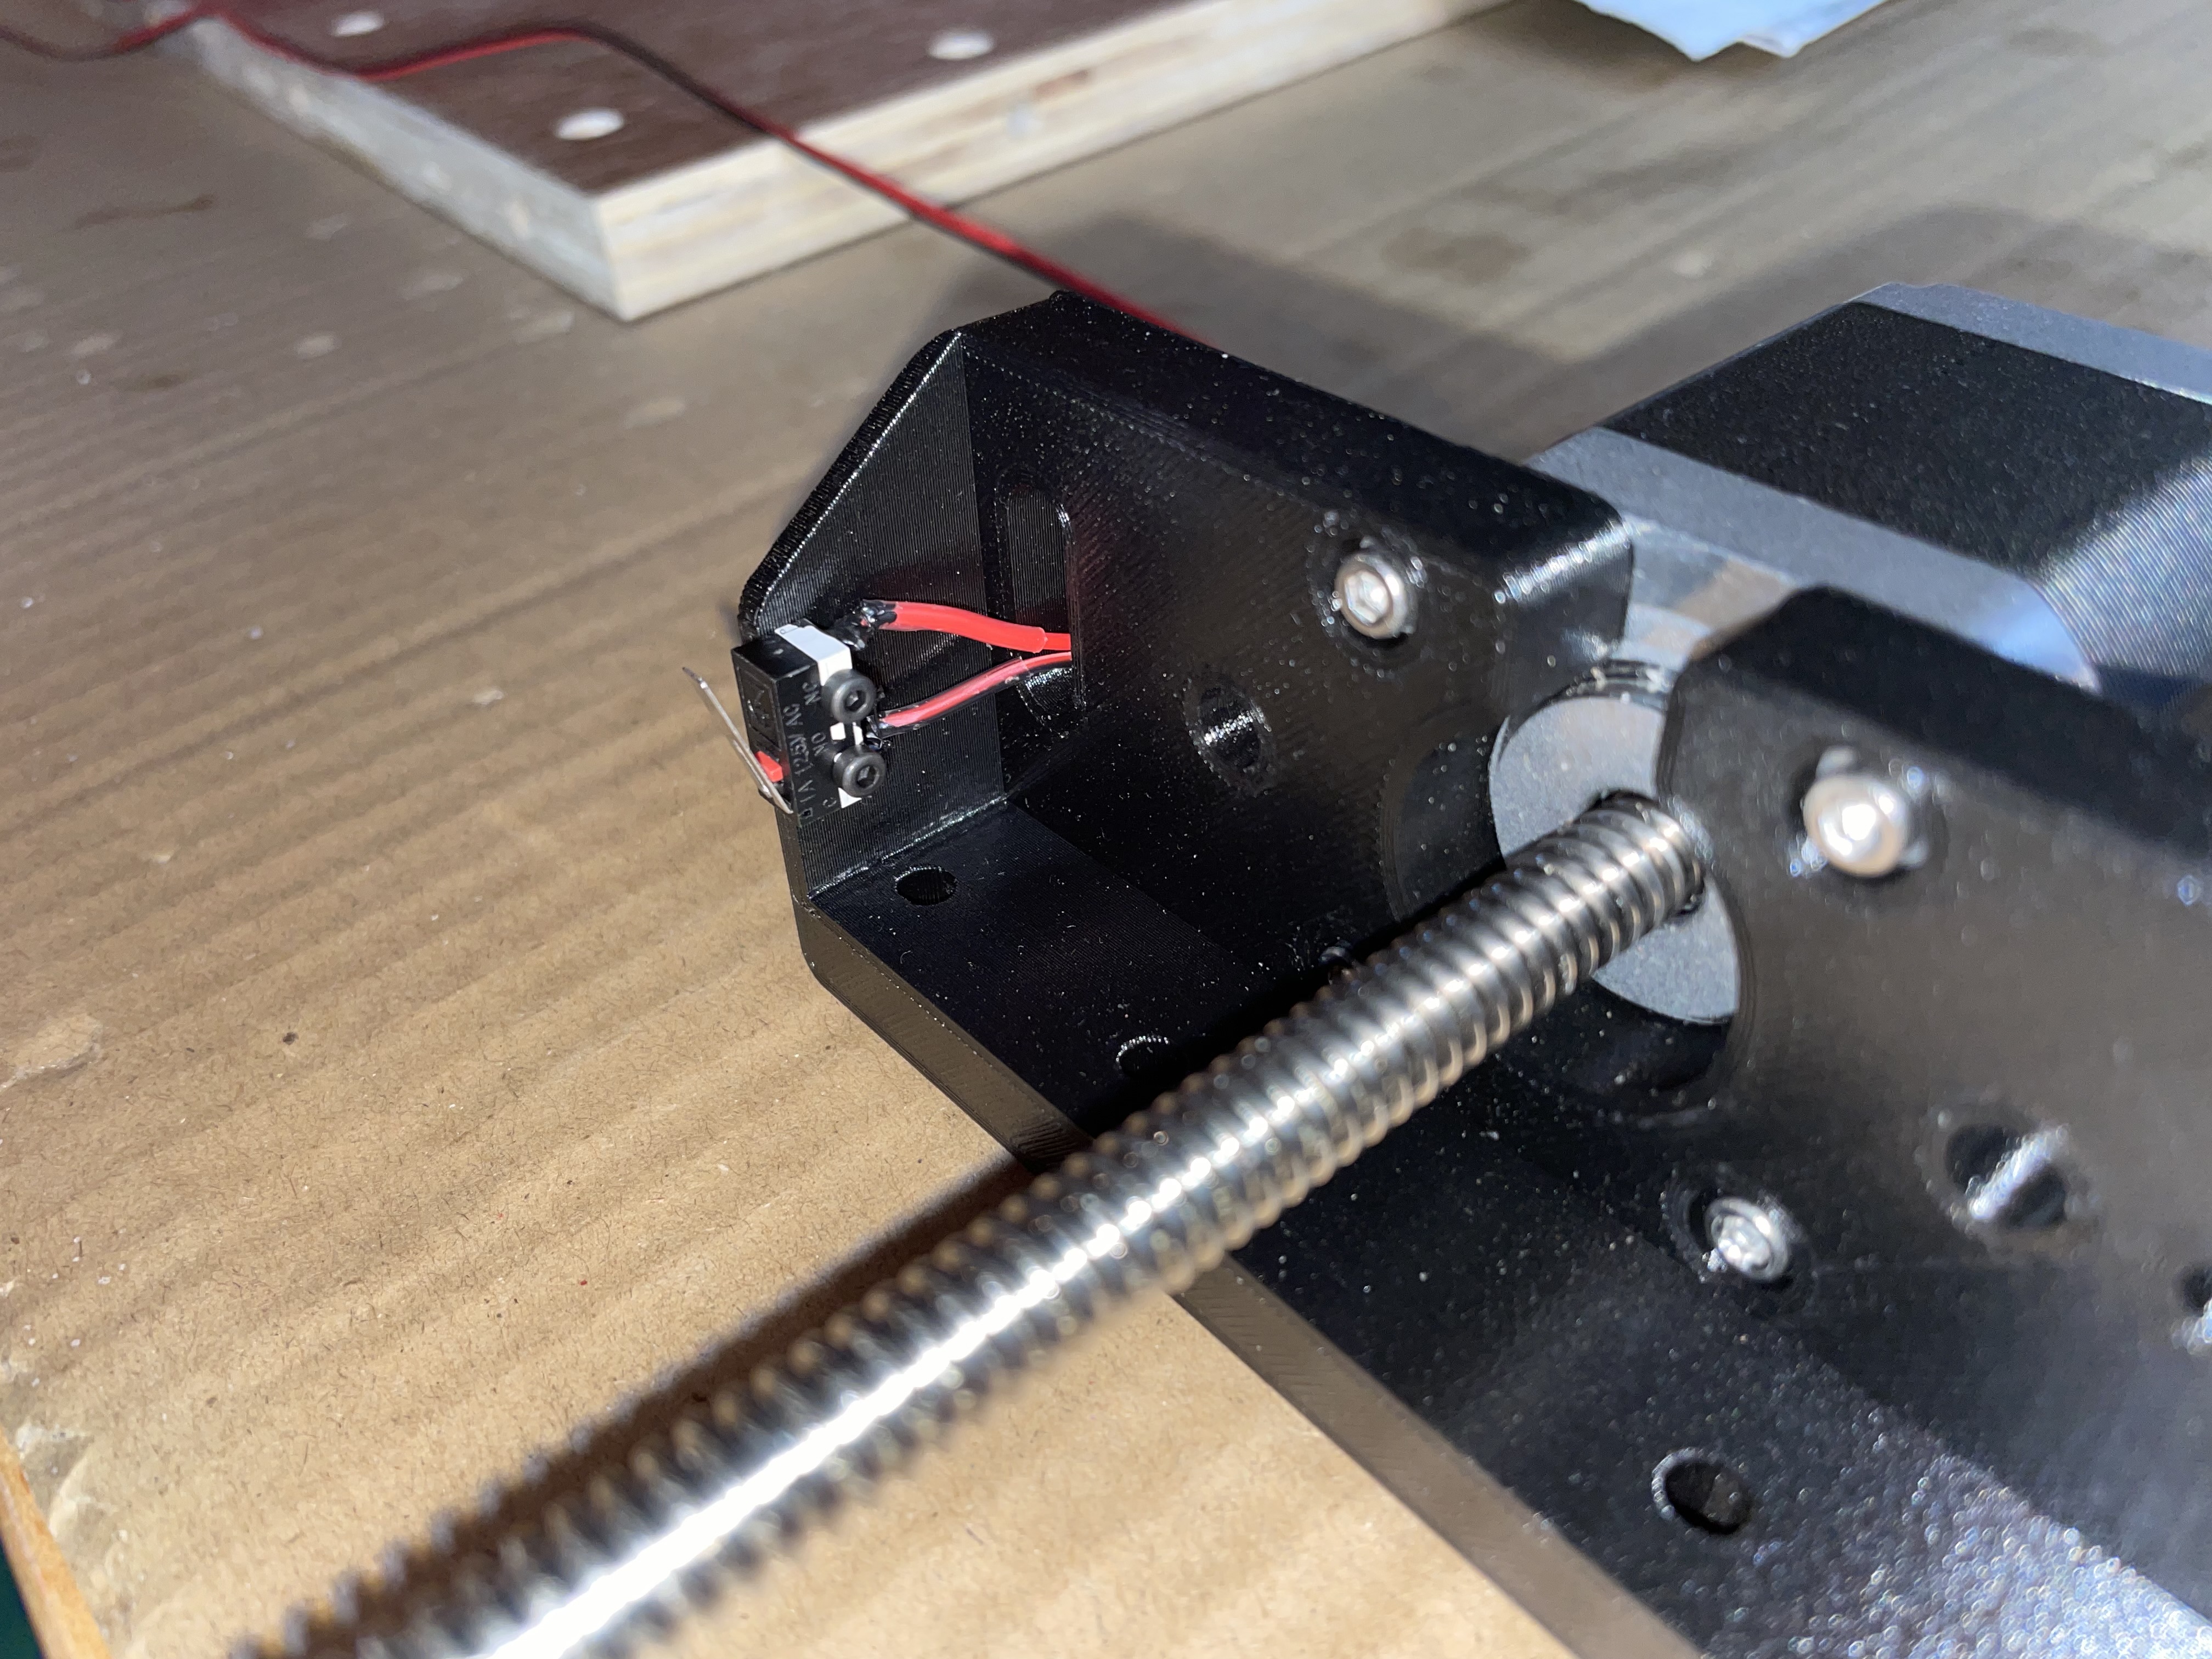
At this point, I also wired and installed the X and Z limit switches.
Next, it was on to crate assembly!