Leveling Up
It looked so easy. After all that drilling and tapping, Attaching the linear rails and carriages to the steel would be a cake walk. Or so I thought. Turns out, skill, judgement, and wisdom (usually borrowed from someone else) also comes in handy here too.
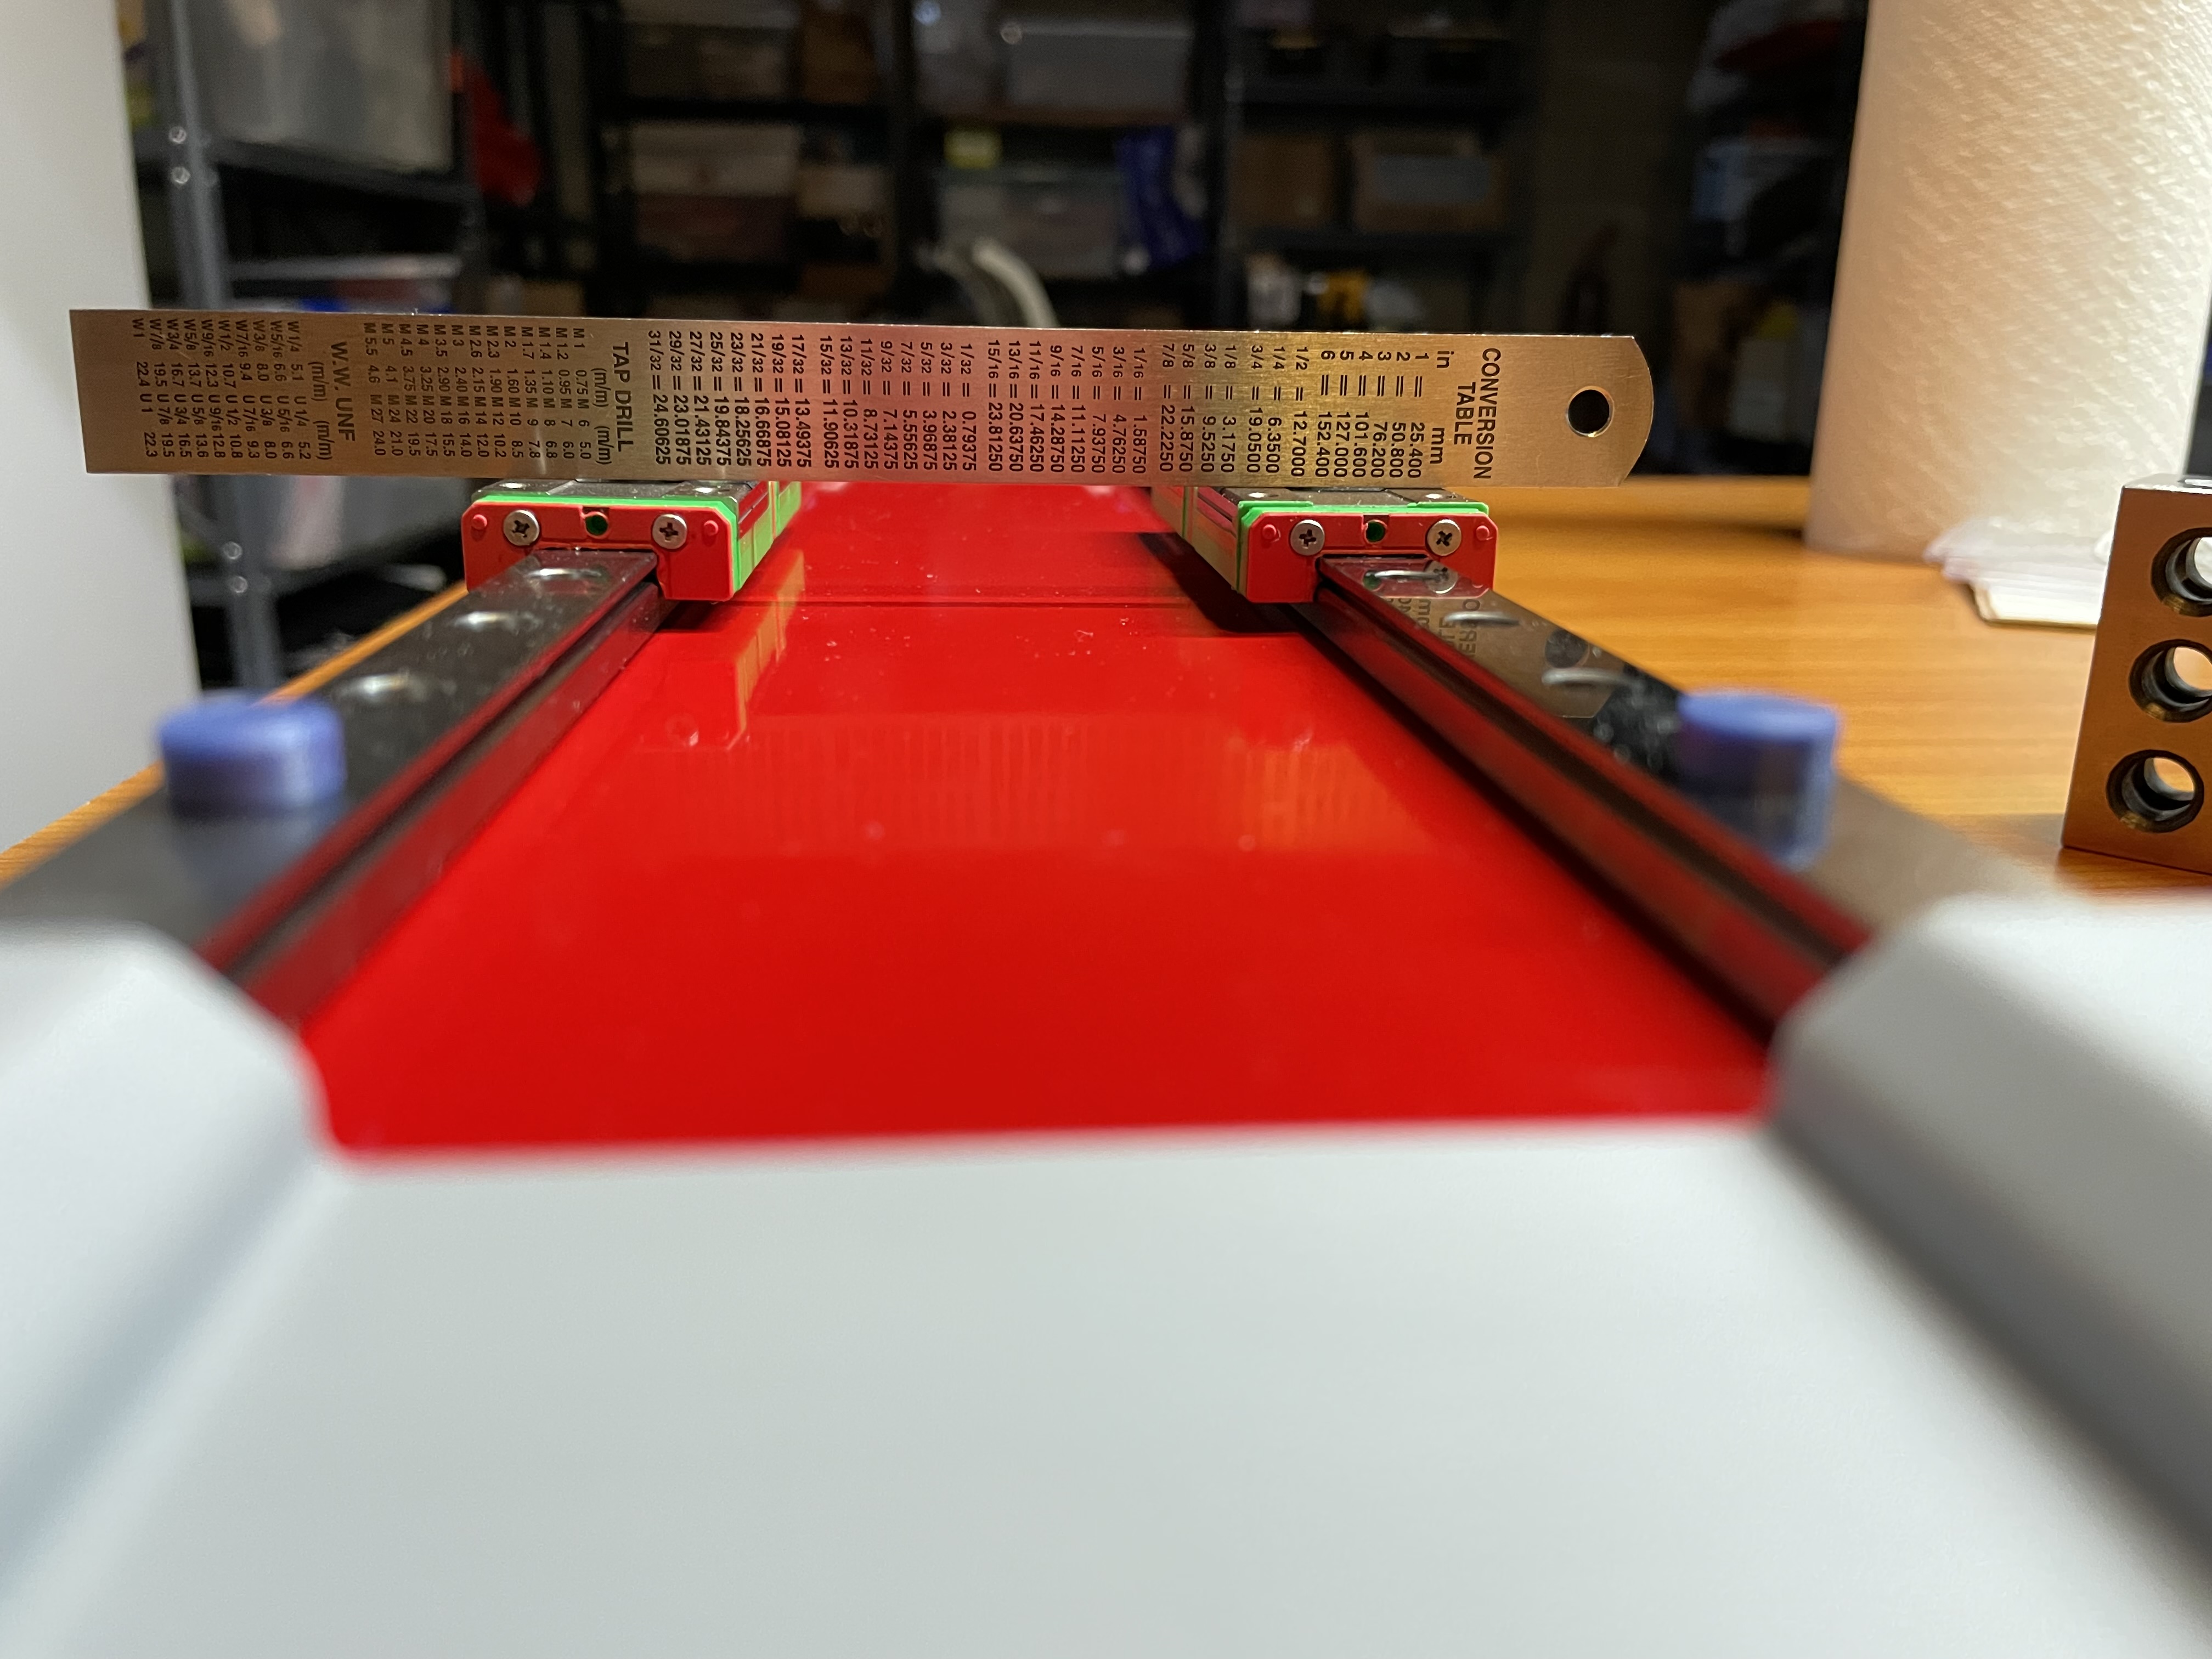
With the X-steel, two linear rails are installed parallel to each other. The rails are sort of close to the edges of the steel, which means they might bow inward toward one another. That doesn’t seem like a big deal until you attach the X-Z Plate and realize that it pulls up on the linear rail carriages, making them difficult to slide smoothly.

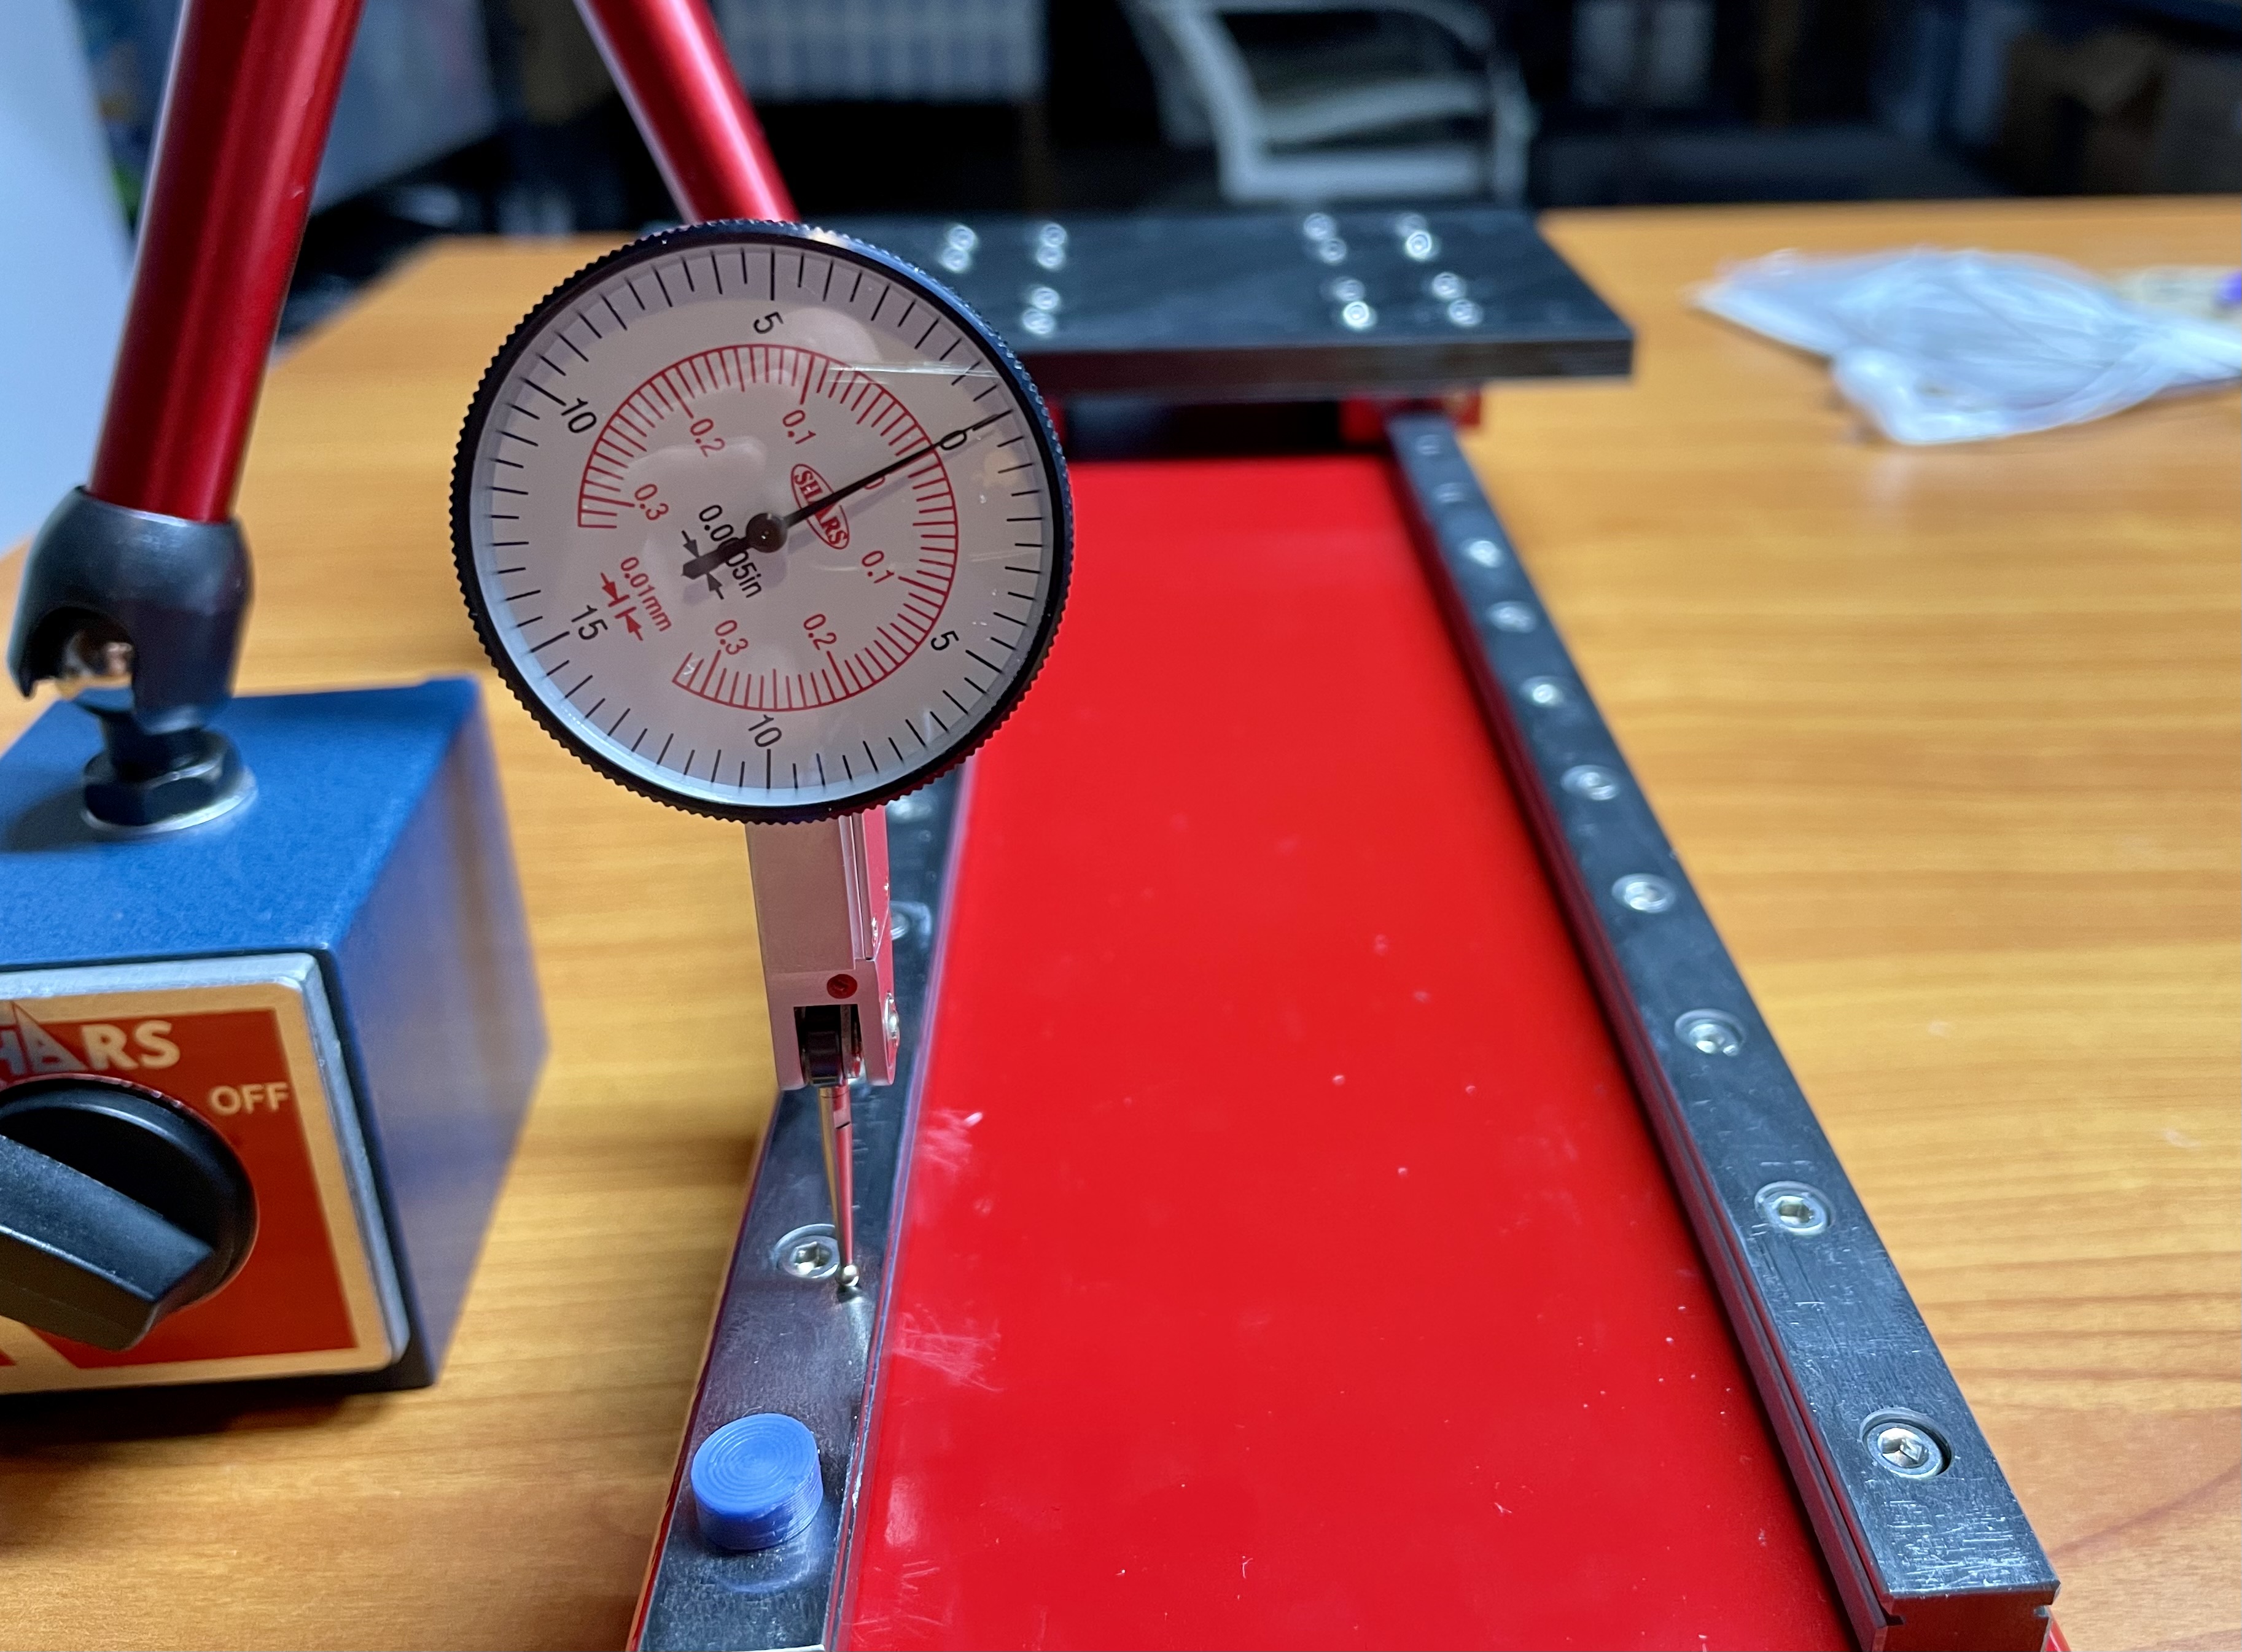
Lucky for me, I had this issue, which allowed me to purchase new tools! A few days later, I was confirming the tilt with a new dial test indicator.

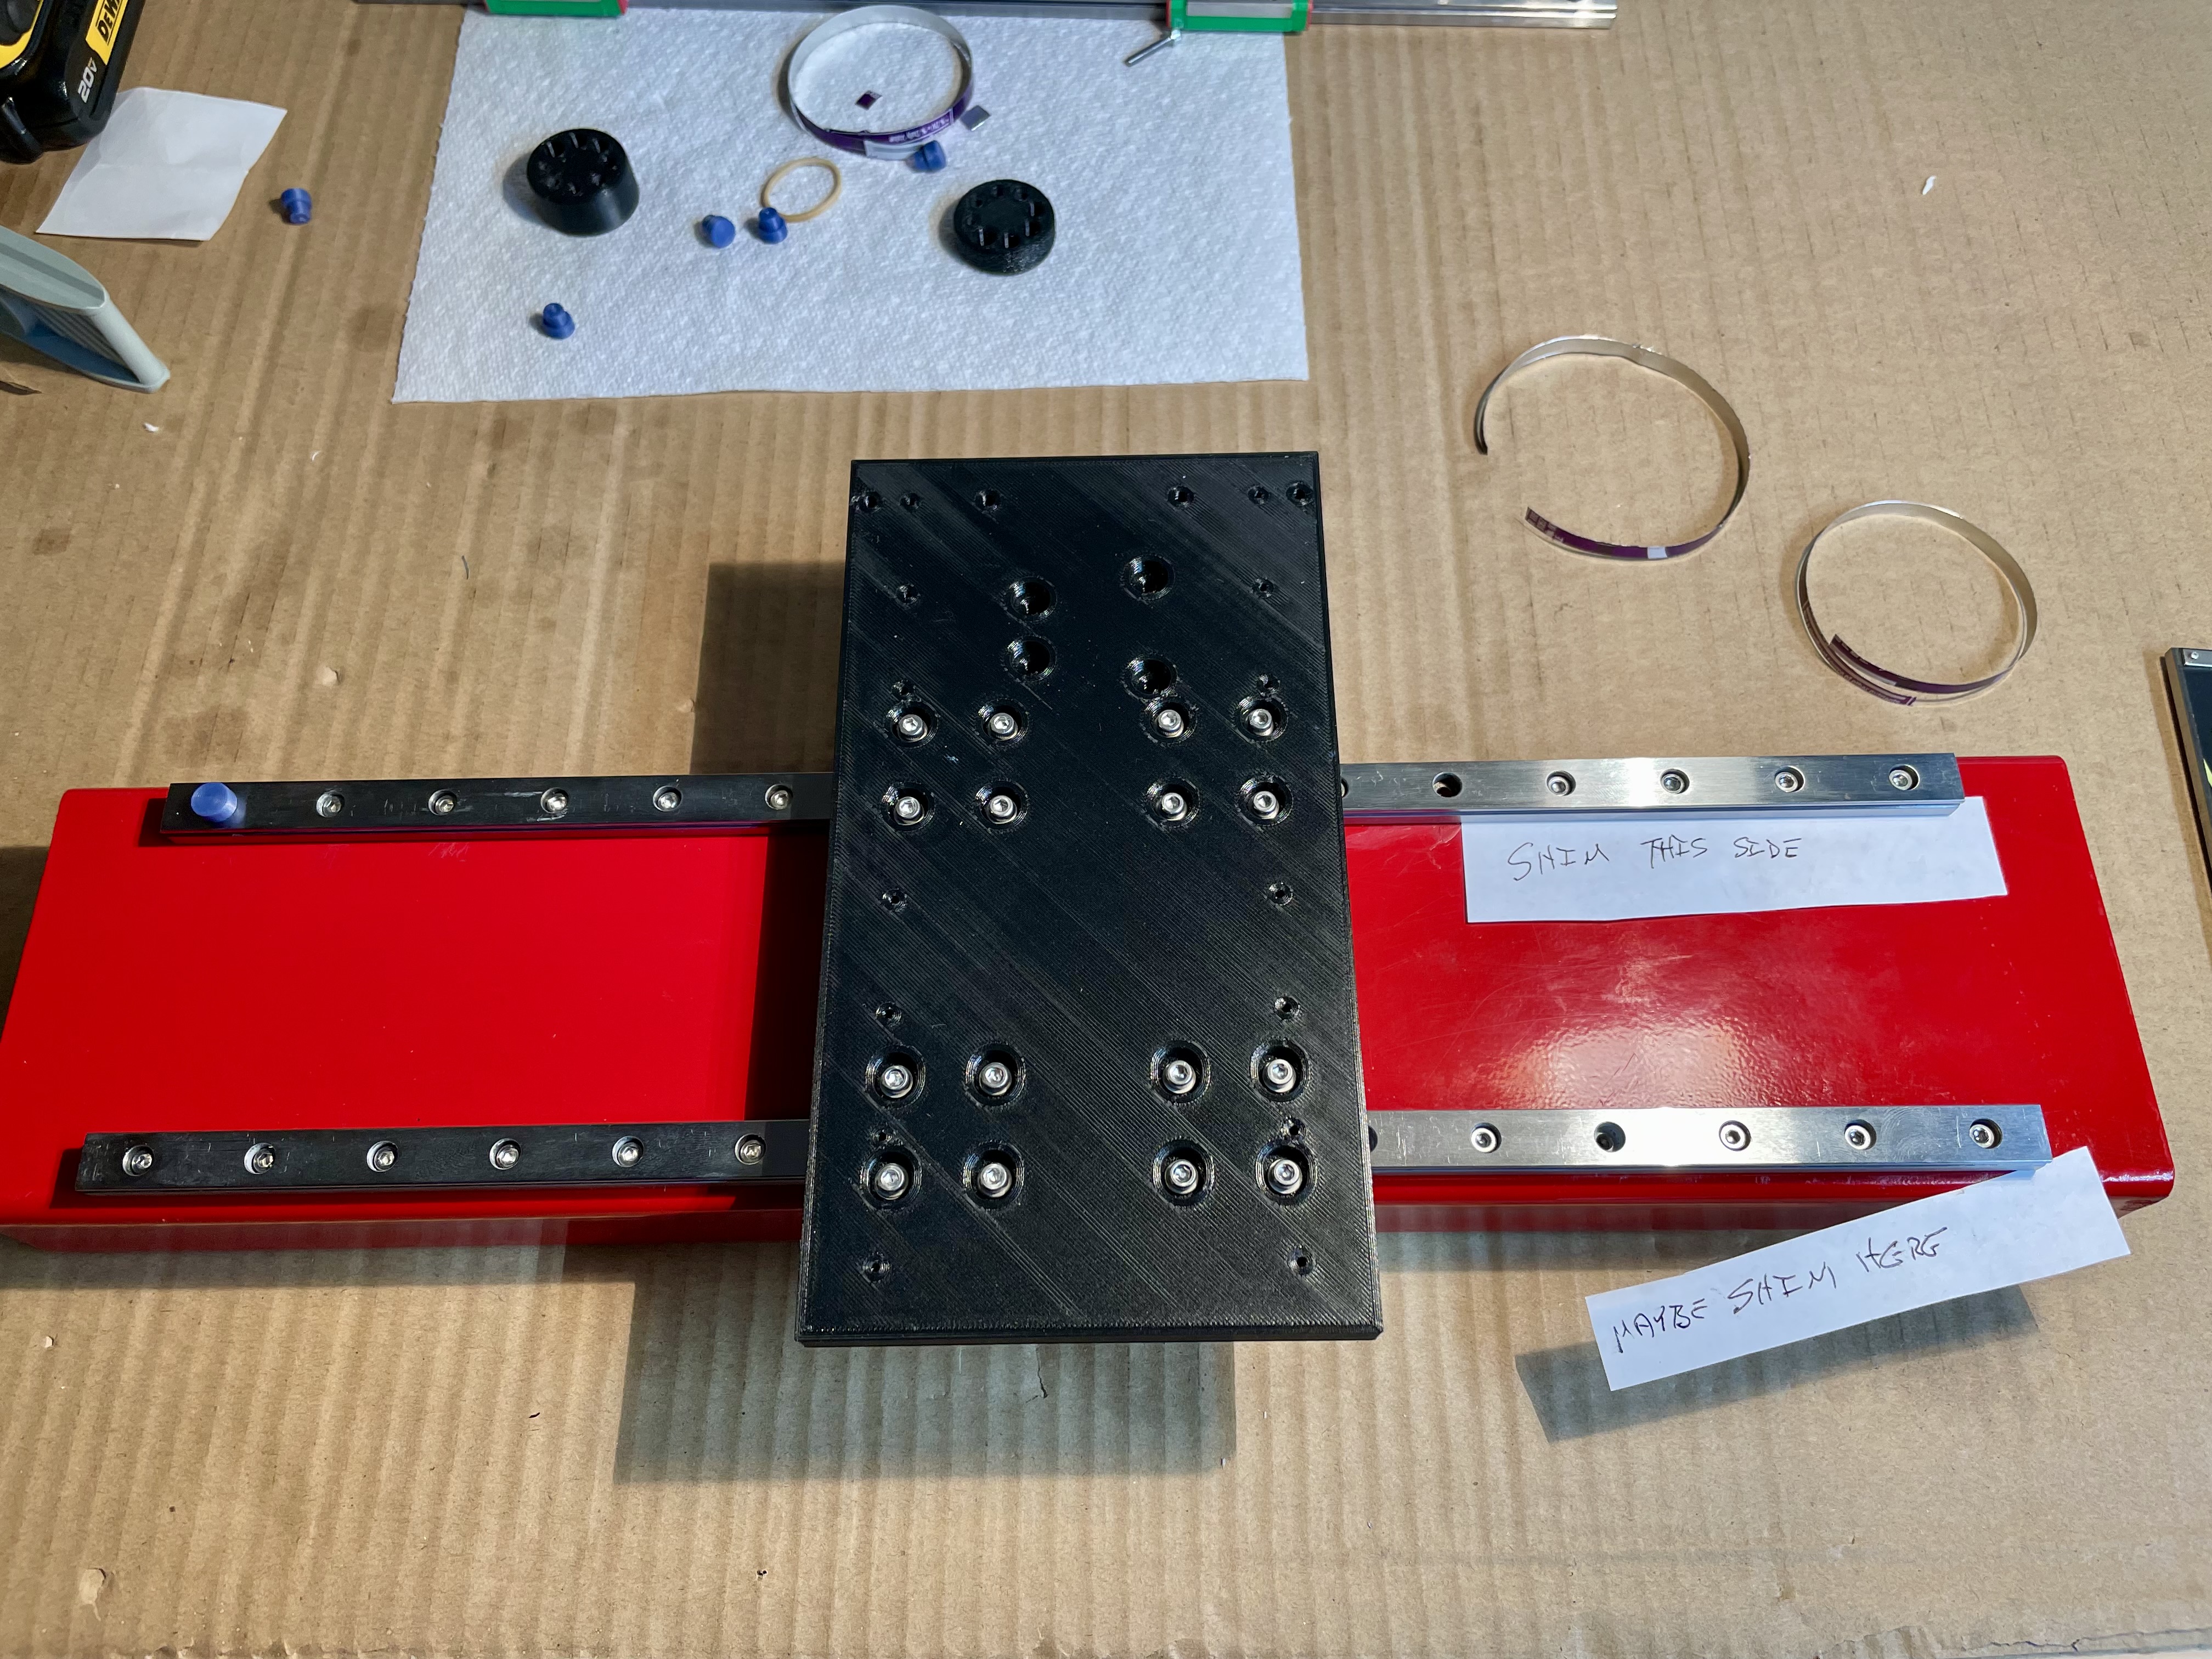
The resolution to this issue, in the best tradition of home-baked solutions, is to shim the low side of the linear rail. The Snitty-approved method involves creating thin strips of aluminum from a can of soda, beer, or water, and placing one or two (or whatever it takes) under one side of the rail to bring it up to level. Amazingly, it worked quite well!

Thankfully, the Y-rails don’t suffer from the same leaning issue. Attaching the linear rails and carriages to the Y-rails was as straightforward as I had hoped.