Punch, Drill, Tap: Repeat
One of the first steps after preparing your steel is to attach the linear rails. Before you can bolt the rails to the steel, you need to have a place for the bolts to go! Holes need to be marked, then drilled, then tapped with threads for the bolts.
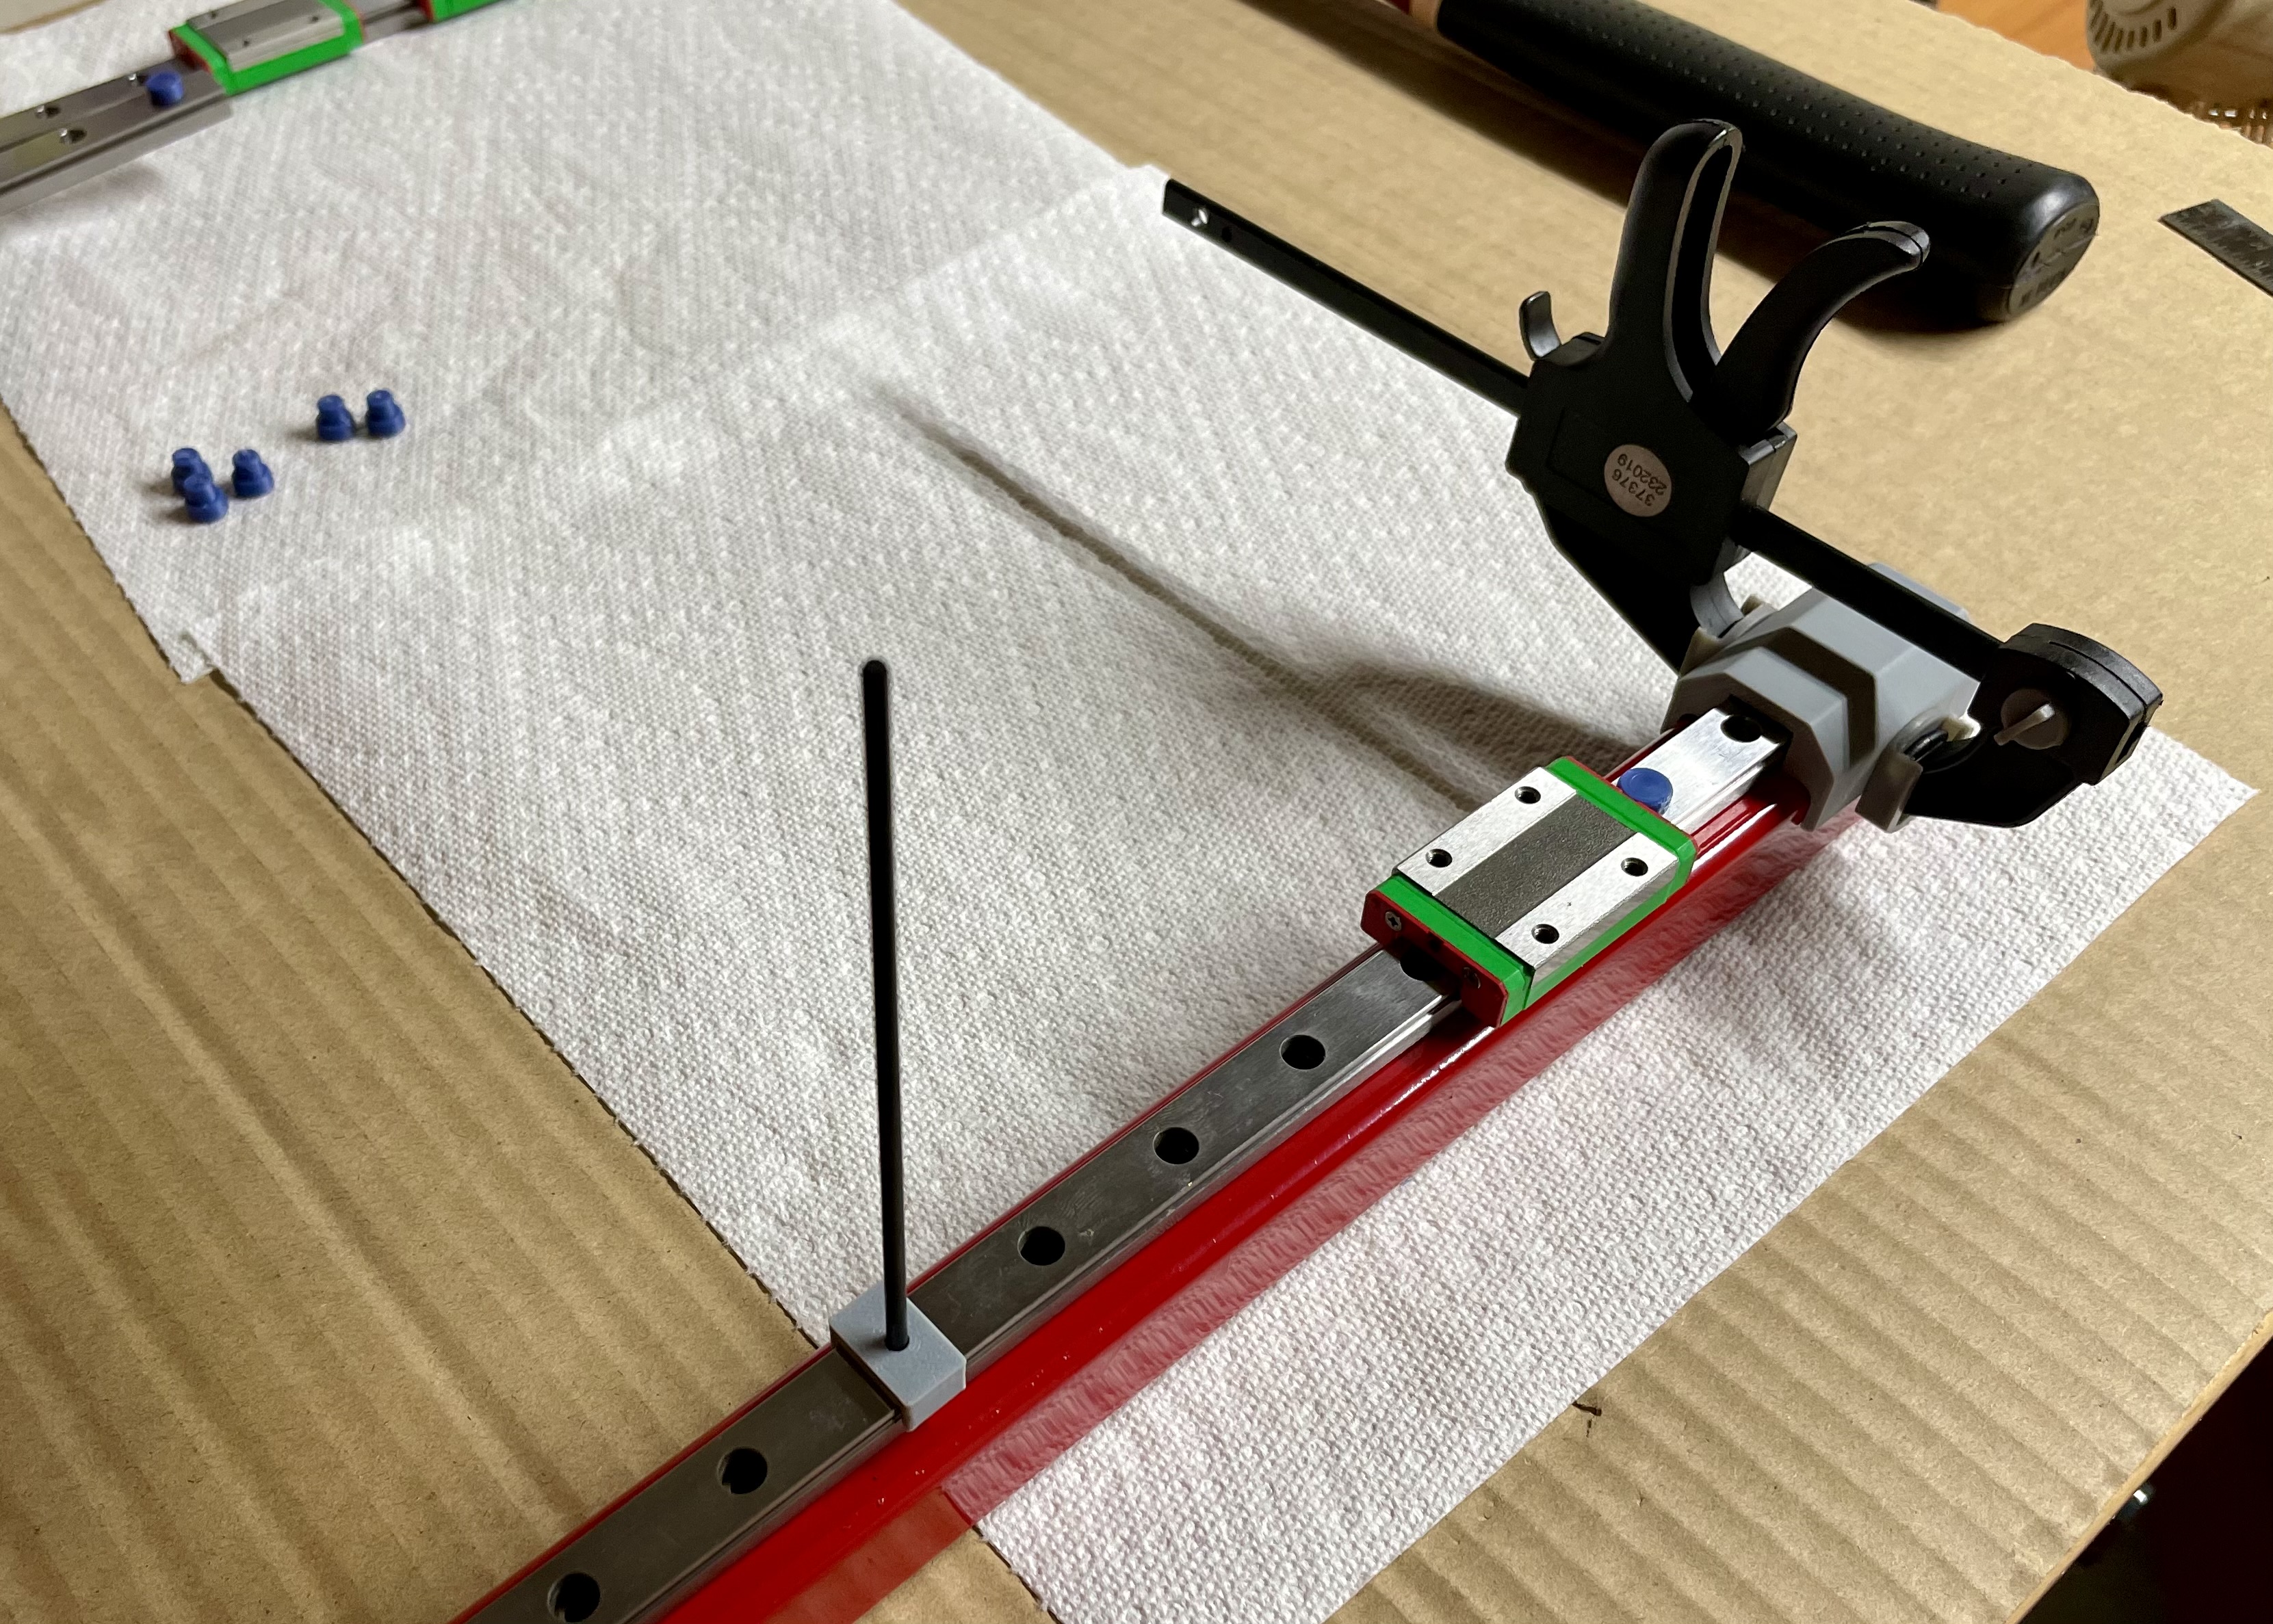
- Use the jigs to align the rails on the steel
- Use a transfer punch and the punch jig to mark the center of each of the holes in the linear rail
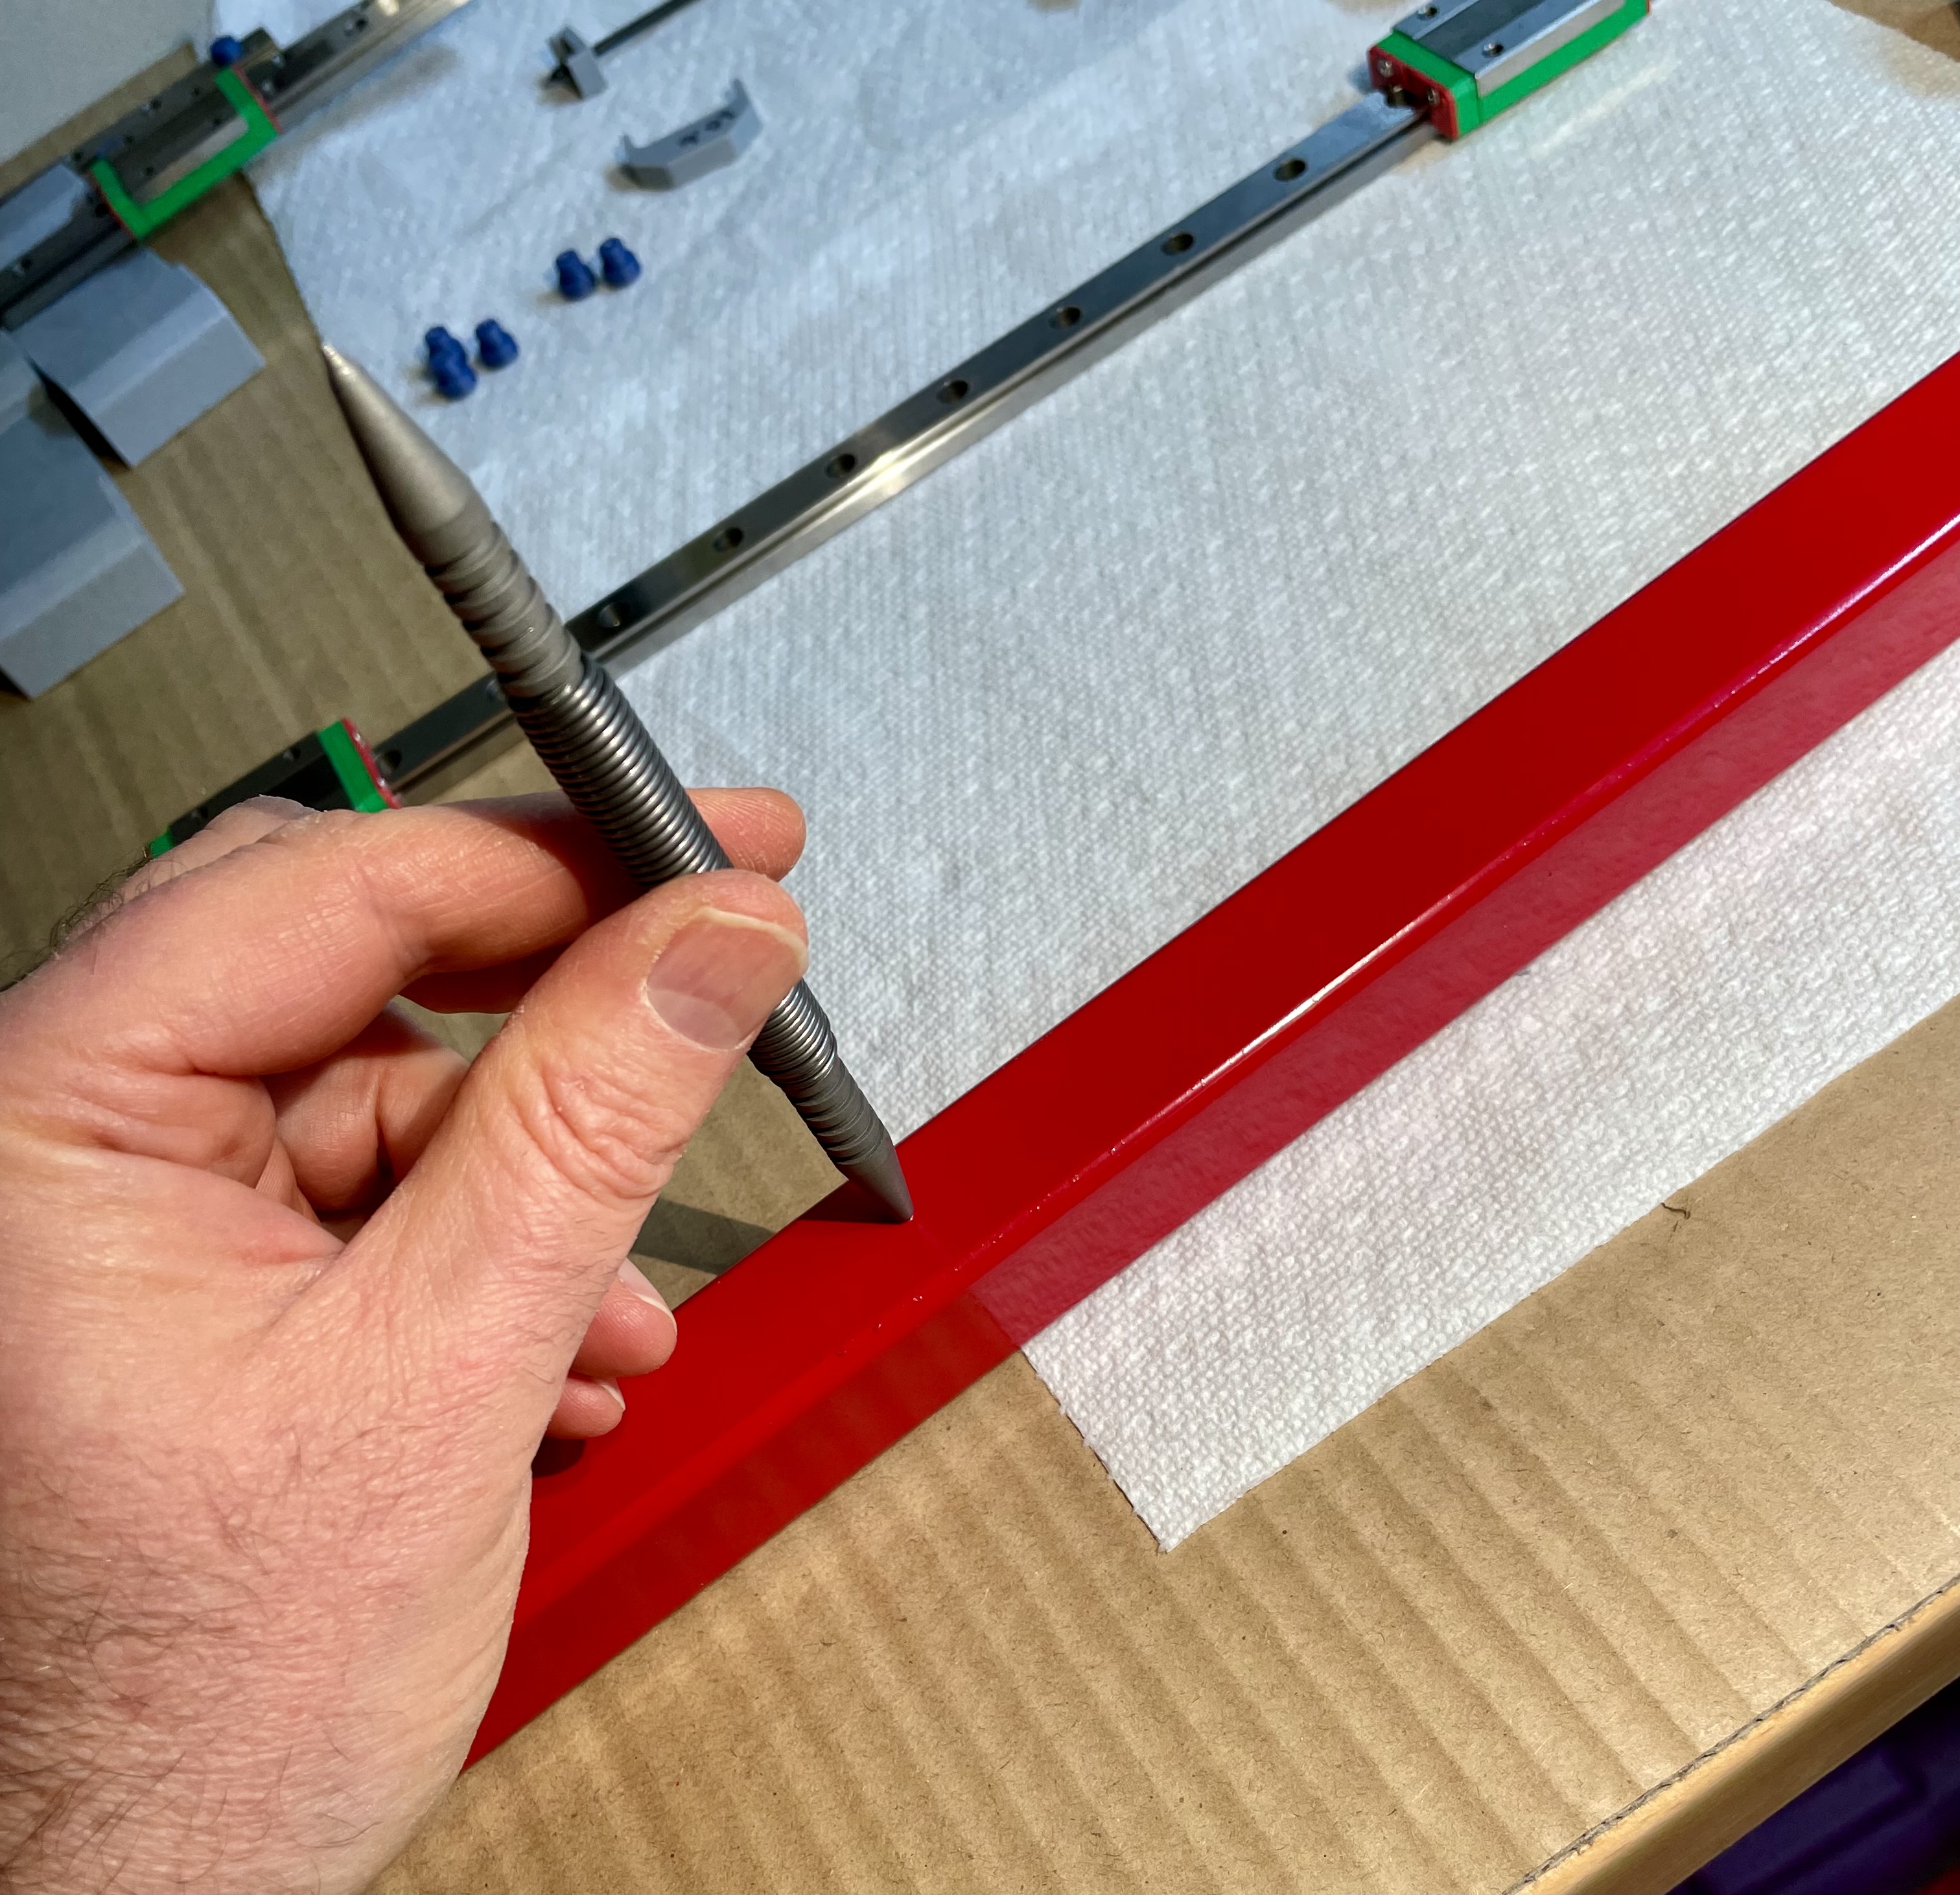
- Remove the linear rail from the steel and use a center punch to increase the size of each mark from the transfer punch. The goal of this step is to make a small divot so that when drilling, the drill stays in the planned hole, and doesn’t slide around the steel, which could move the hole to a place where it can’t be used.
- Use a drill to carefully drill holes in the steel, trying very hard not to let the drill wander. Use cutting fluid to assist in this step.
- Use the tap to create threads in the steel. Also use cutting fluid with this step.
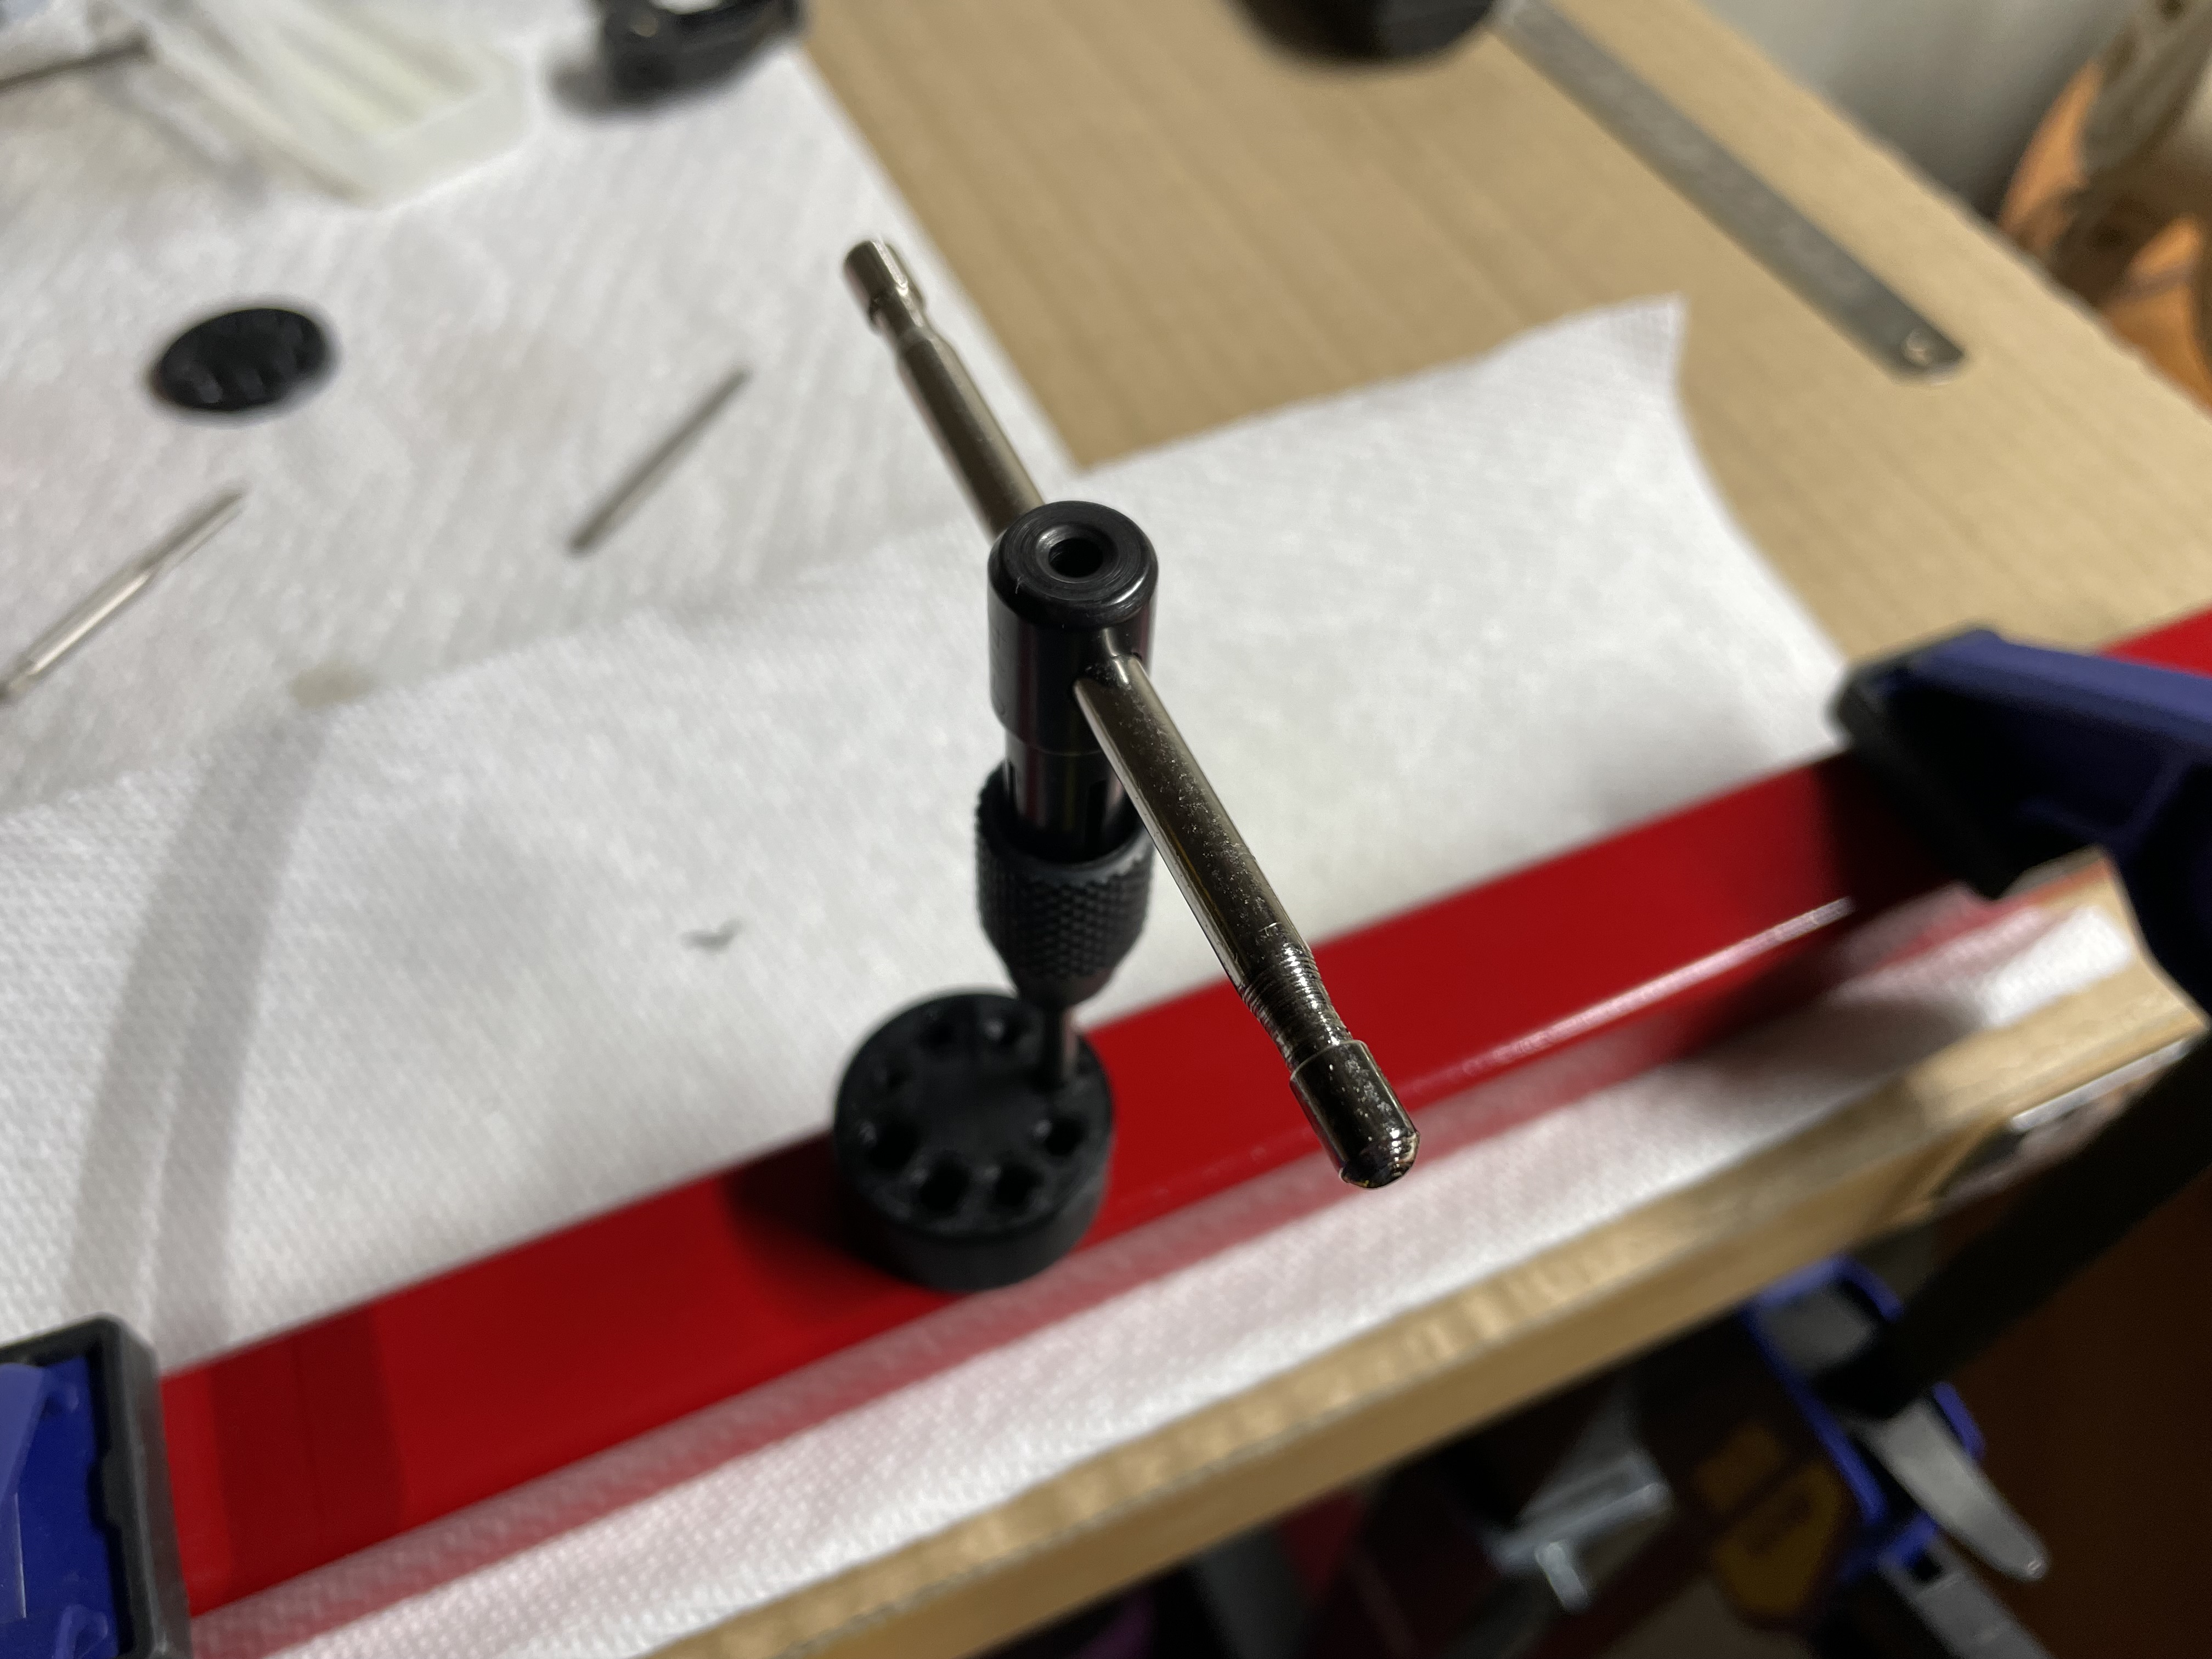
- Test the hole with an M3 bolt.
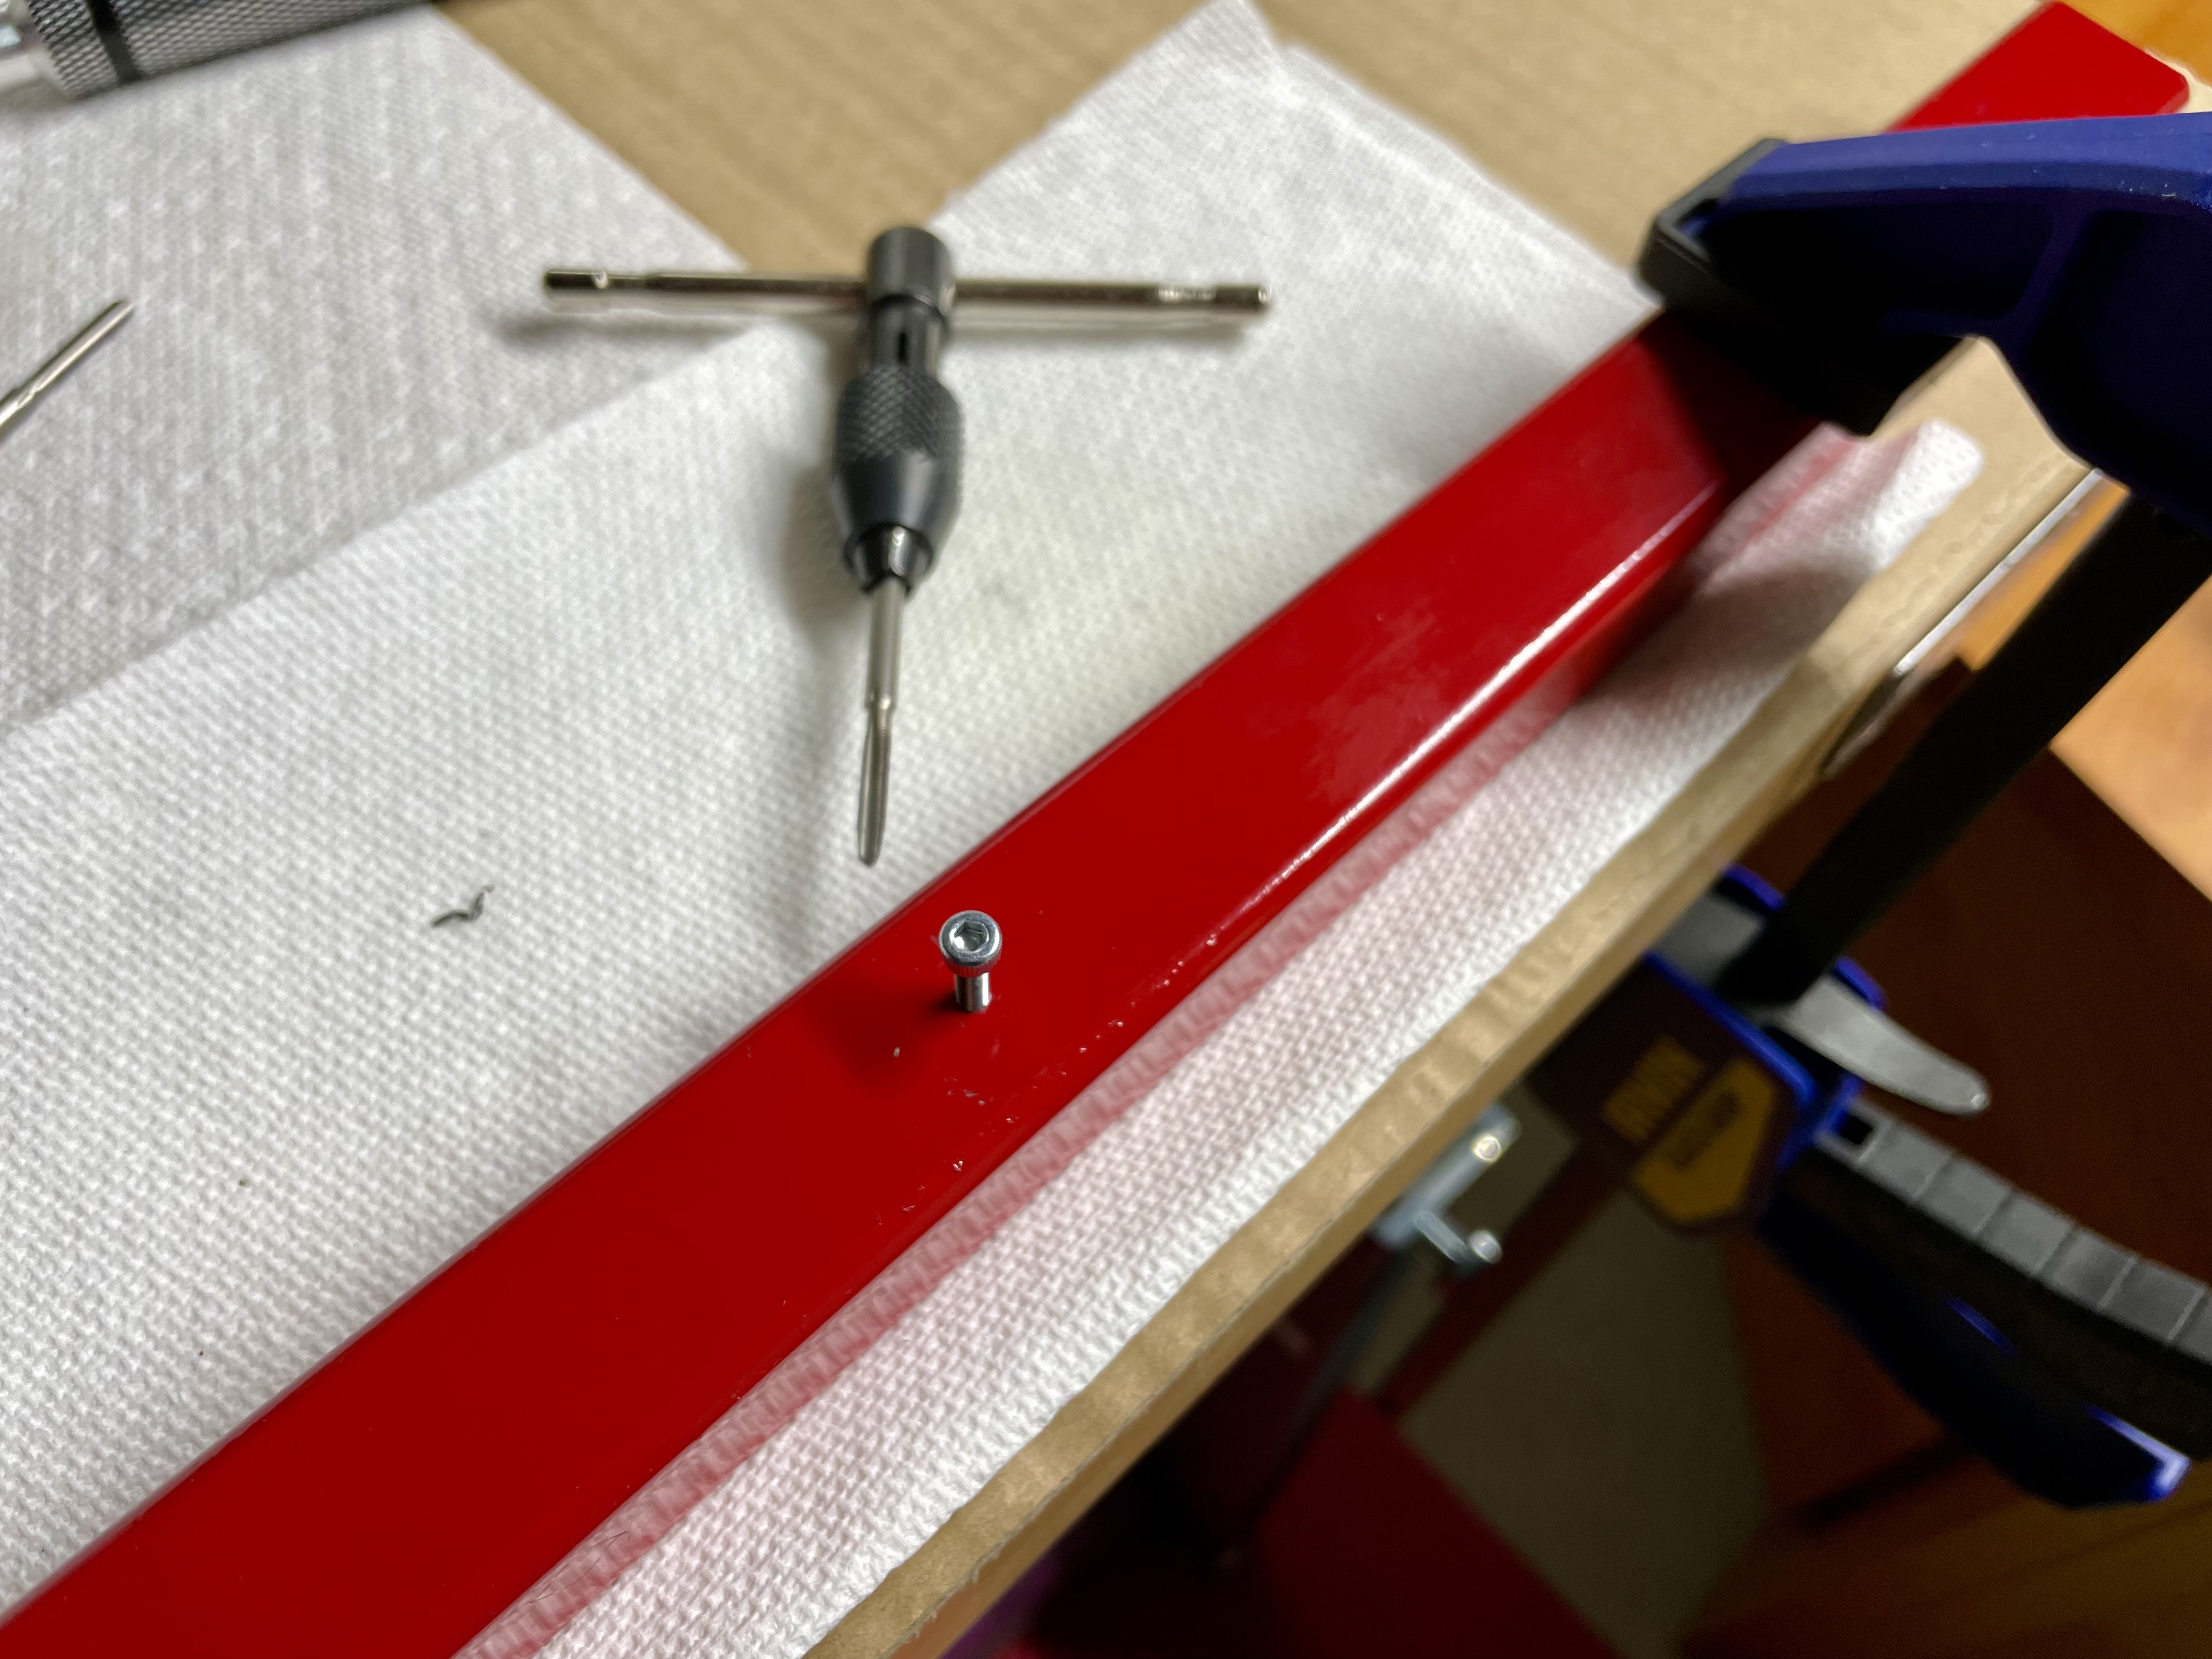
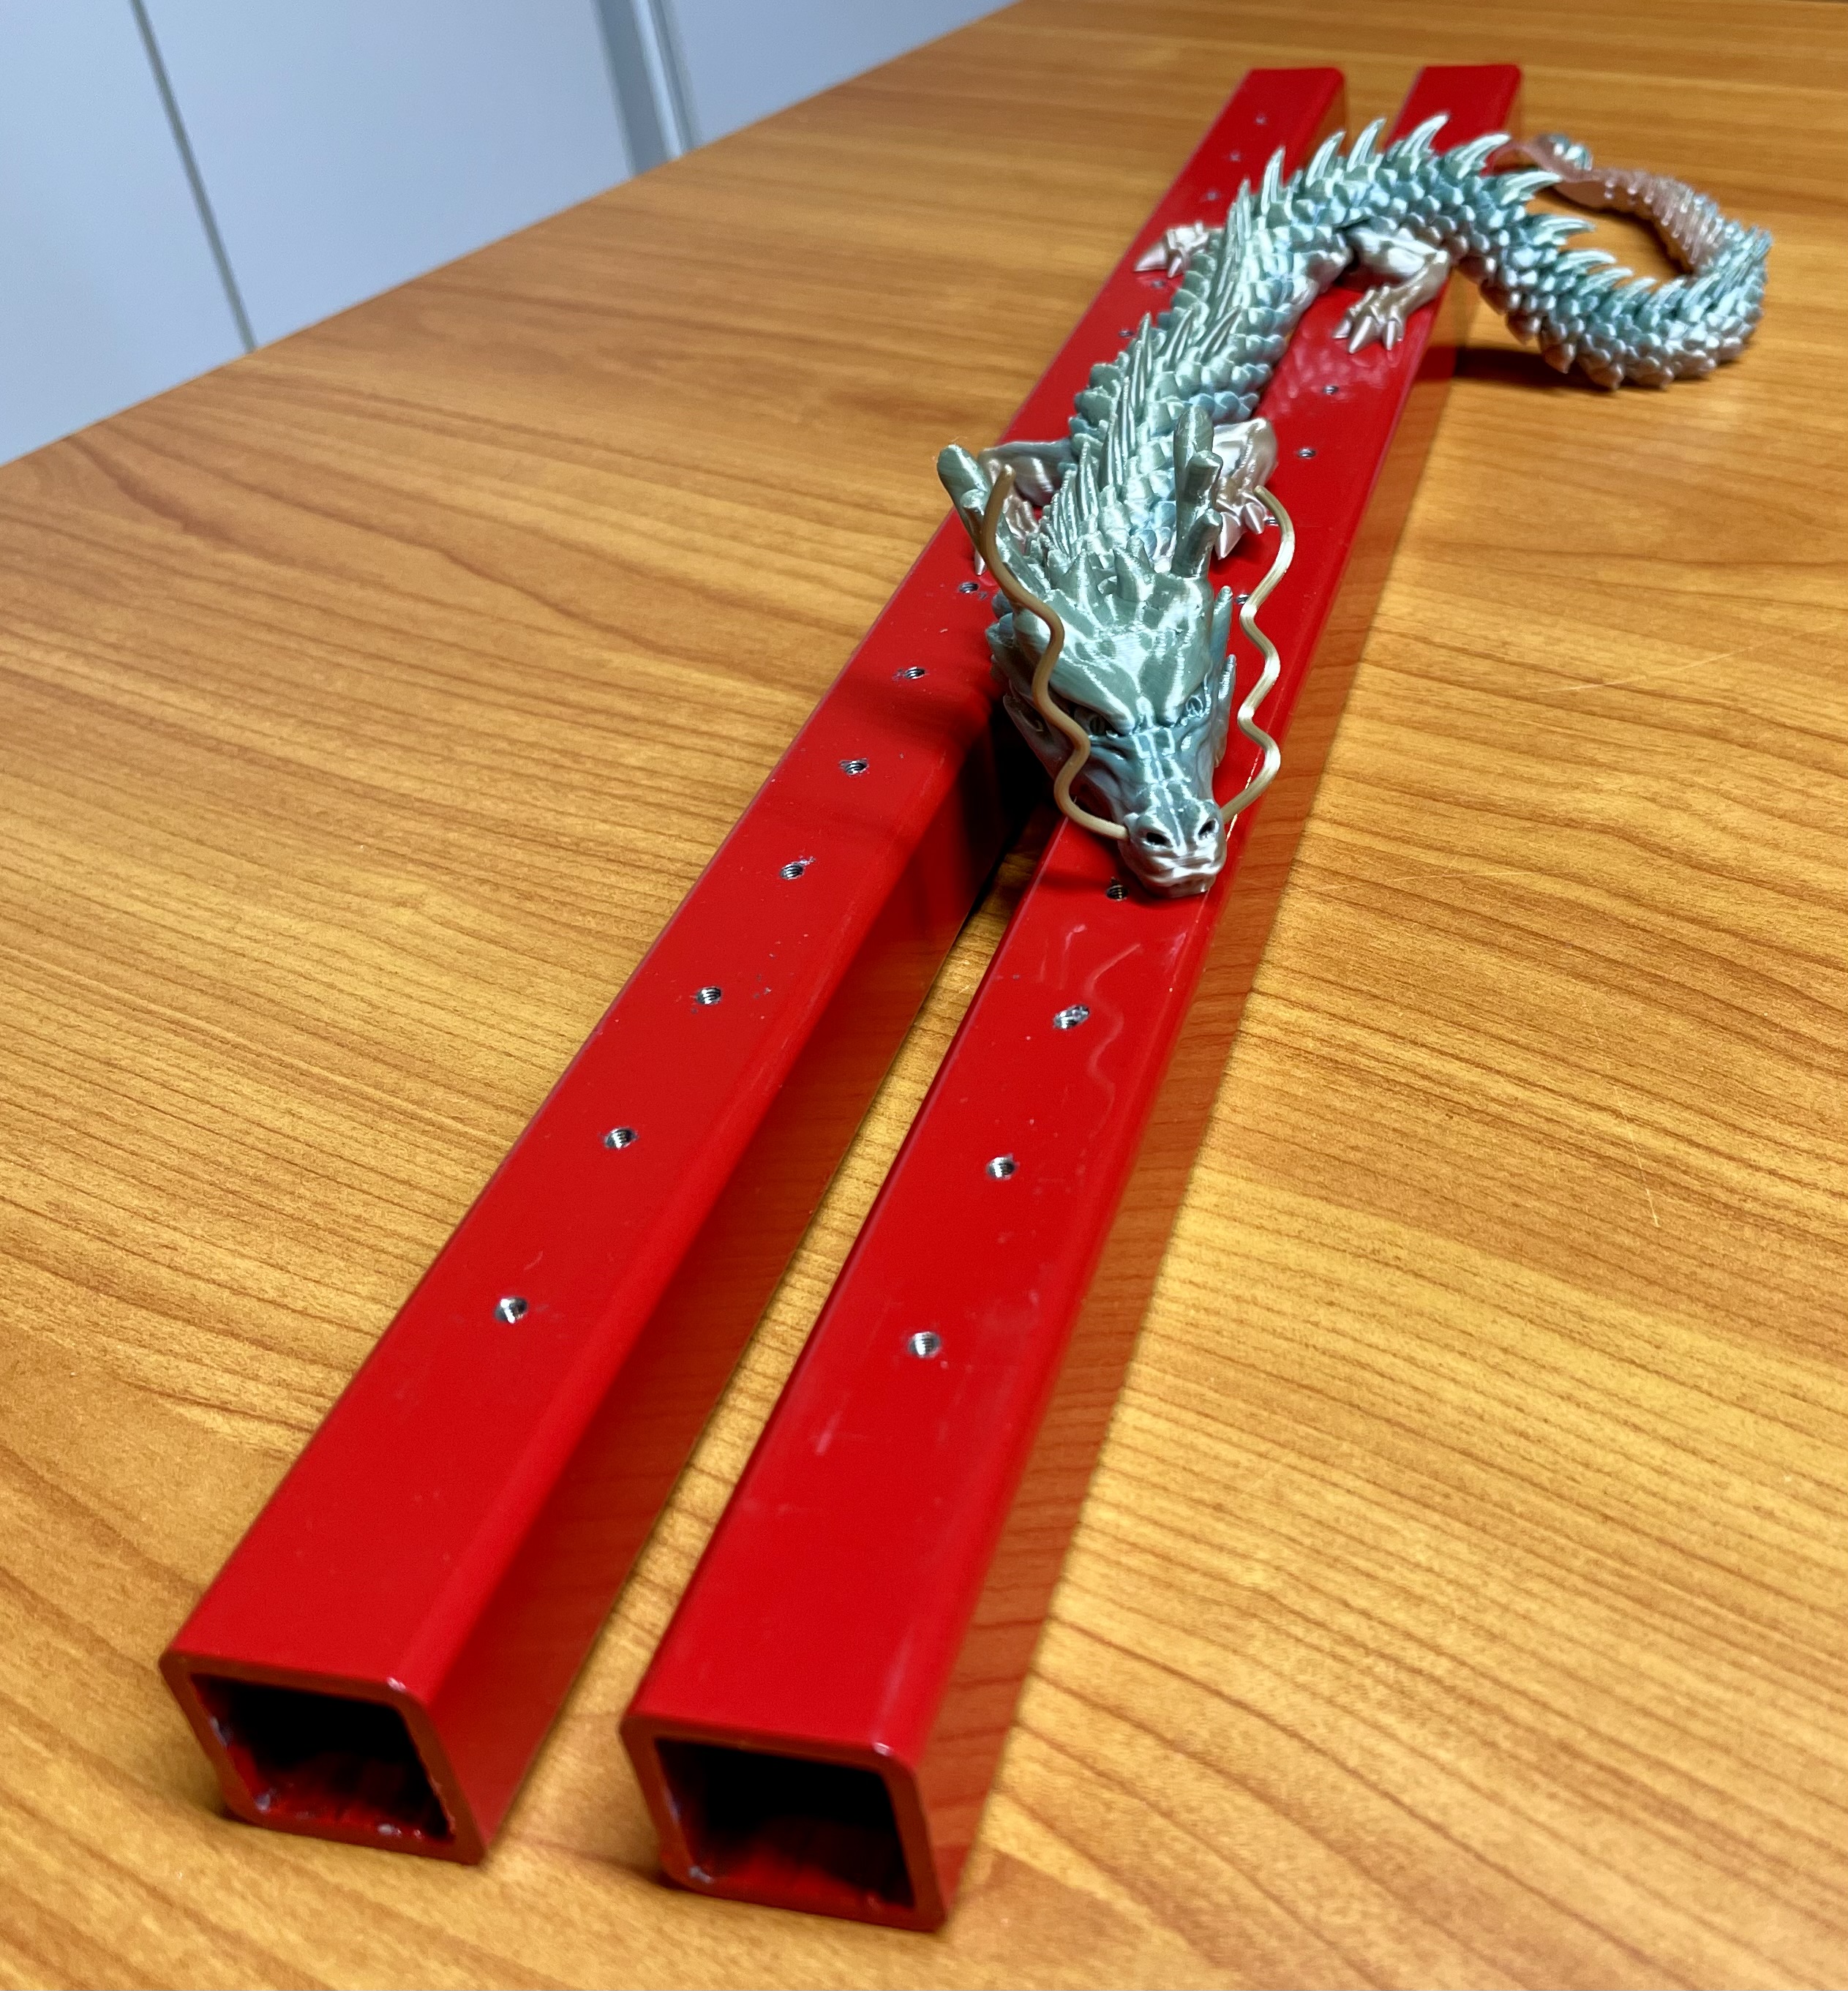
One question that came up was whether I really needed to prepare ALL the holes. The suggestion was to drill and tap all the holes, because in the end, not all the holes would be lined up perfectly. “They” were right.
At this point, I was only halfway done with the punching, drilling and tapping!
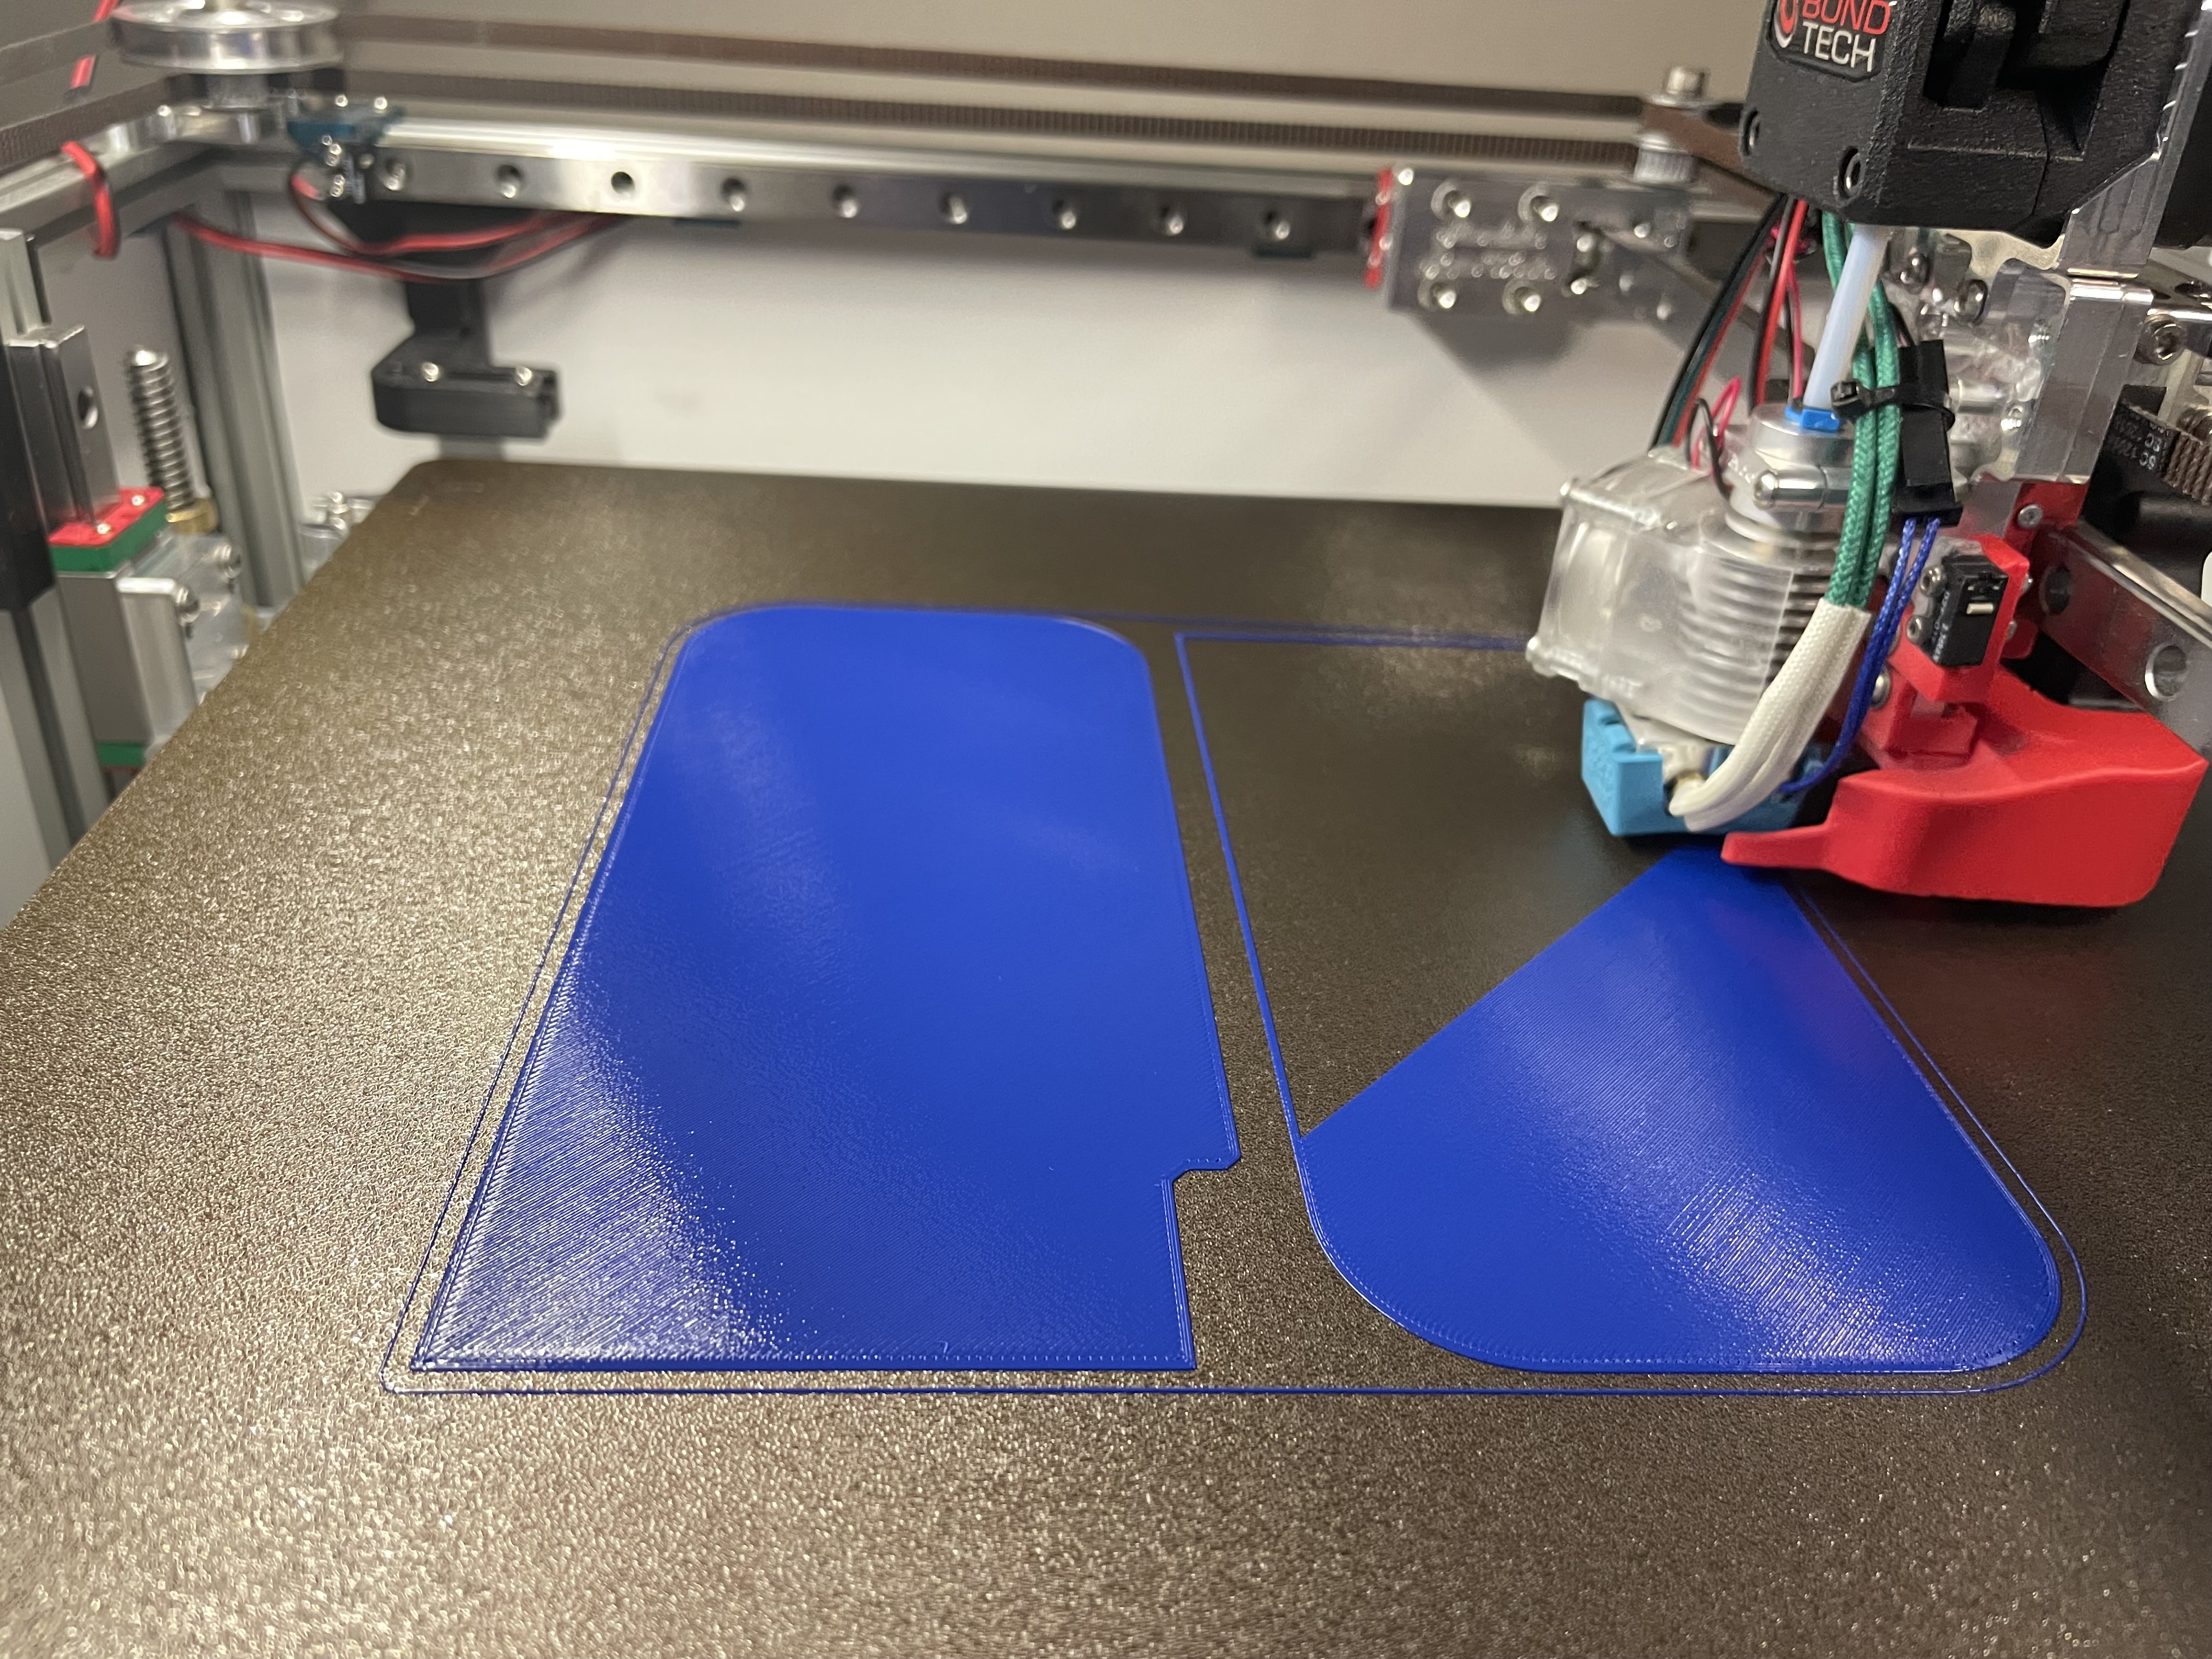
While all this punching, drilling, and tapping was happening, I was also printing all the 3D printed parts for the MilkCr8. I used CF-PETG and CF-PC+ for the structural components, and PETG for the non-structural components. I used 4 perimeters for my structural parts, most with 0.30 layer height.
