A first look at the MilkCr8 CNC Components
I could buckle down, finish cleaning the basement, set up my new workbench, and get started building the MilkCr8, but where is the fun in that? So, instead, I’ve taken a few pictures of the items in the Bill of Materials (BOM) for your enjoyment.
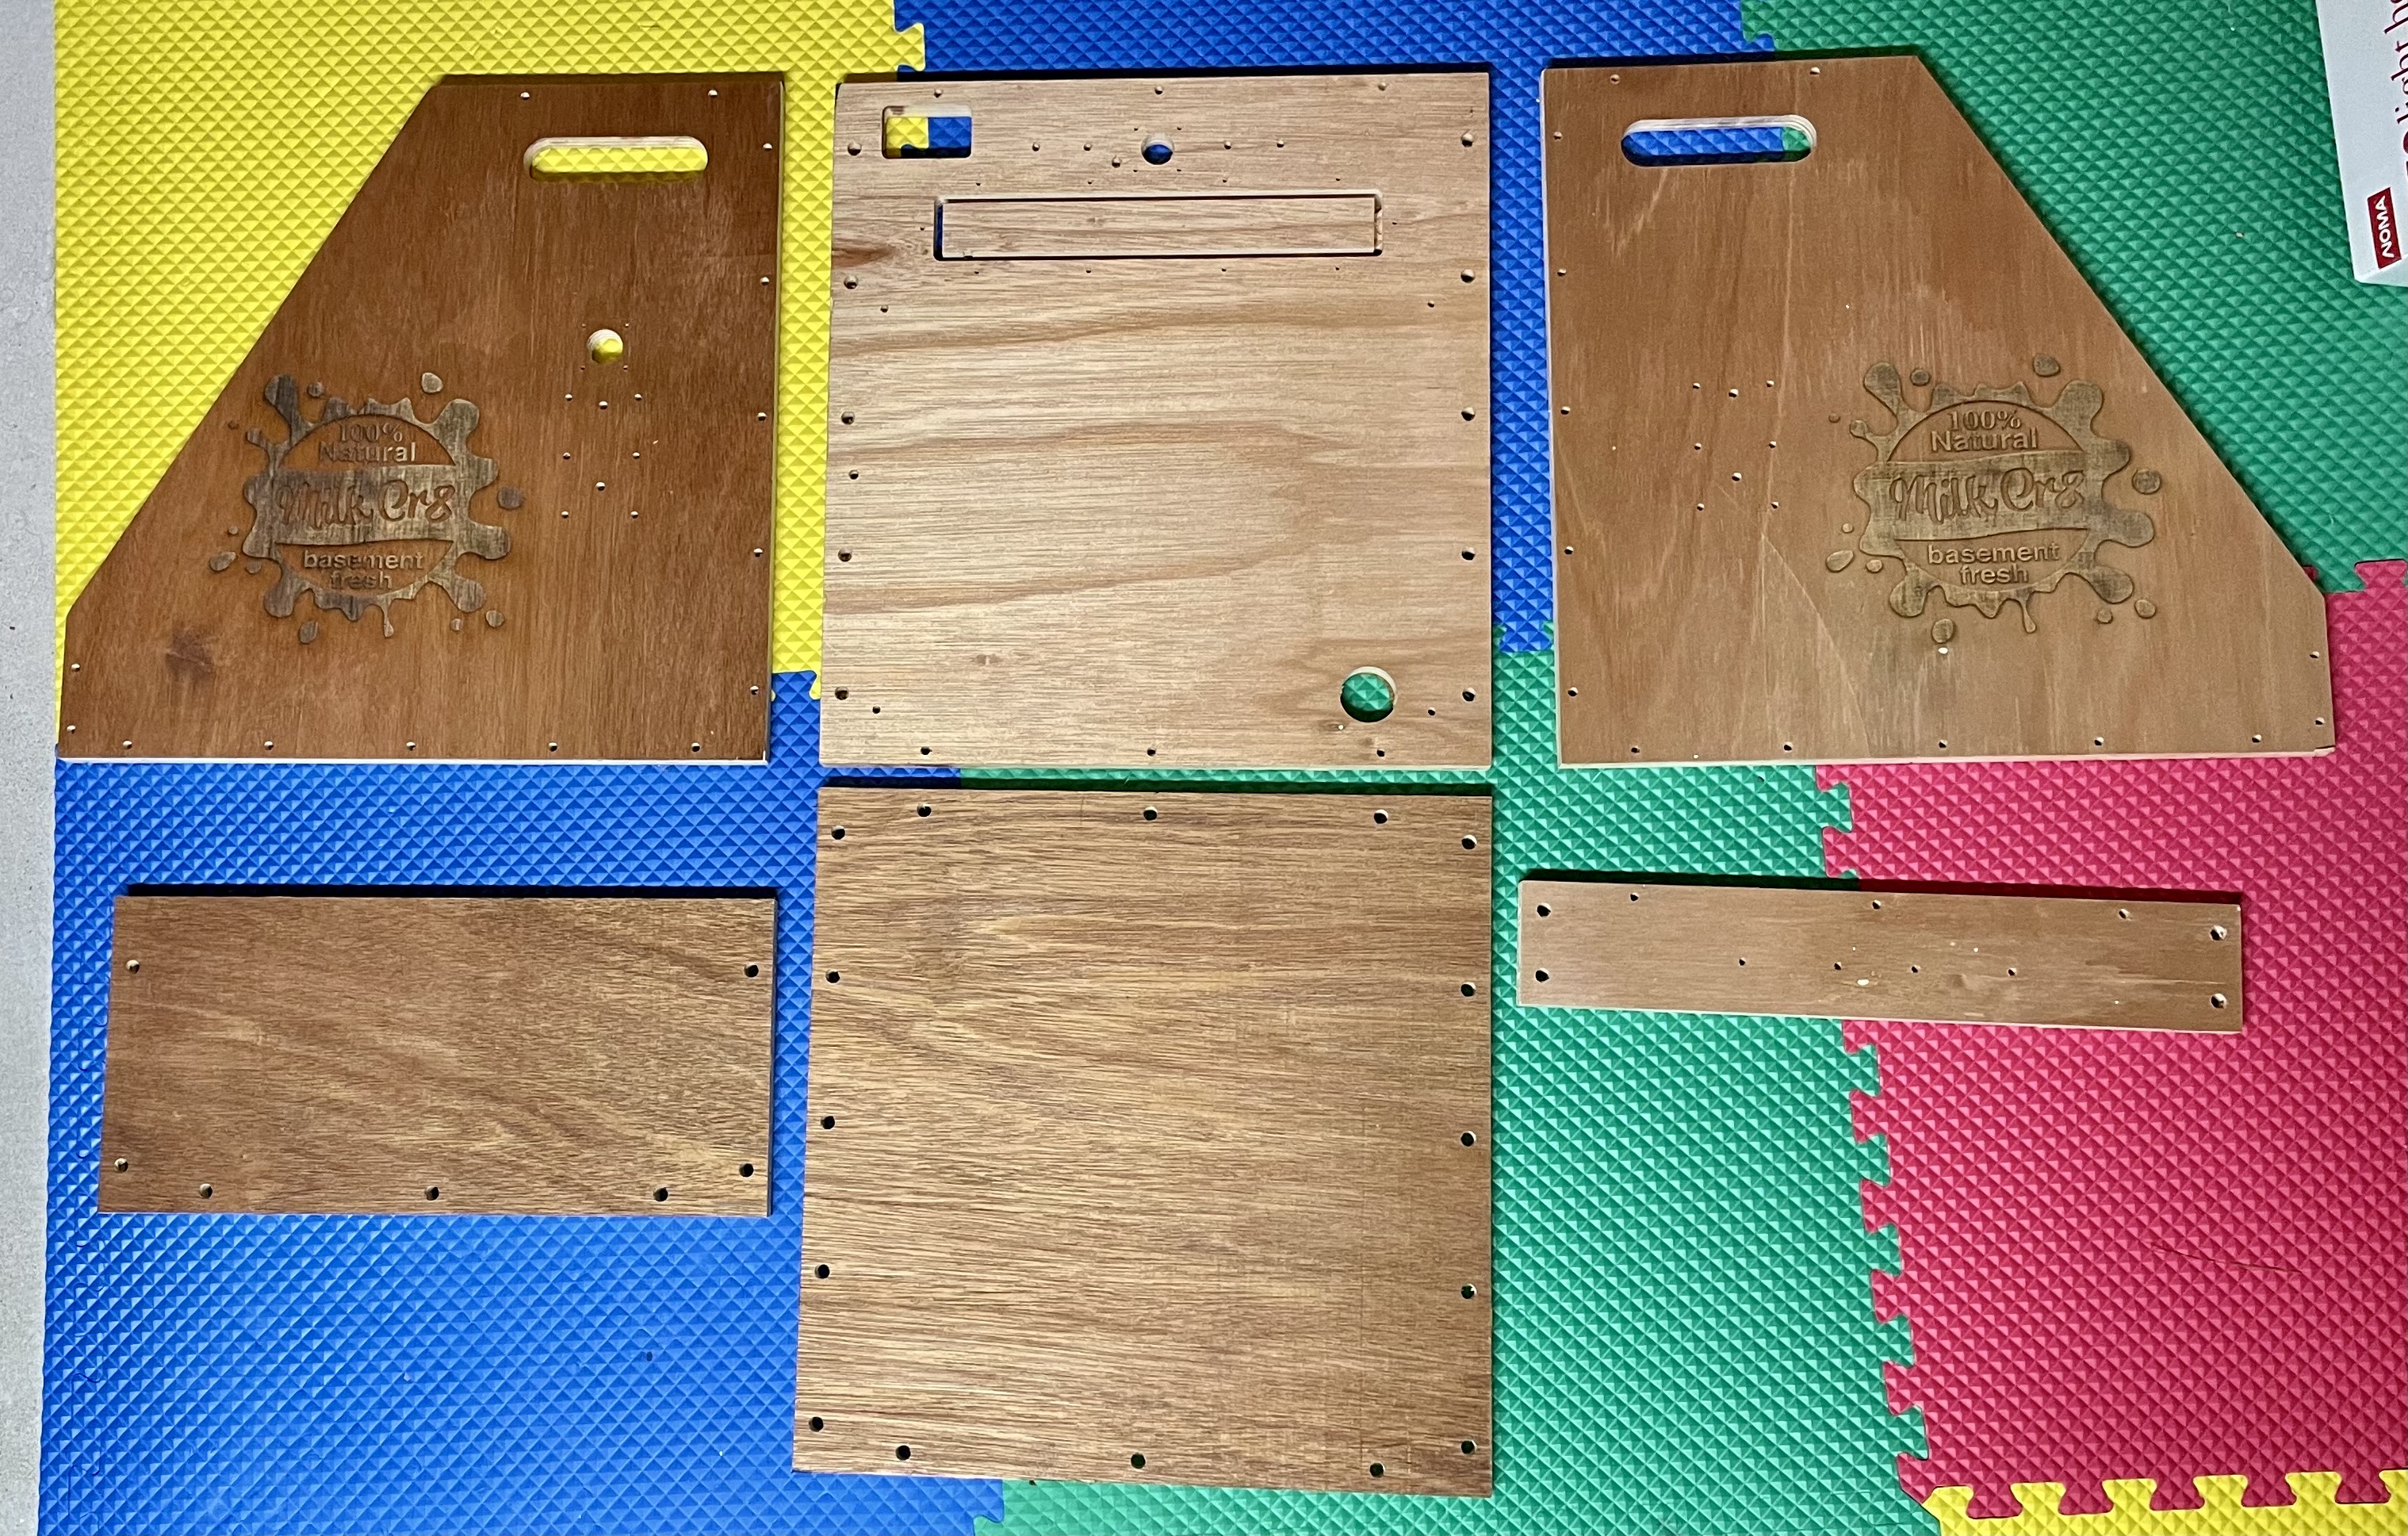
- First up: The MilkCr8 frame. Joe was kind enough to sell me one of his CNC cut frames. He also included the acrylic door, which I just realized isn’t in the picture. It is clear acrylic, so you can just pretend it is in the shot. I’ve sprayed the frame with multiple coats of clear Polyurethane spray.
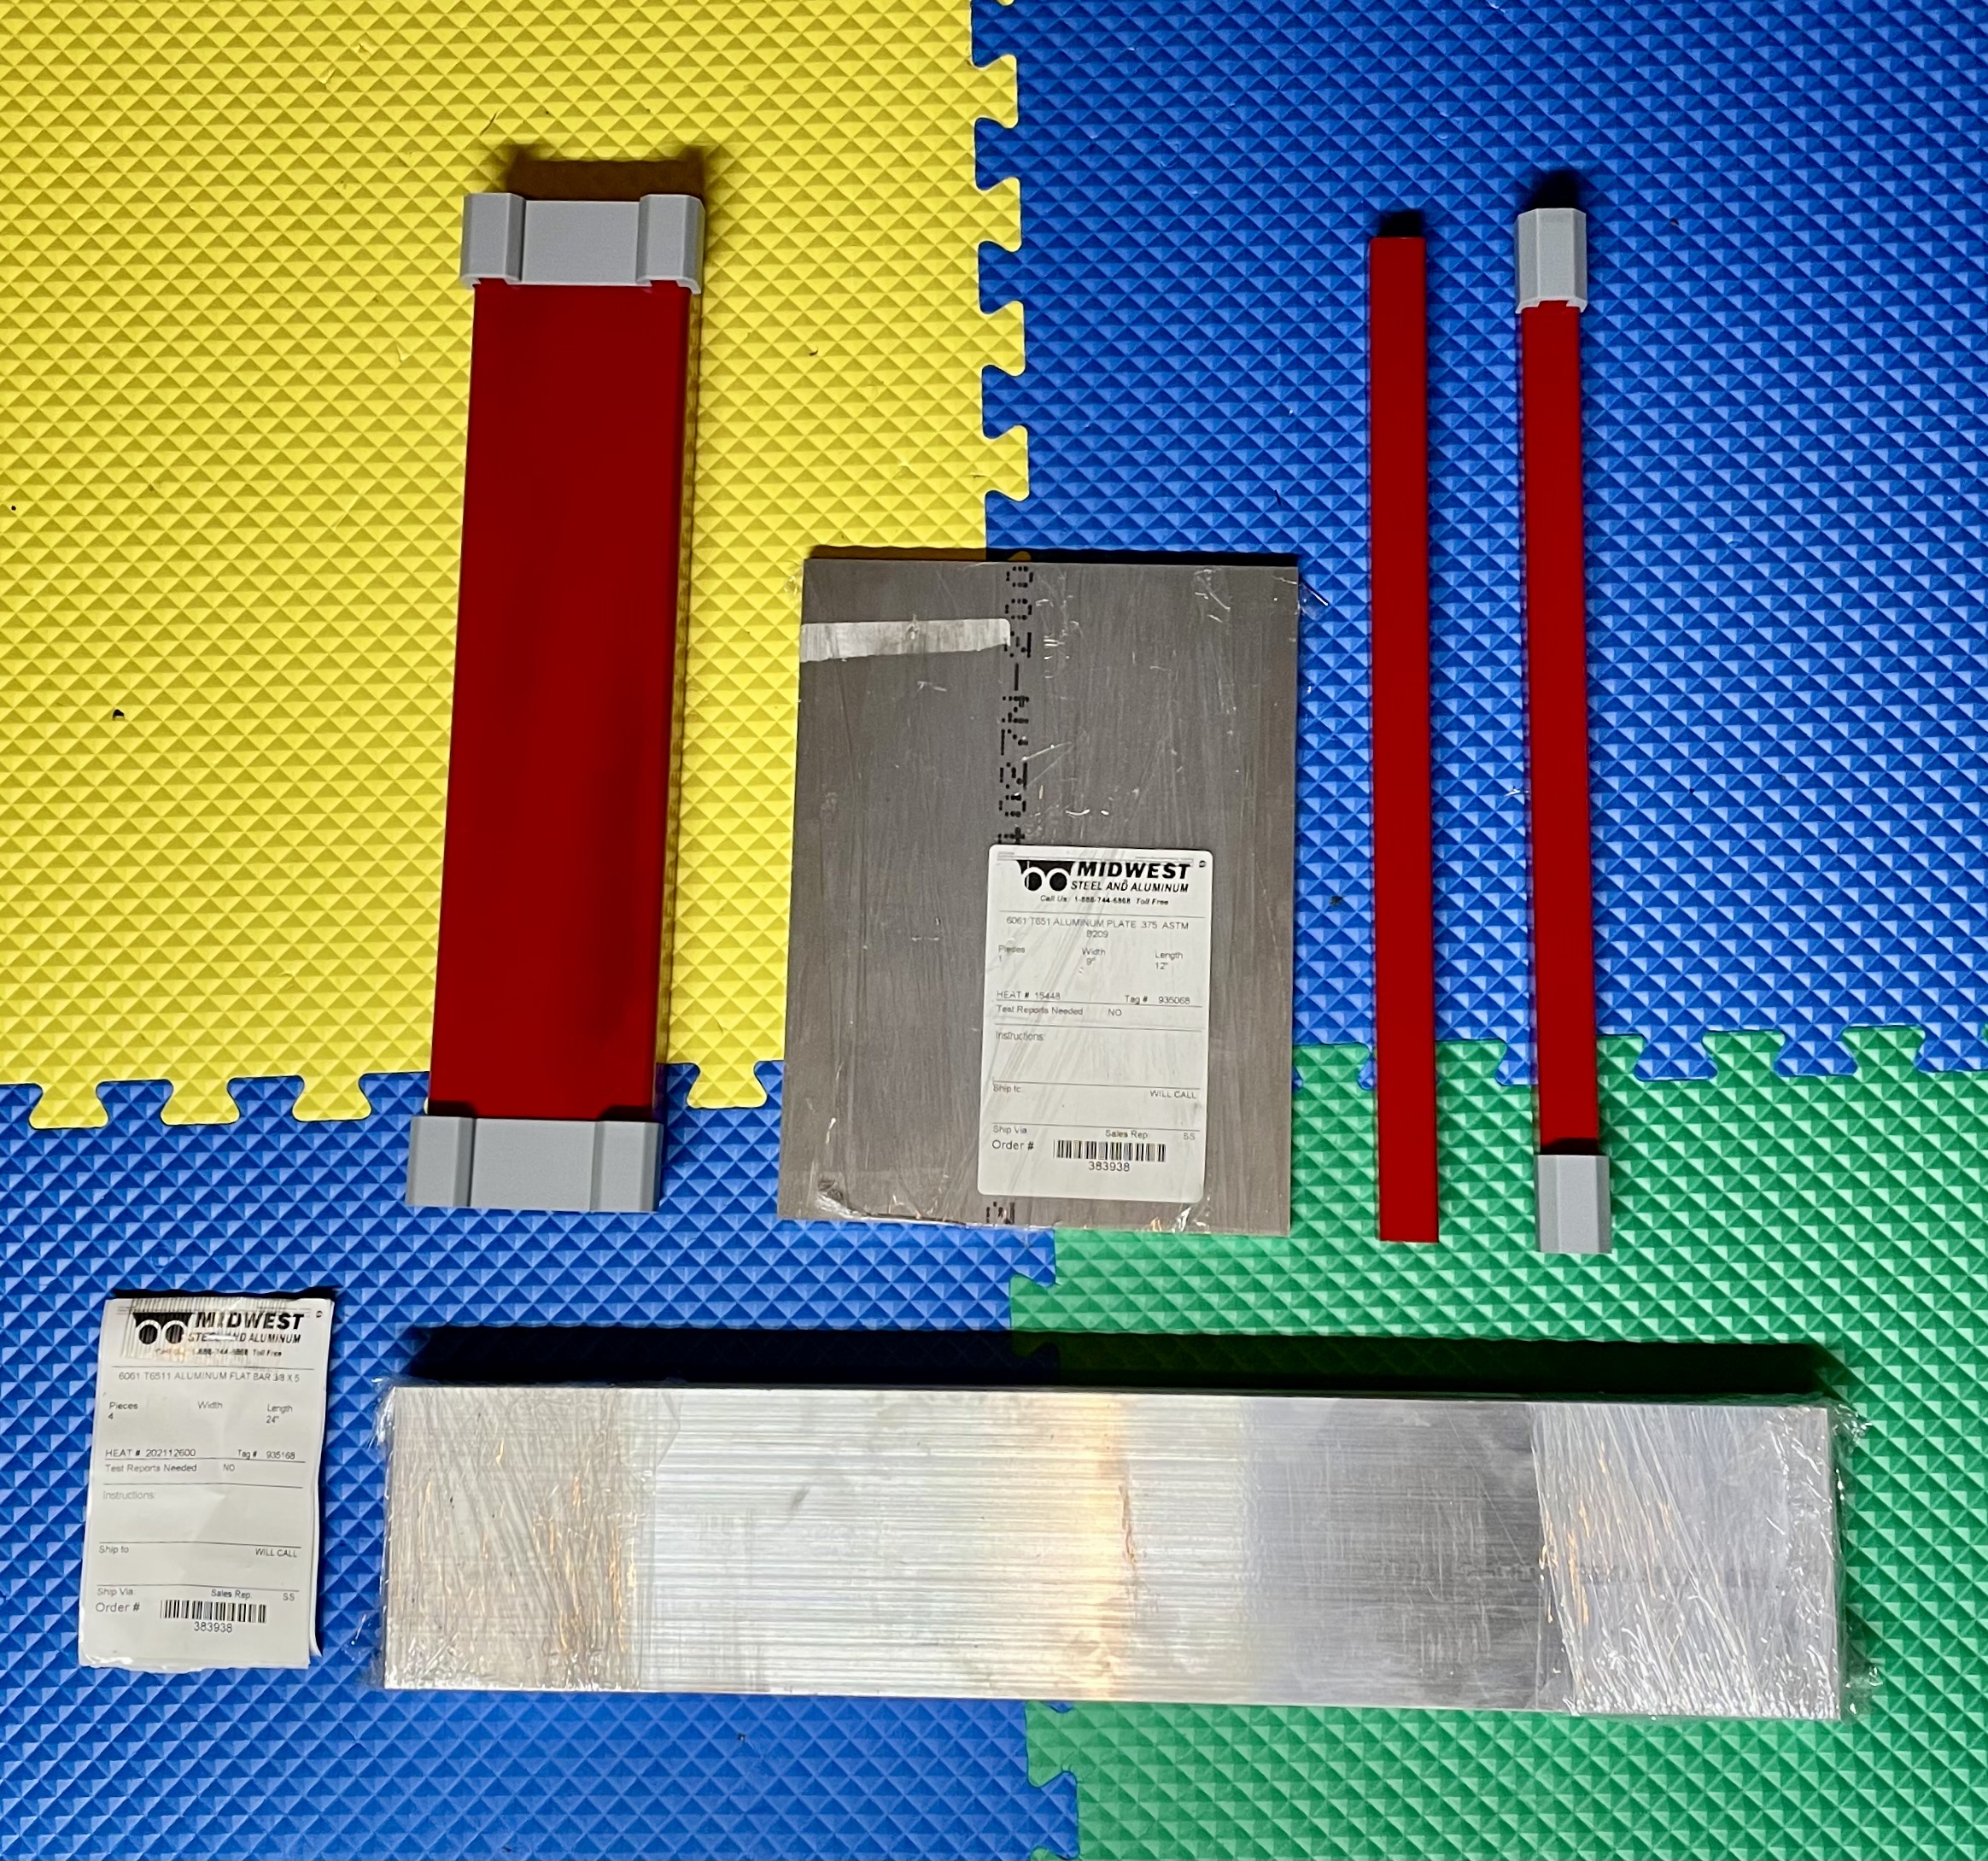
- Next up are the steel and aluminum components. The steel makes up the X and Y axes of the machine. My steel arrived a bit too long, so I used my angle grinder with grinding wheel to trim them to the proper length. In the six weeks I had the steel in my basement, I started to pick up some surface rust, so I once again turned to the angle grinder with a different abrasive disc to remove the rust and prepare the steel for cleaning and painting with Rust-oleum. The steel is shown with the linear rail alignment jigs. Also shown is the aluminum bed material, and “spare” aluminum which – if I’m successful, can be cut on the MilkCr8 to make key components for the Z-axis, replacing the originally 3D printed pieces.
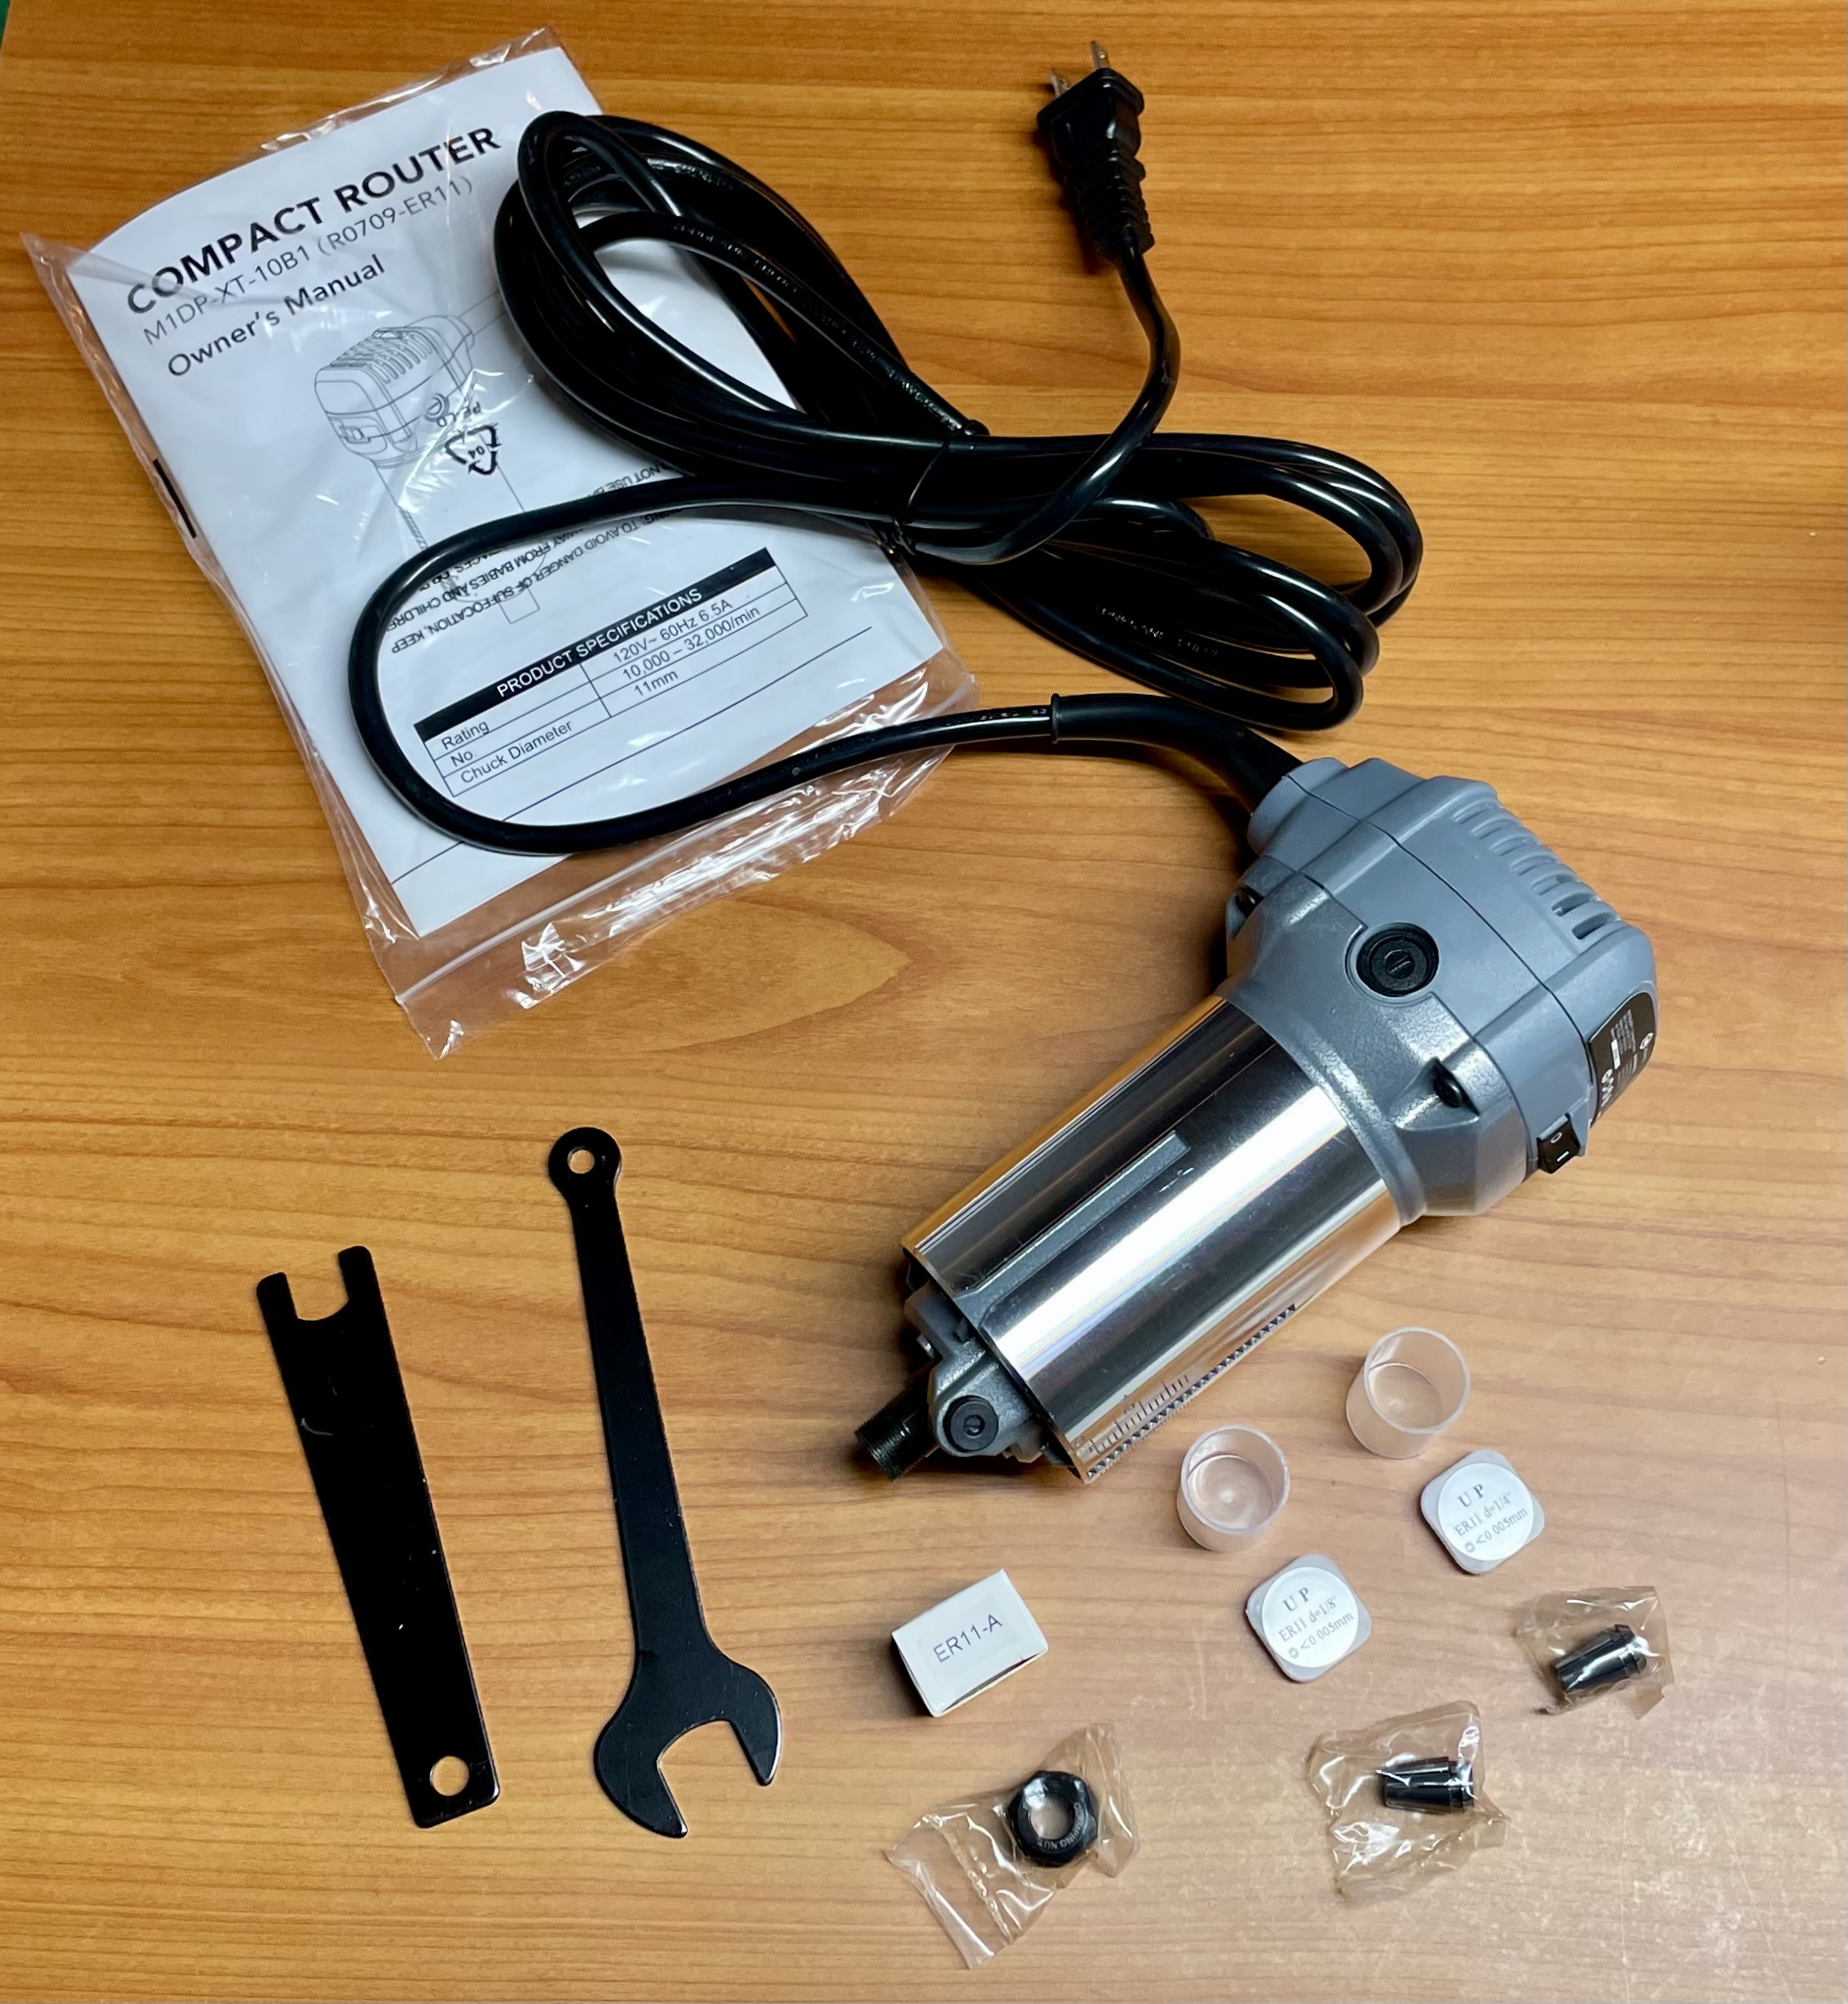
- Shown below is the router. The BOM shows the OpenBuilds RoutER11, which was out of stock when I was orderings stuff, so Joe pointed me at the Carbide ER-11 Compact router, which is really the same thing. The description was a bit unclear about what, exactly was in the box, so this shows all the accessories.
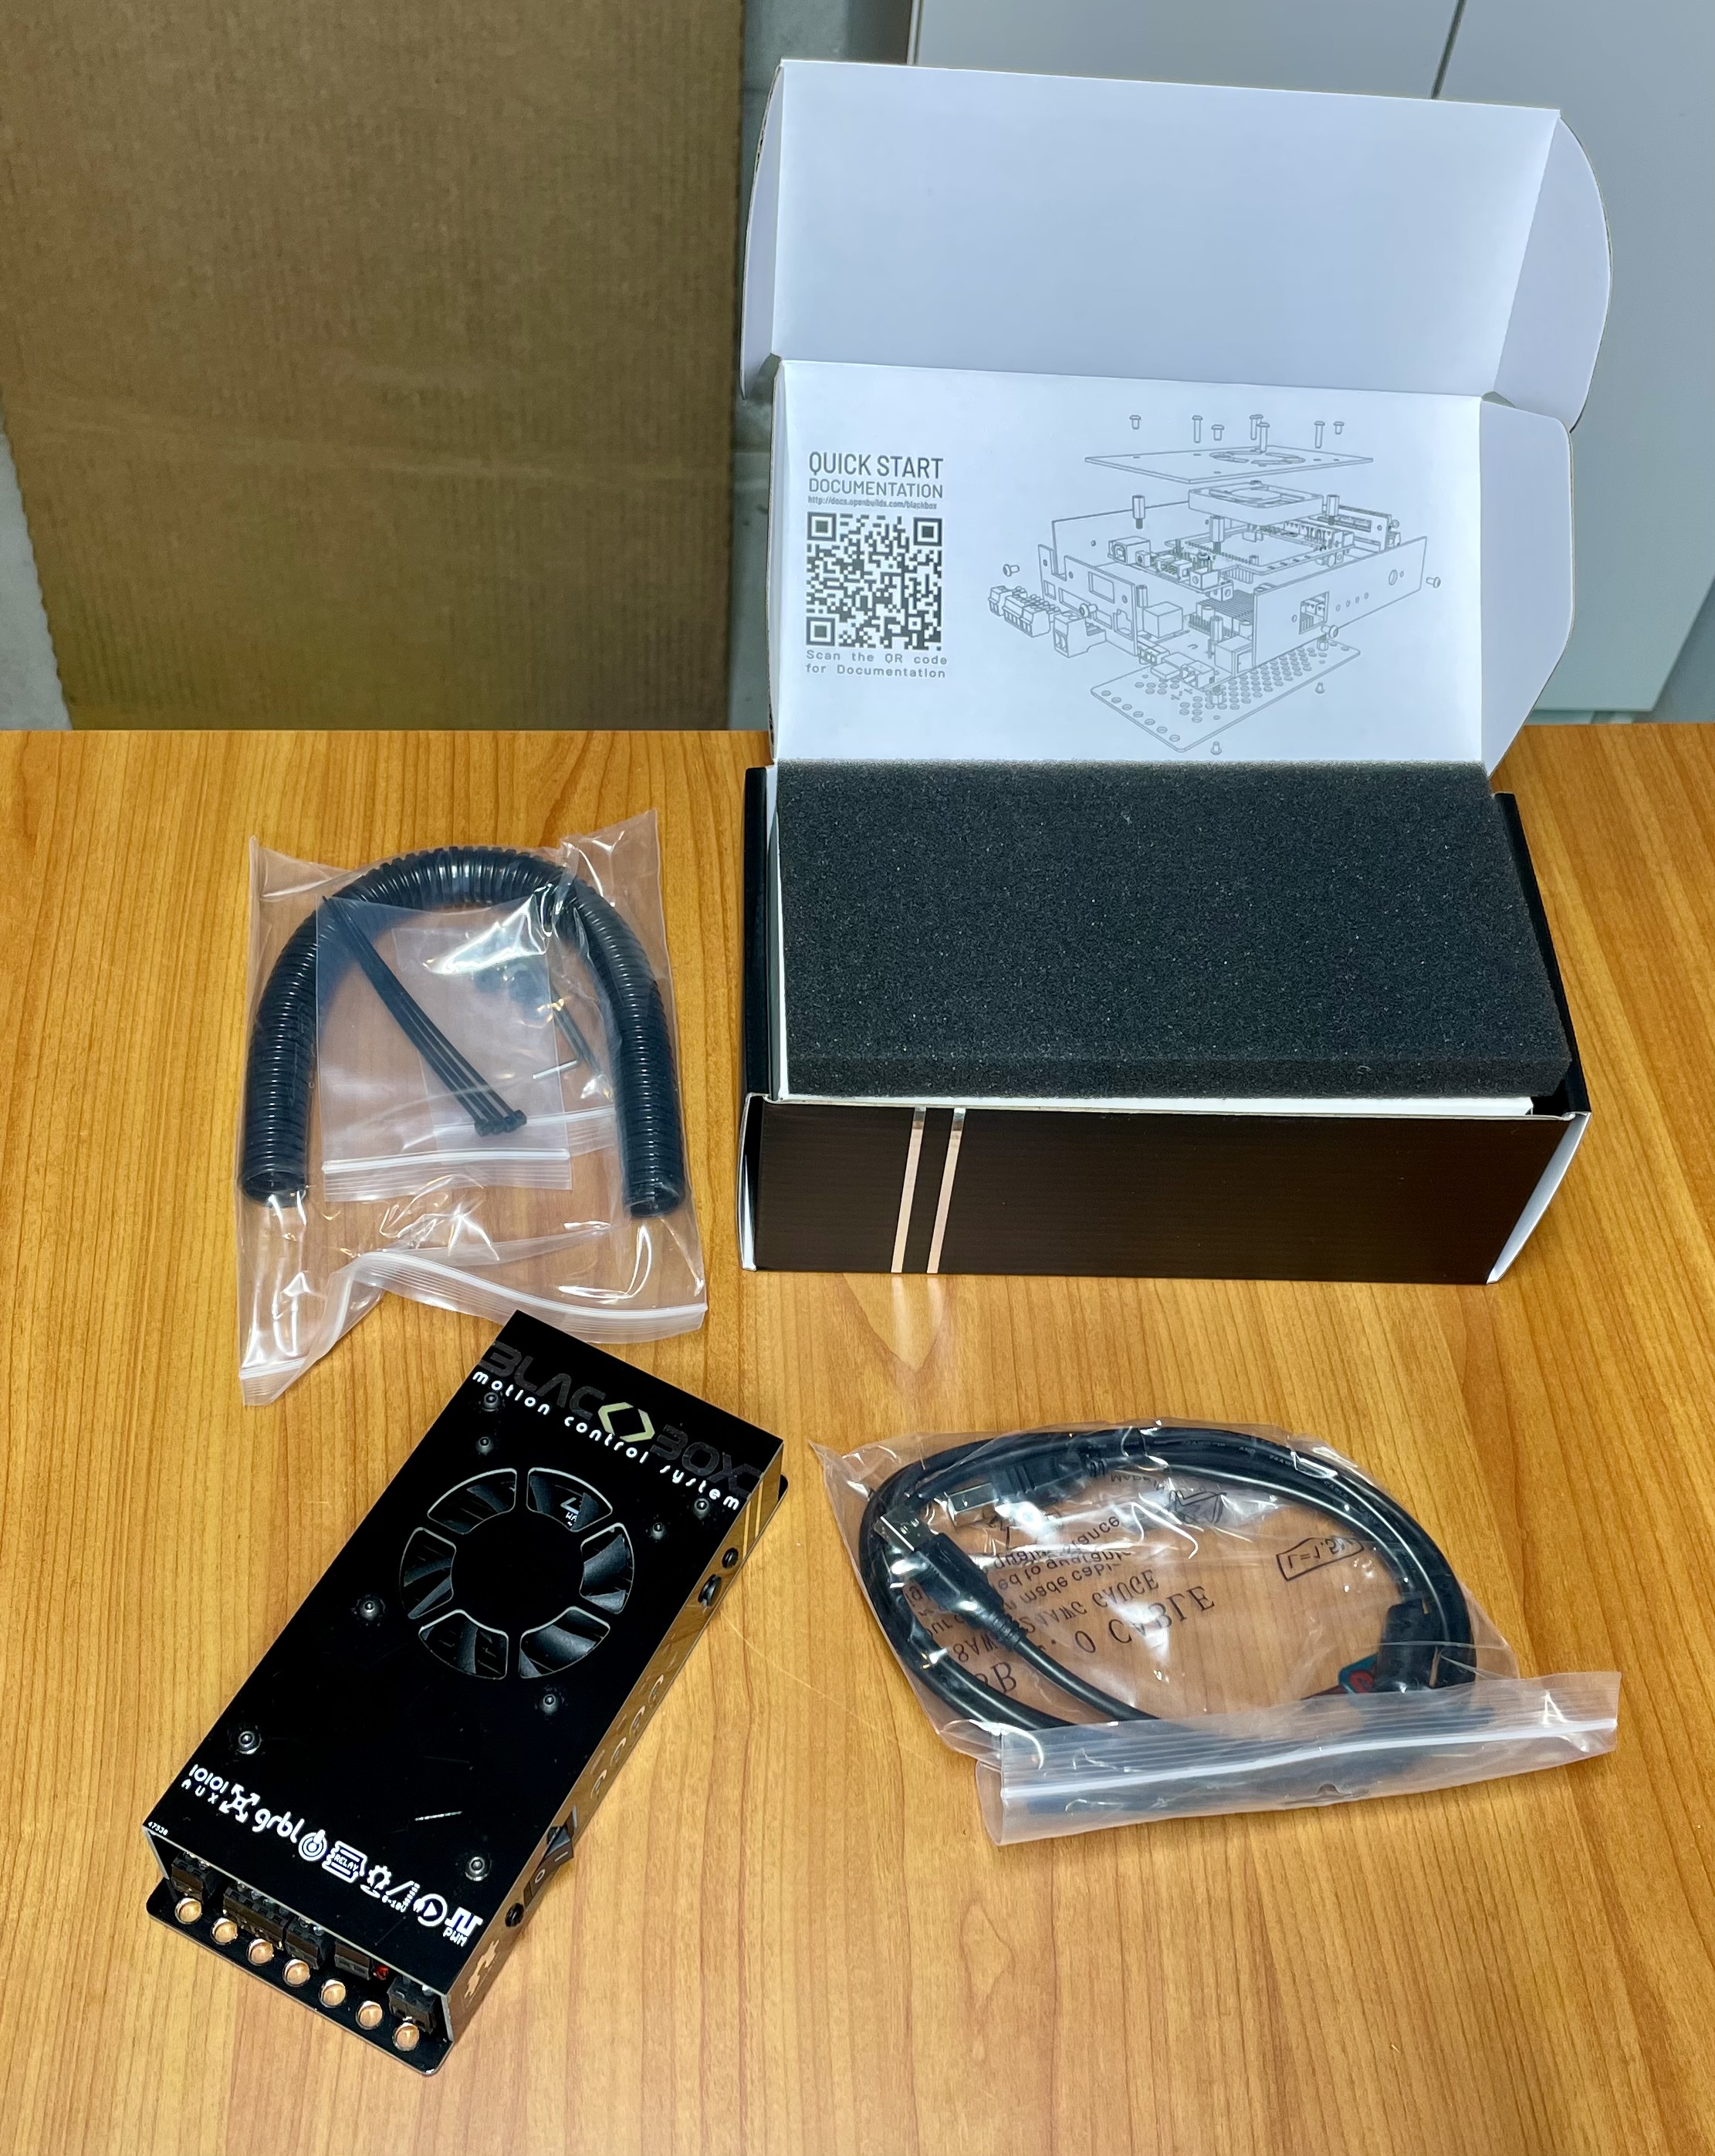
- Up next is the OpenBuilds CNC Controller
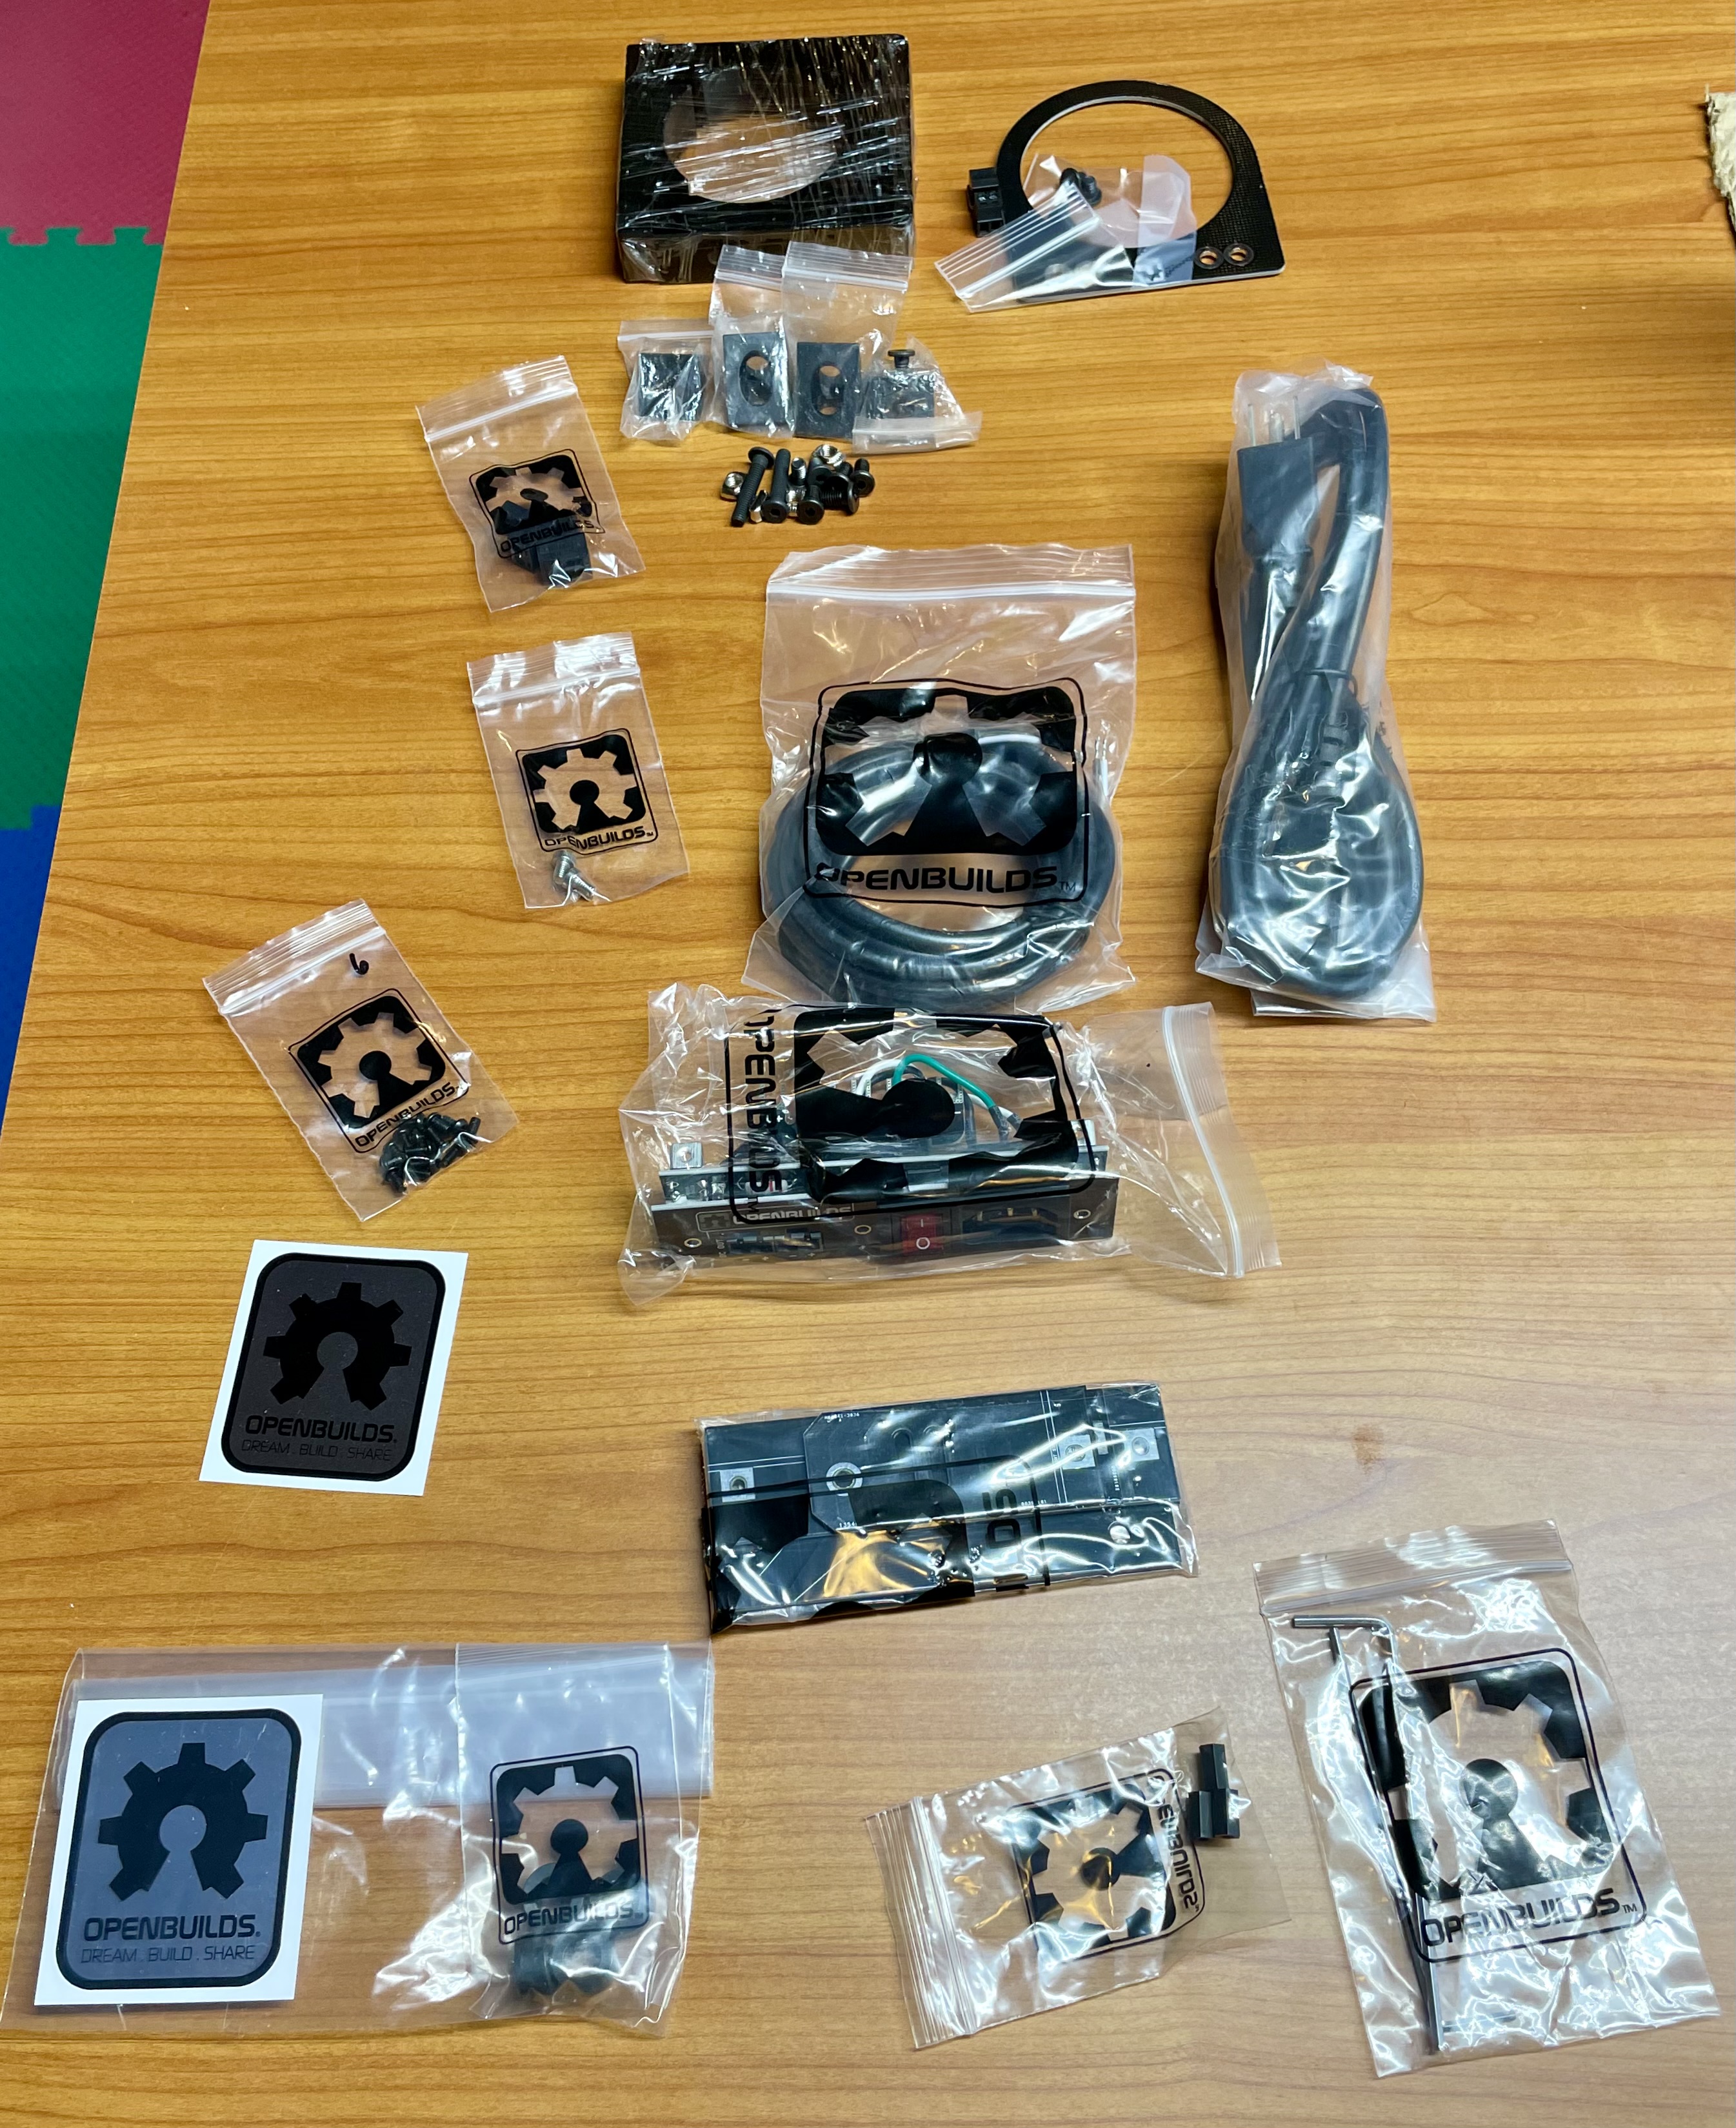
- Next are the router collar (which I bought from Amazon - again a point out from Joe) as well as the rest of my OpenBuilds order. I already had the recommended Meanwell power supply (which I realize now is not show) but I did purchase the nice power button/cable arrangement from OpenBuilds.
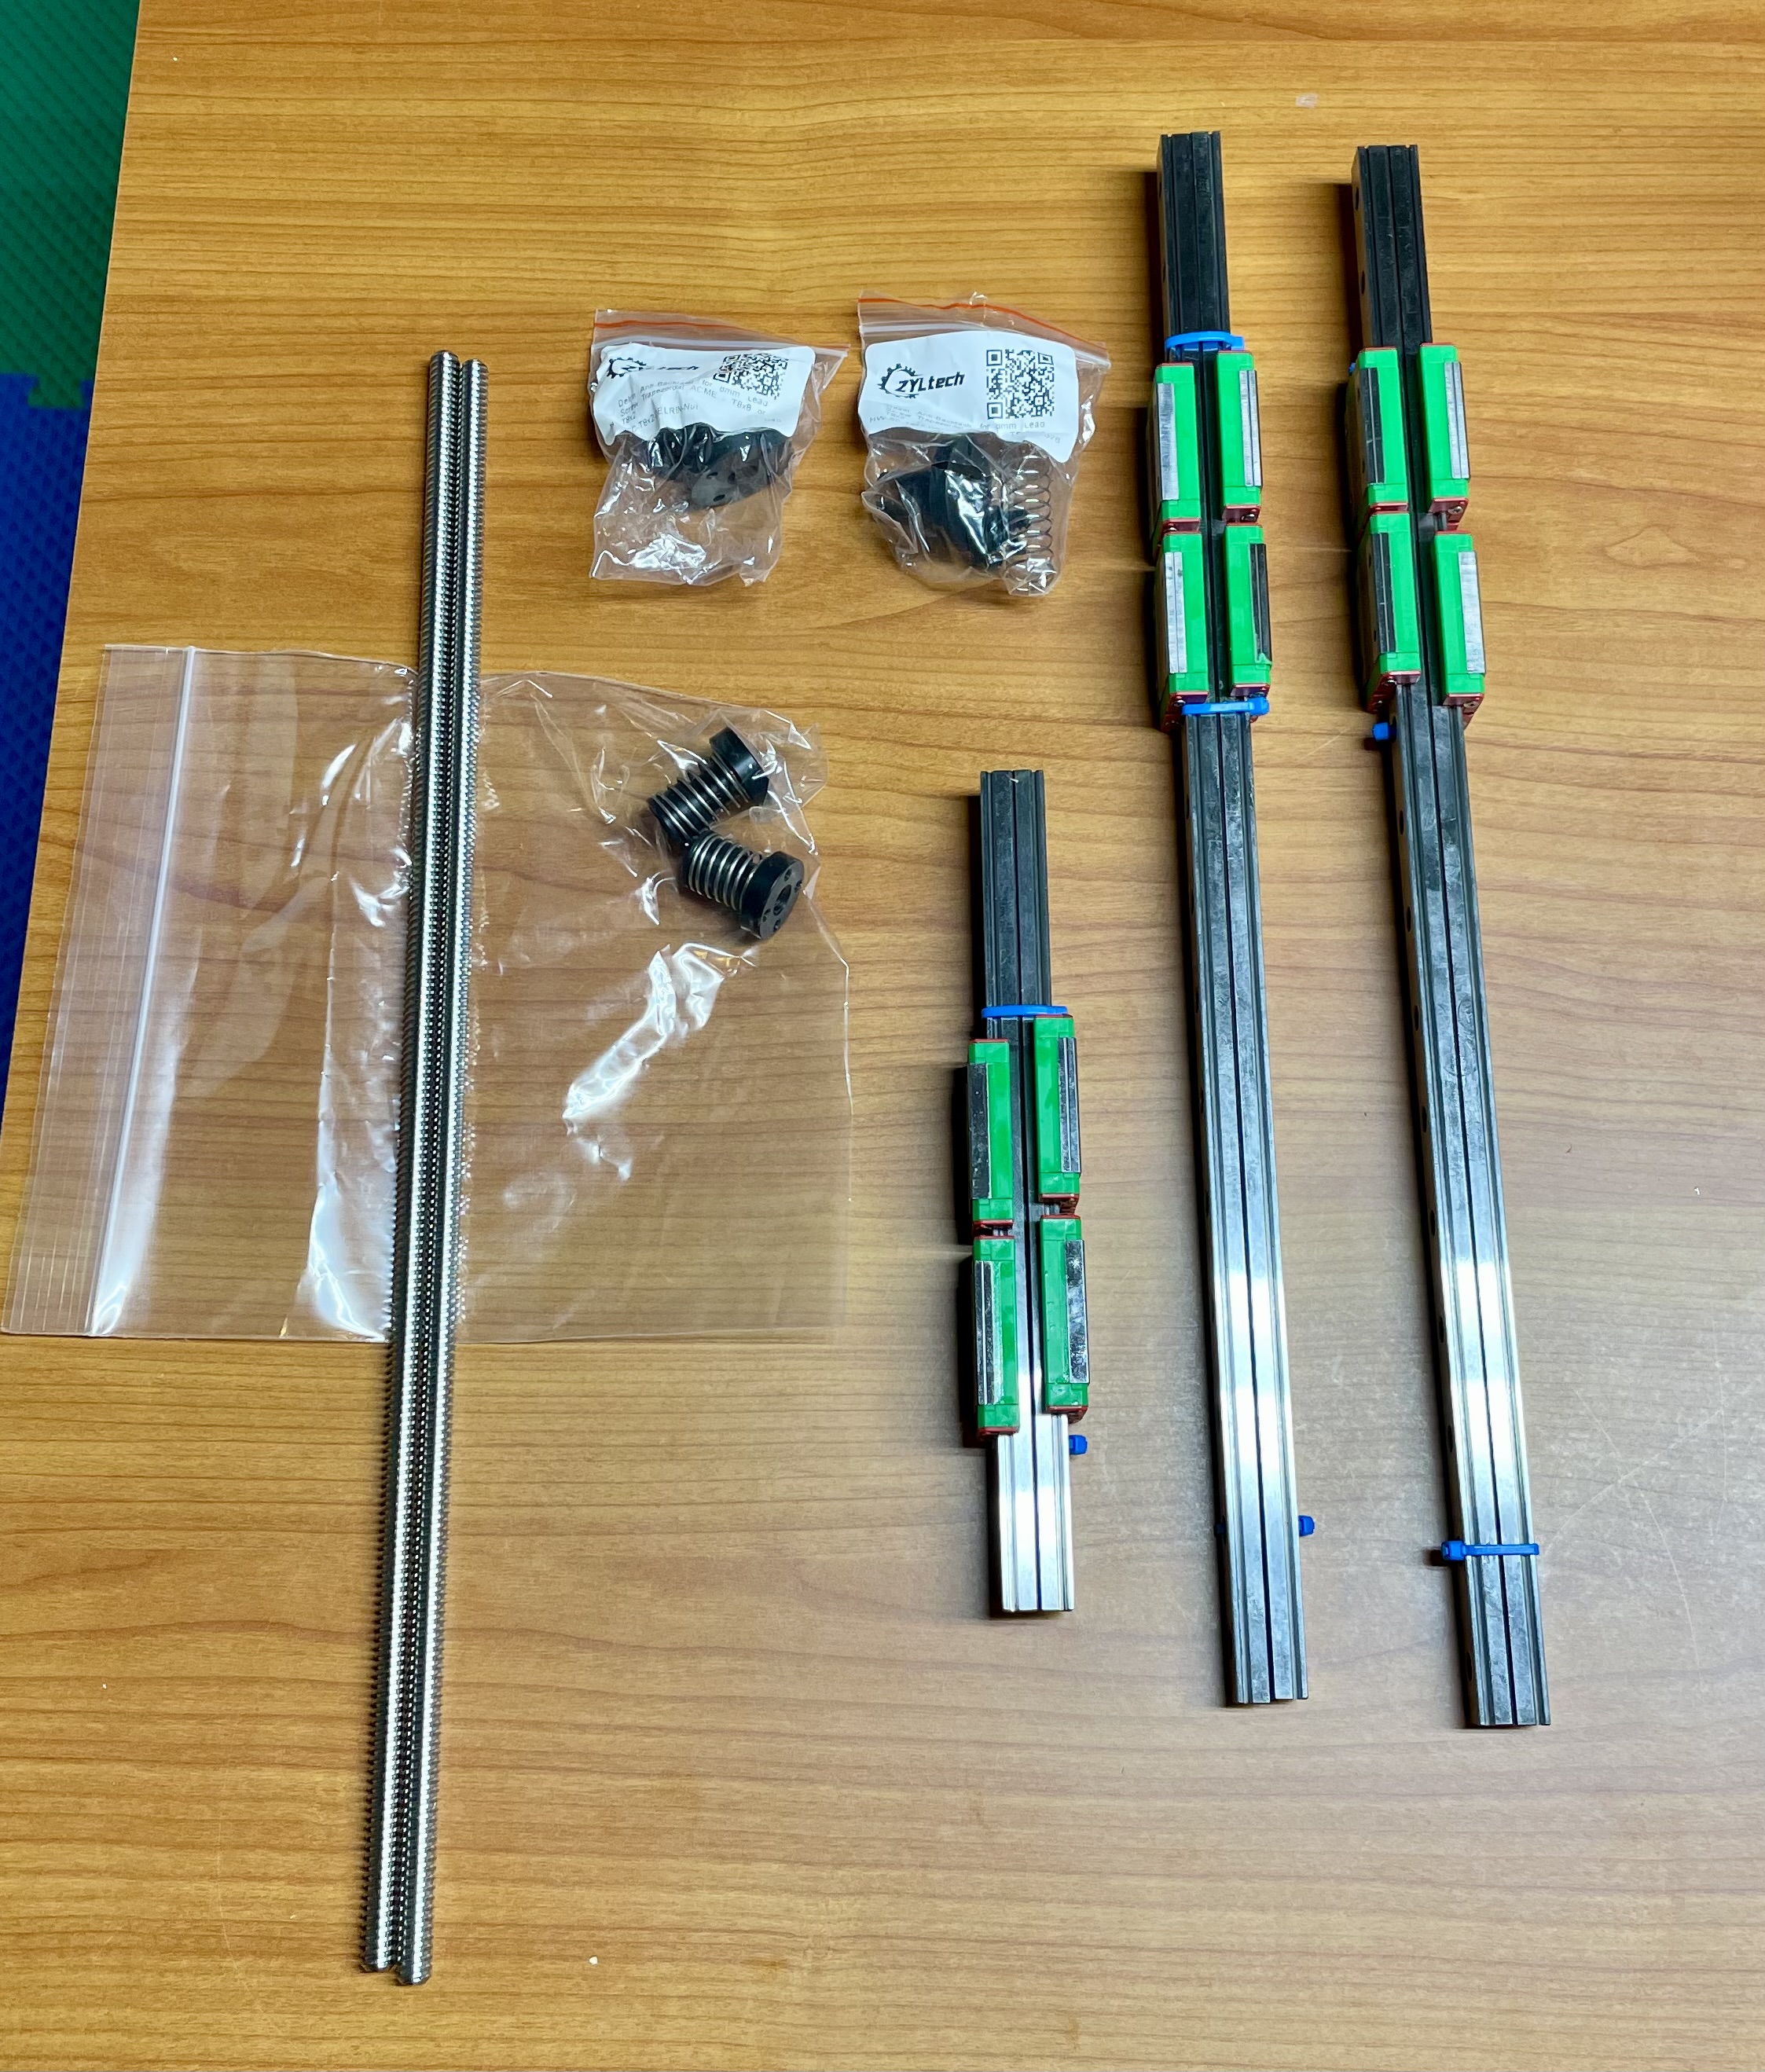
- Shown below are the linear guides and carriages from XylTech as well as the leadscrews I purchased from Printed Solid.
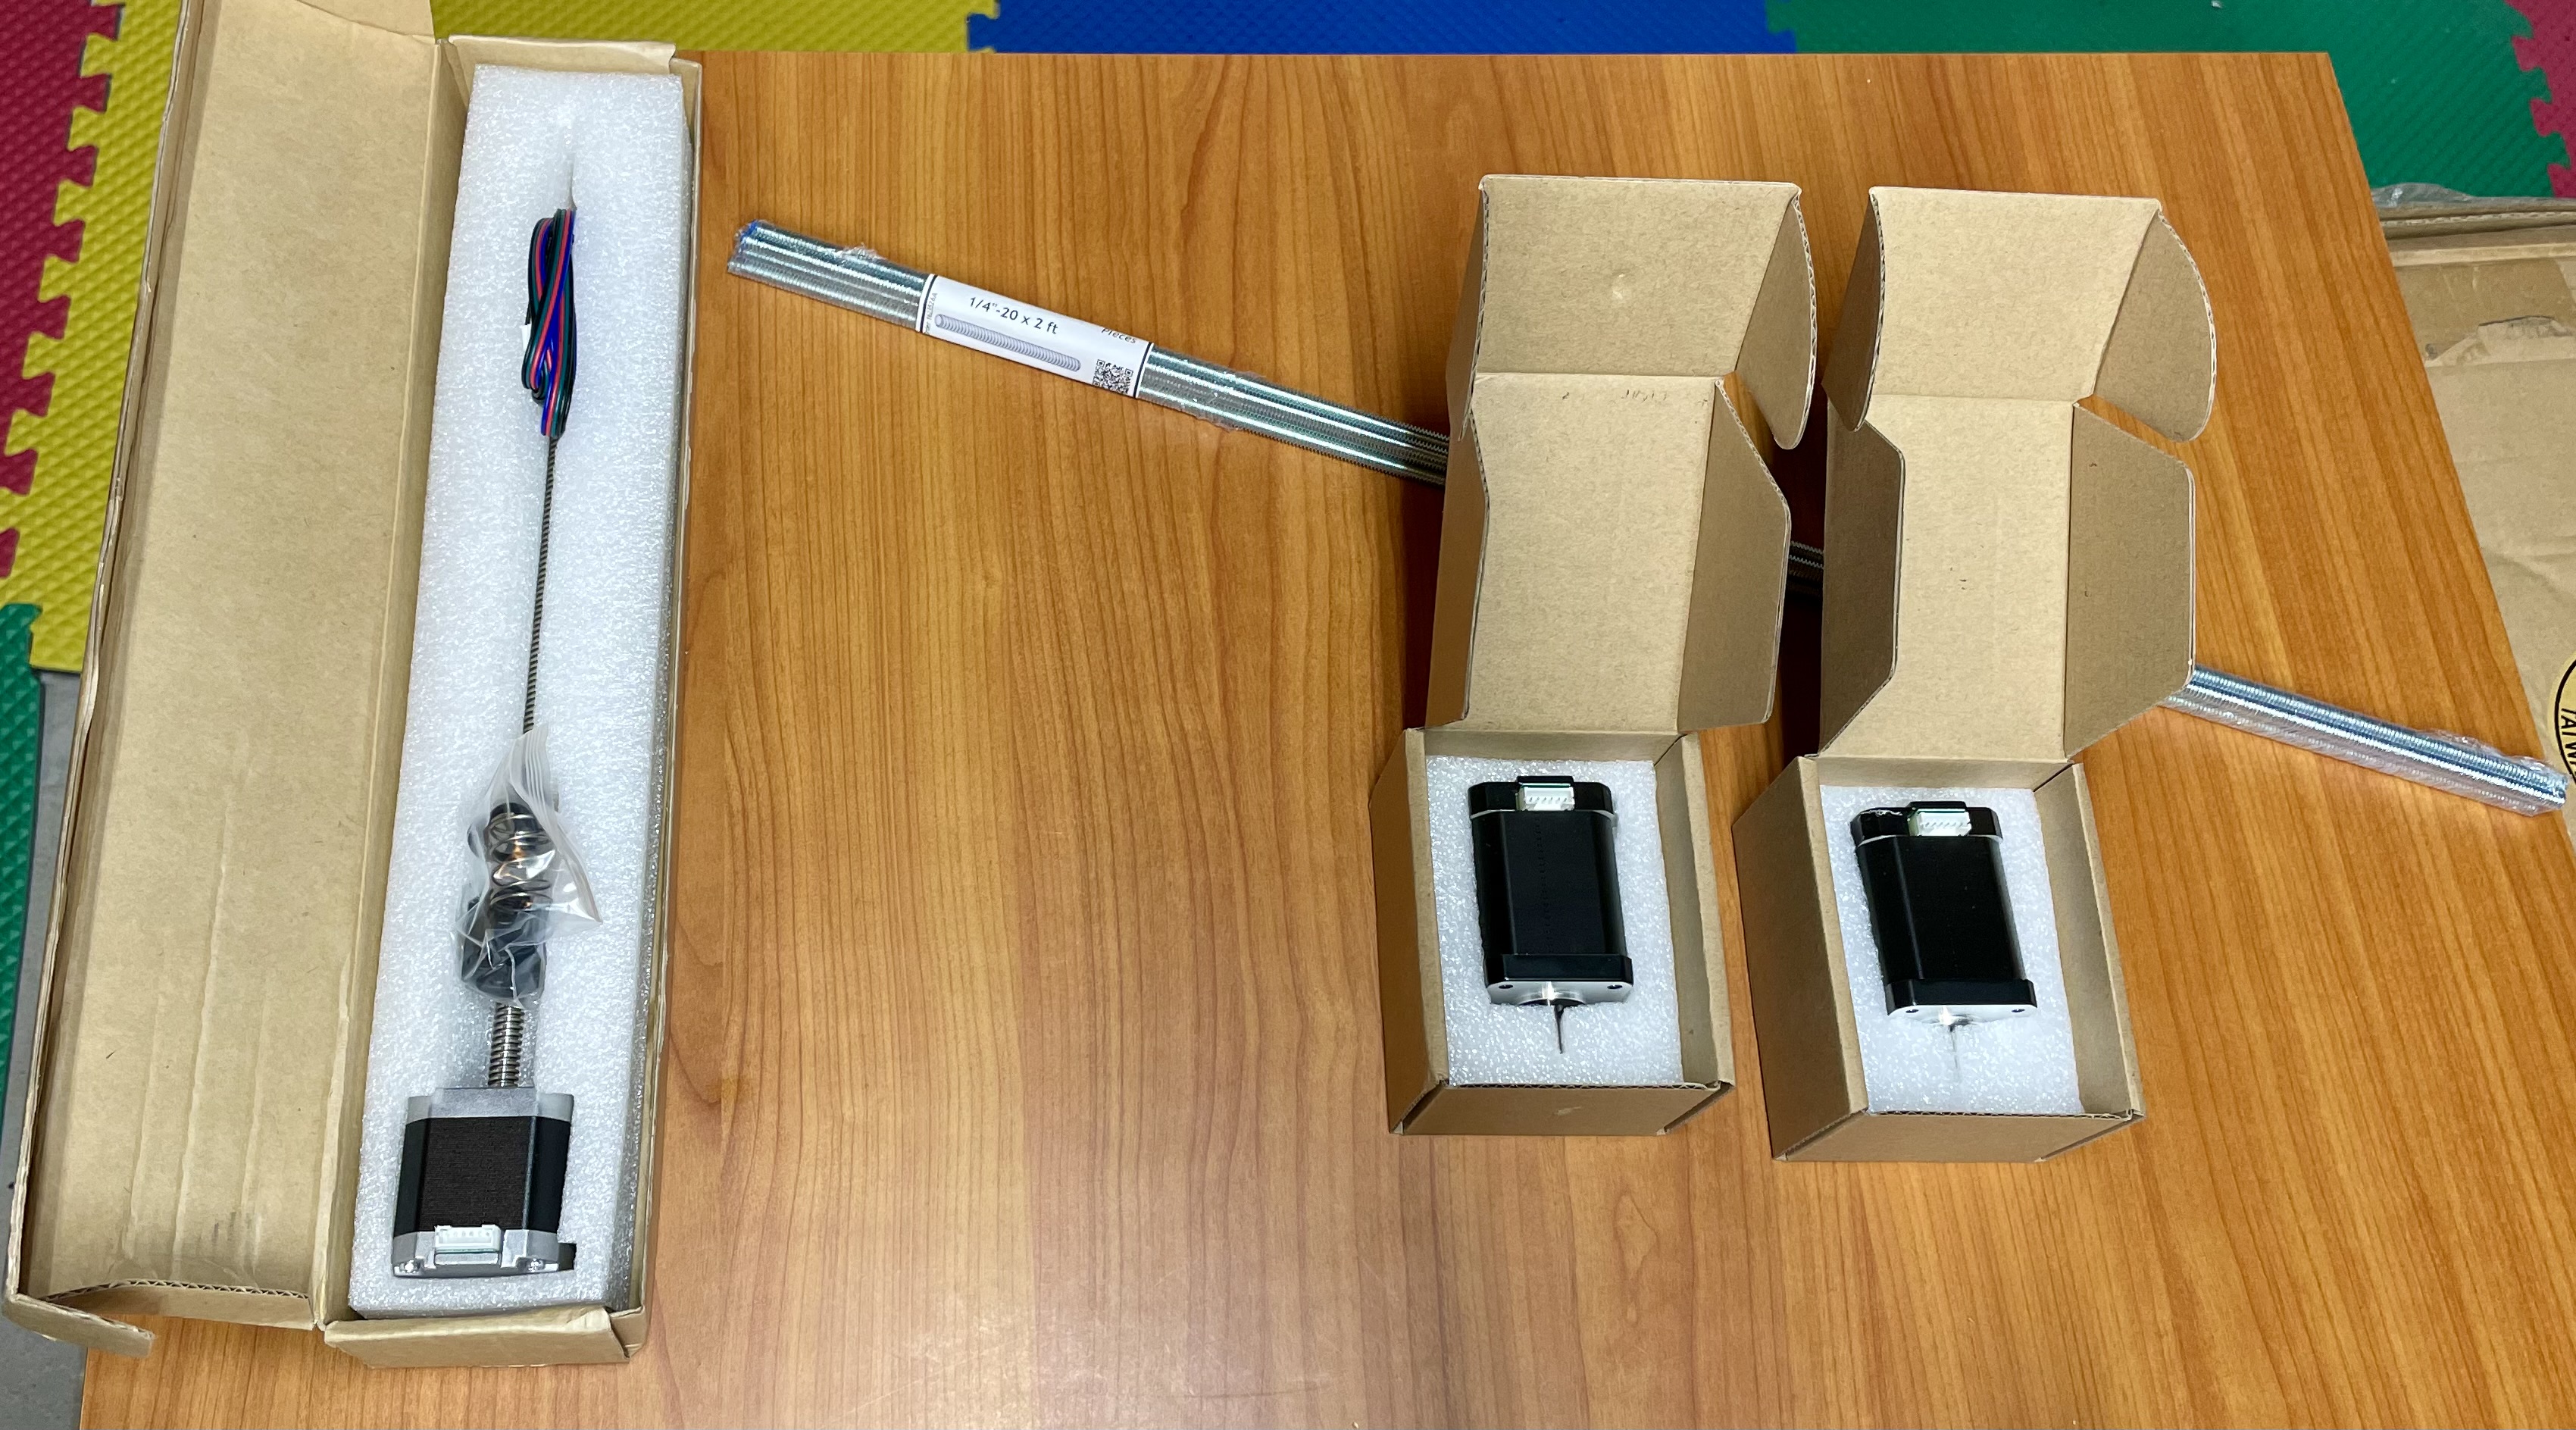
- Up next are the motors and Z integrated leadscrew. The originally spec’d X and Y motors were out of stock, so (again, hat tip to Joe) these motors from Printed Solid seem to fit the requirements. I see the threaded rods also make an appearance in this photo.
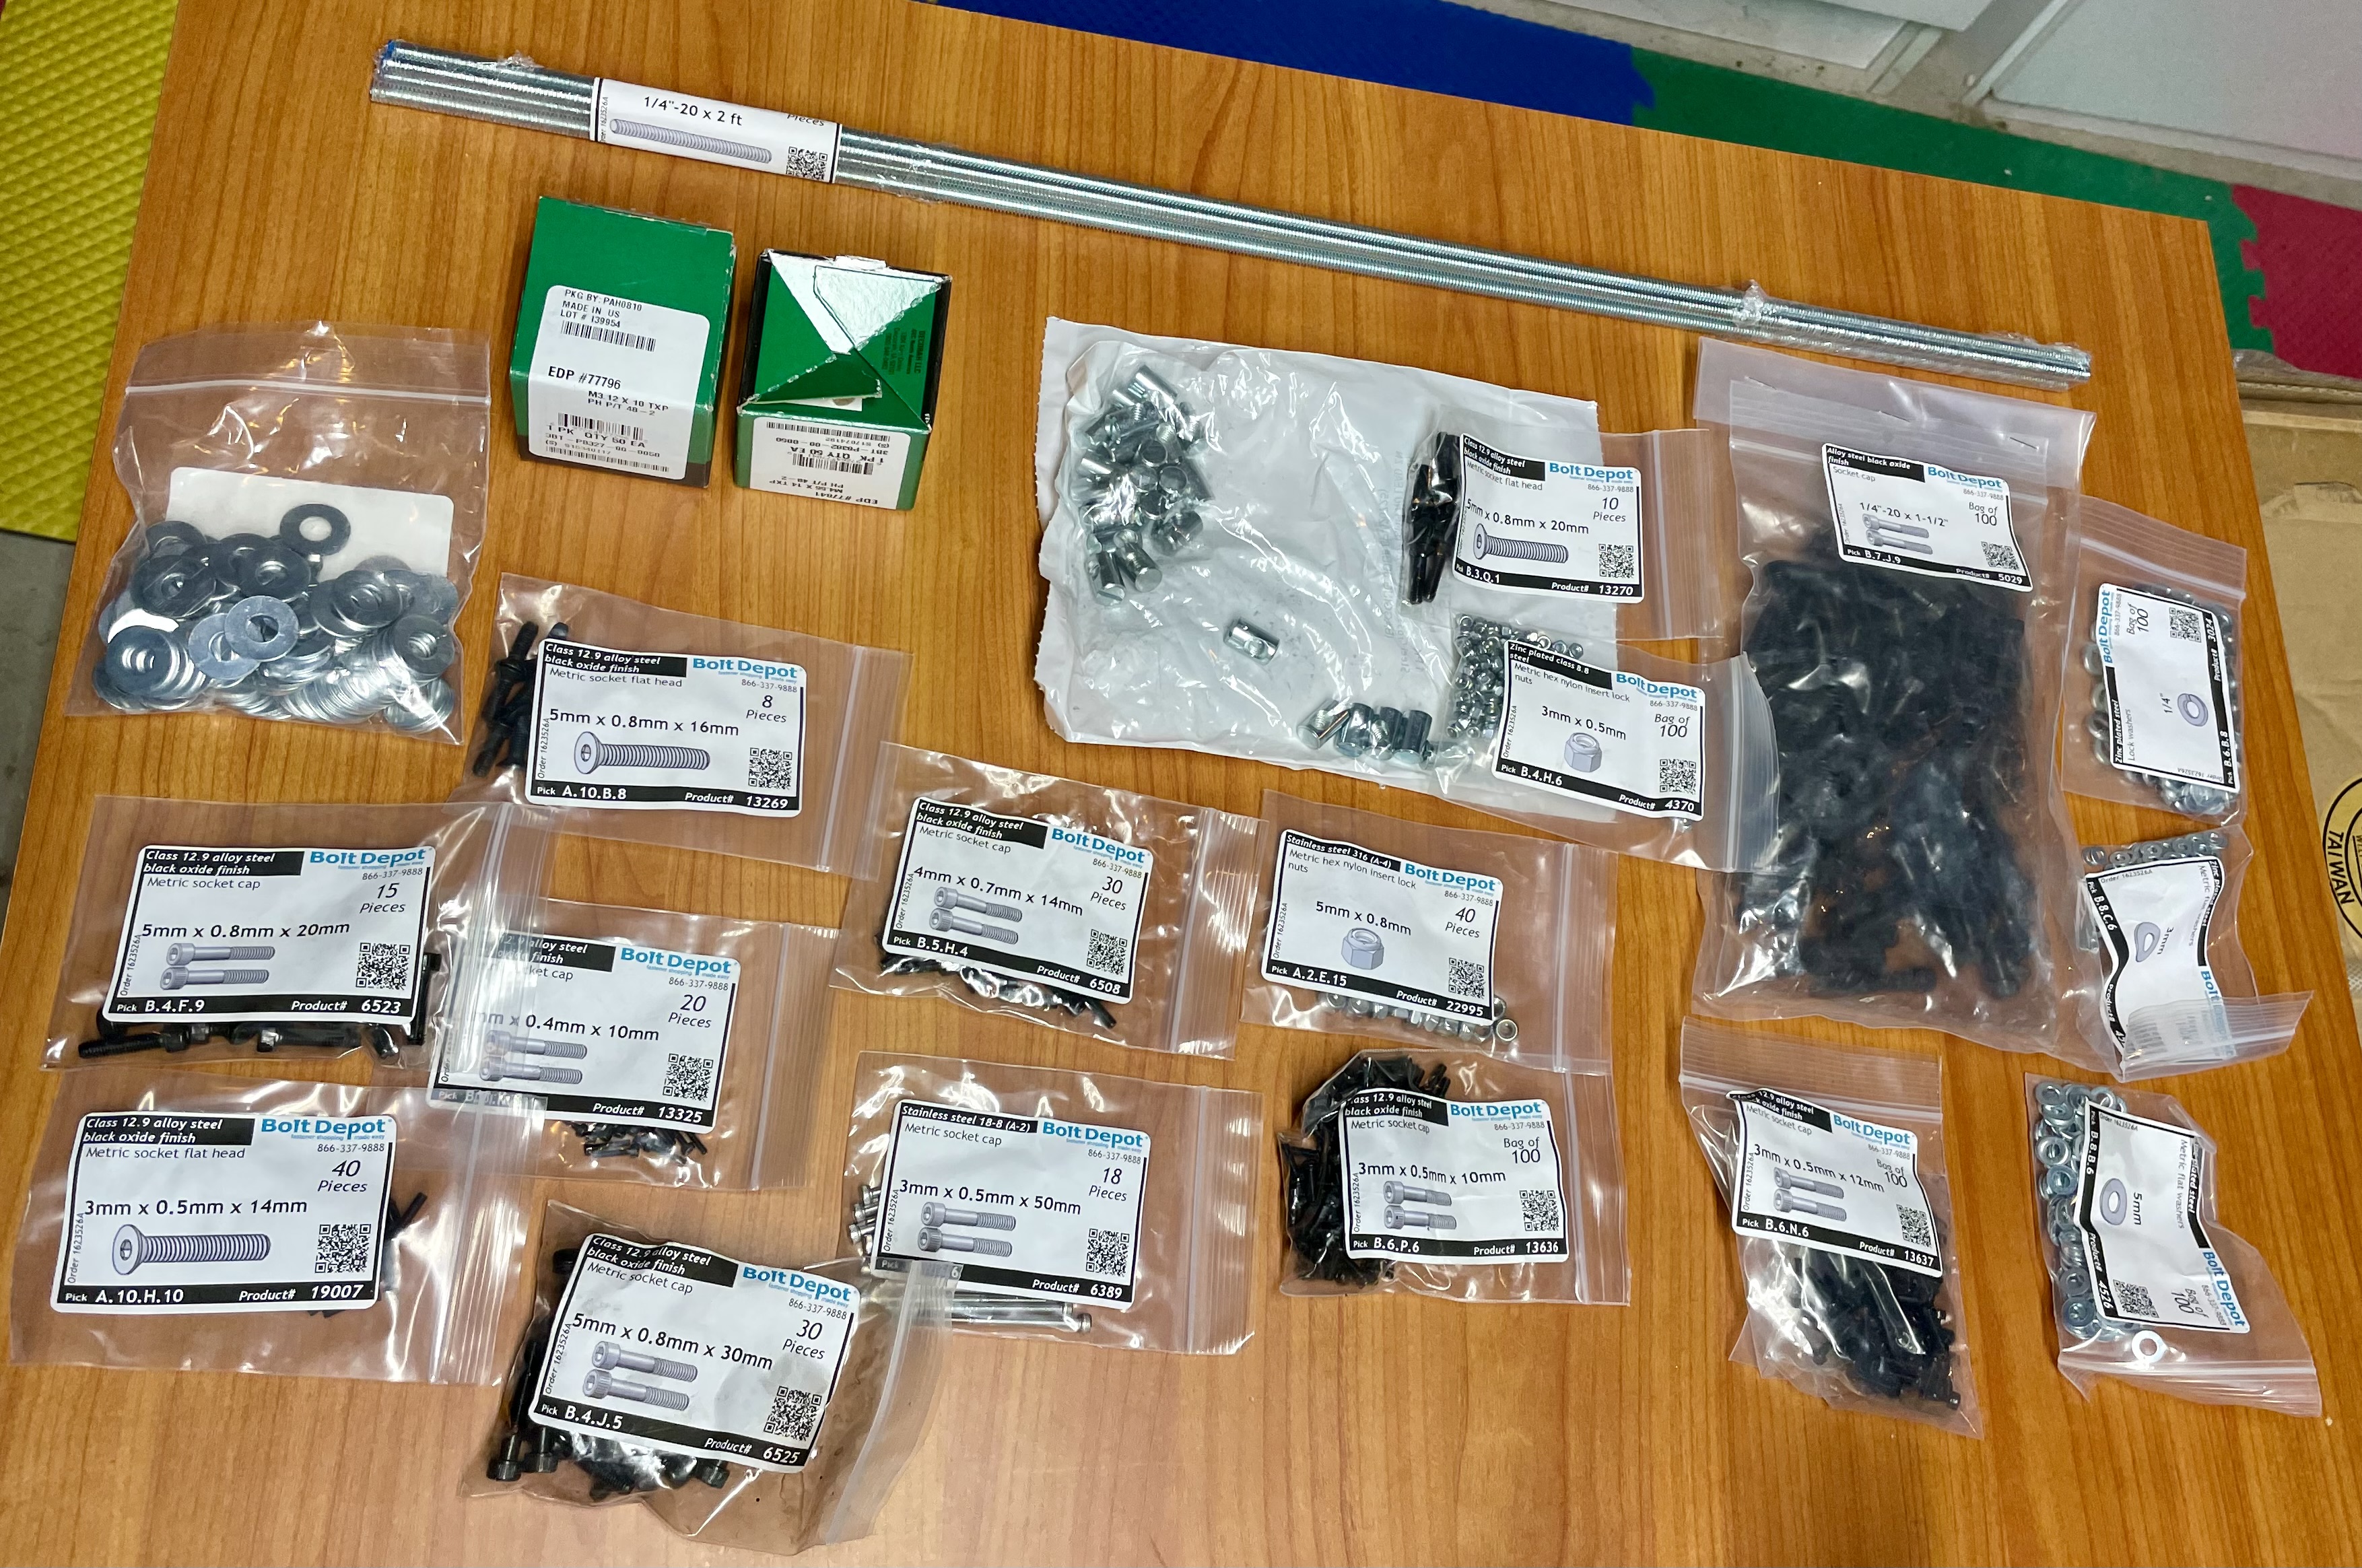
- Finally - I show the hardware orders from McMaster and Bolt Depot. While I probably had much of the M3 hardware available from previous orders, you can never have too much M3 hardware!
And – that’s it (as far as I know – other than endstops…). I’m sure I’ll get photos of the printed parts as I make them. If you have questions, please let me know!